The Bass Stand
A commissioned upright bass display stand

Ben needed a sturdy display stand for his upright bass in his living room. Key requirement: stable enough to survive a house party — people dancing, stomping, shaking the floor.
But the real brief was unspoken: this instrument matters. It deserves more than a tripod.
Traditional bass stands are utility-first — collapsible, portable, forgettable. But this bass could live as a sculptural element in the space. So we led with vision instead of function.
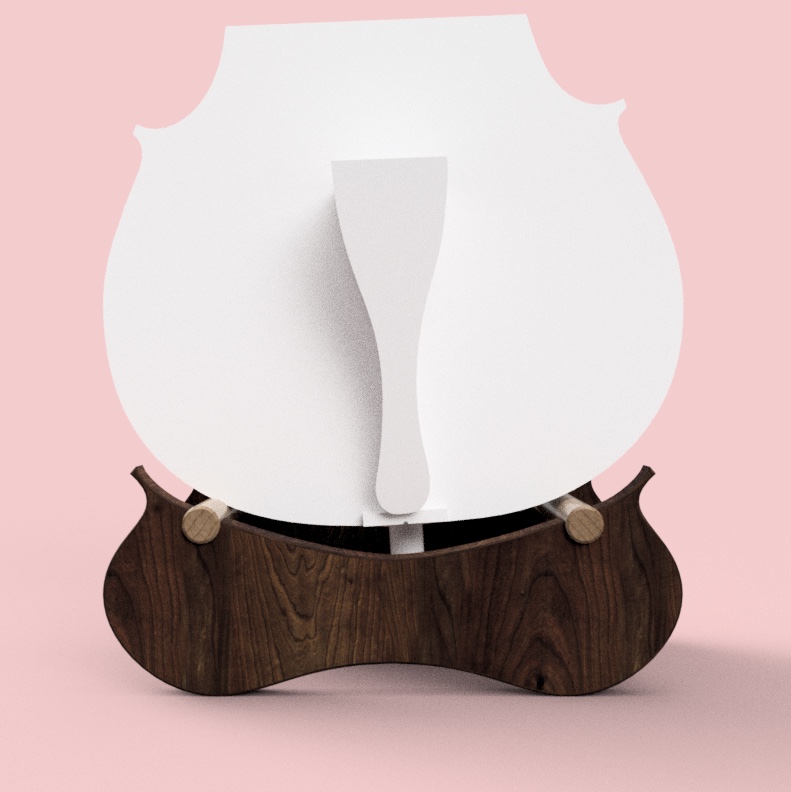
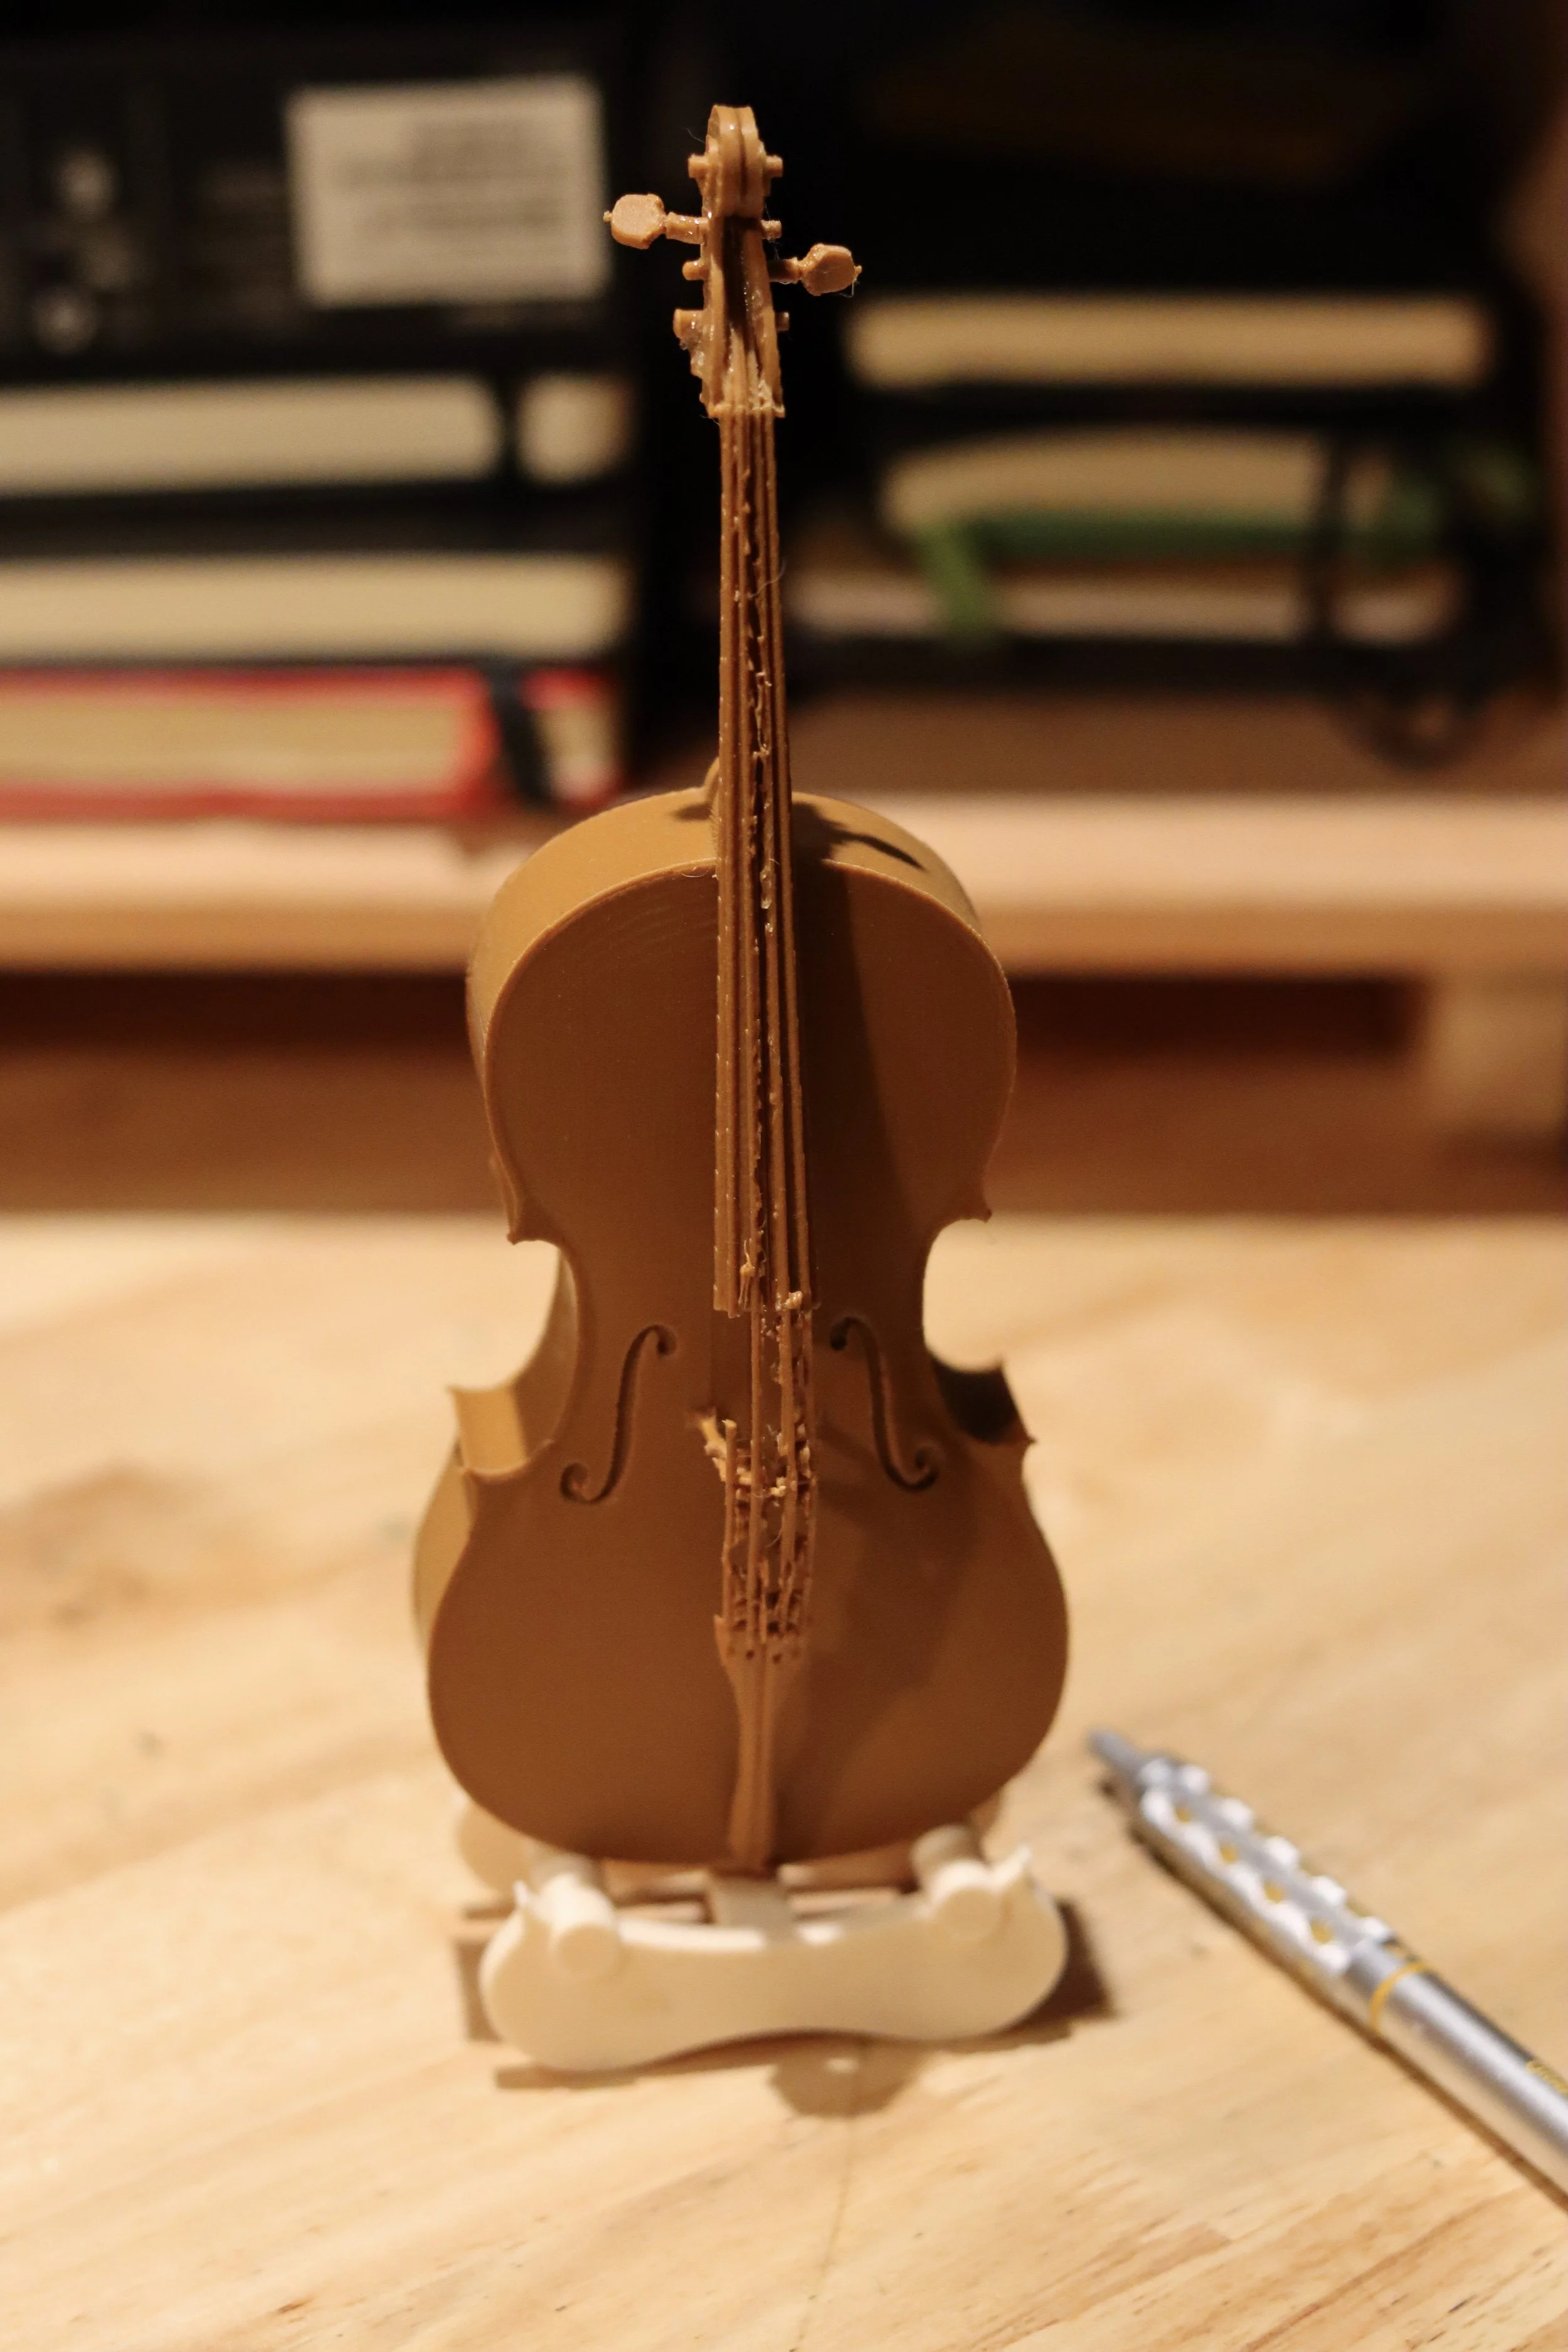
Three concepts. Not sketches — fully modeled in Fusion 360, rendered from every angle, engineered to build.
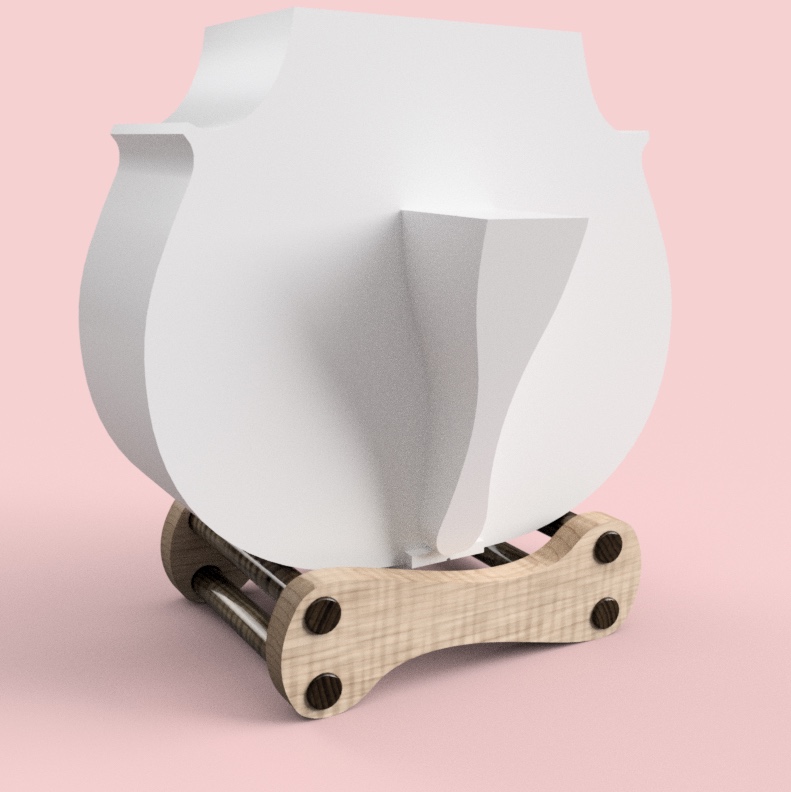
The Owl
Two curved walnut panels connected by maple dowels. The silhouette reads like an owl — organic curves that echo the bass’s own body.
The Asymmetrical SELECTED
A figure-8 profile with offset lobes. The asymmetry creates visual tension — dynamic, alive. Like the bass is being cradled, not just held.
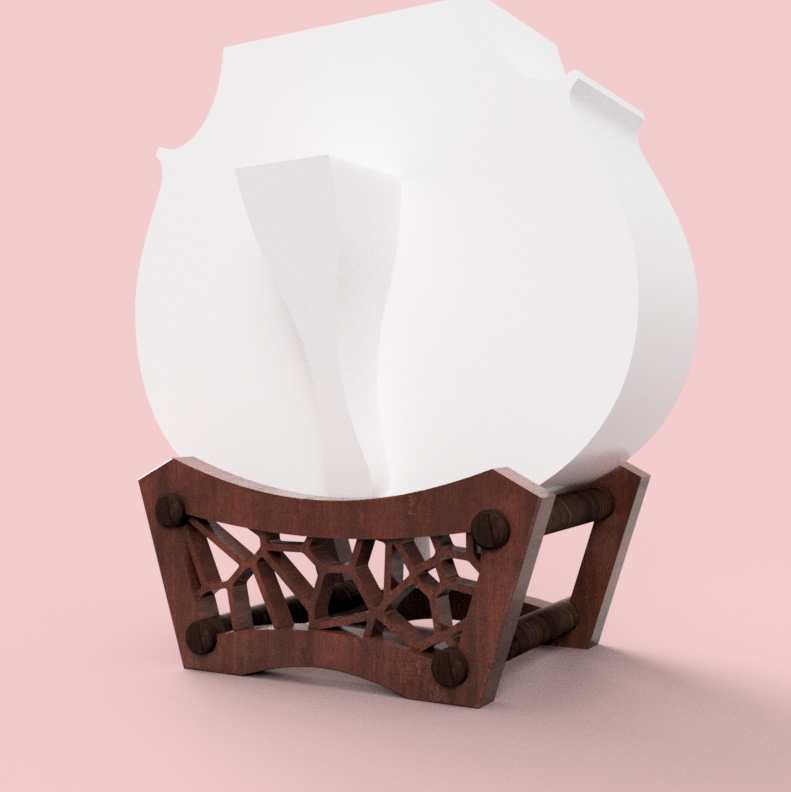
The Voronoi
Organic cell pattern cut through the side panels. The negative space is structural — engineering that happens to be art.
All three share the same DNA: endpin pocket, wood-to-wood joinery, low center of gravity, and 3D-printed contact points in matte black.
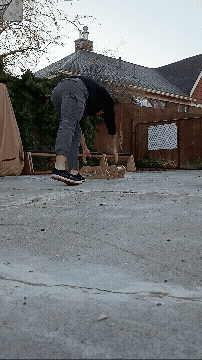
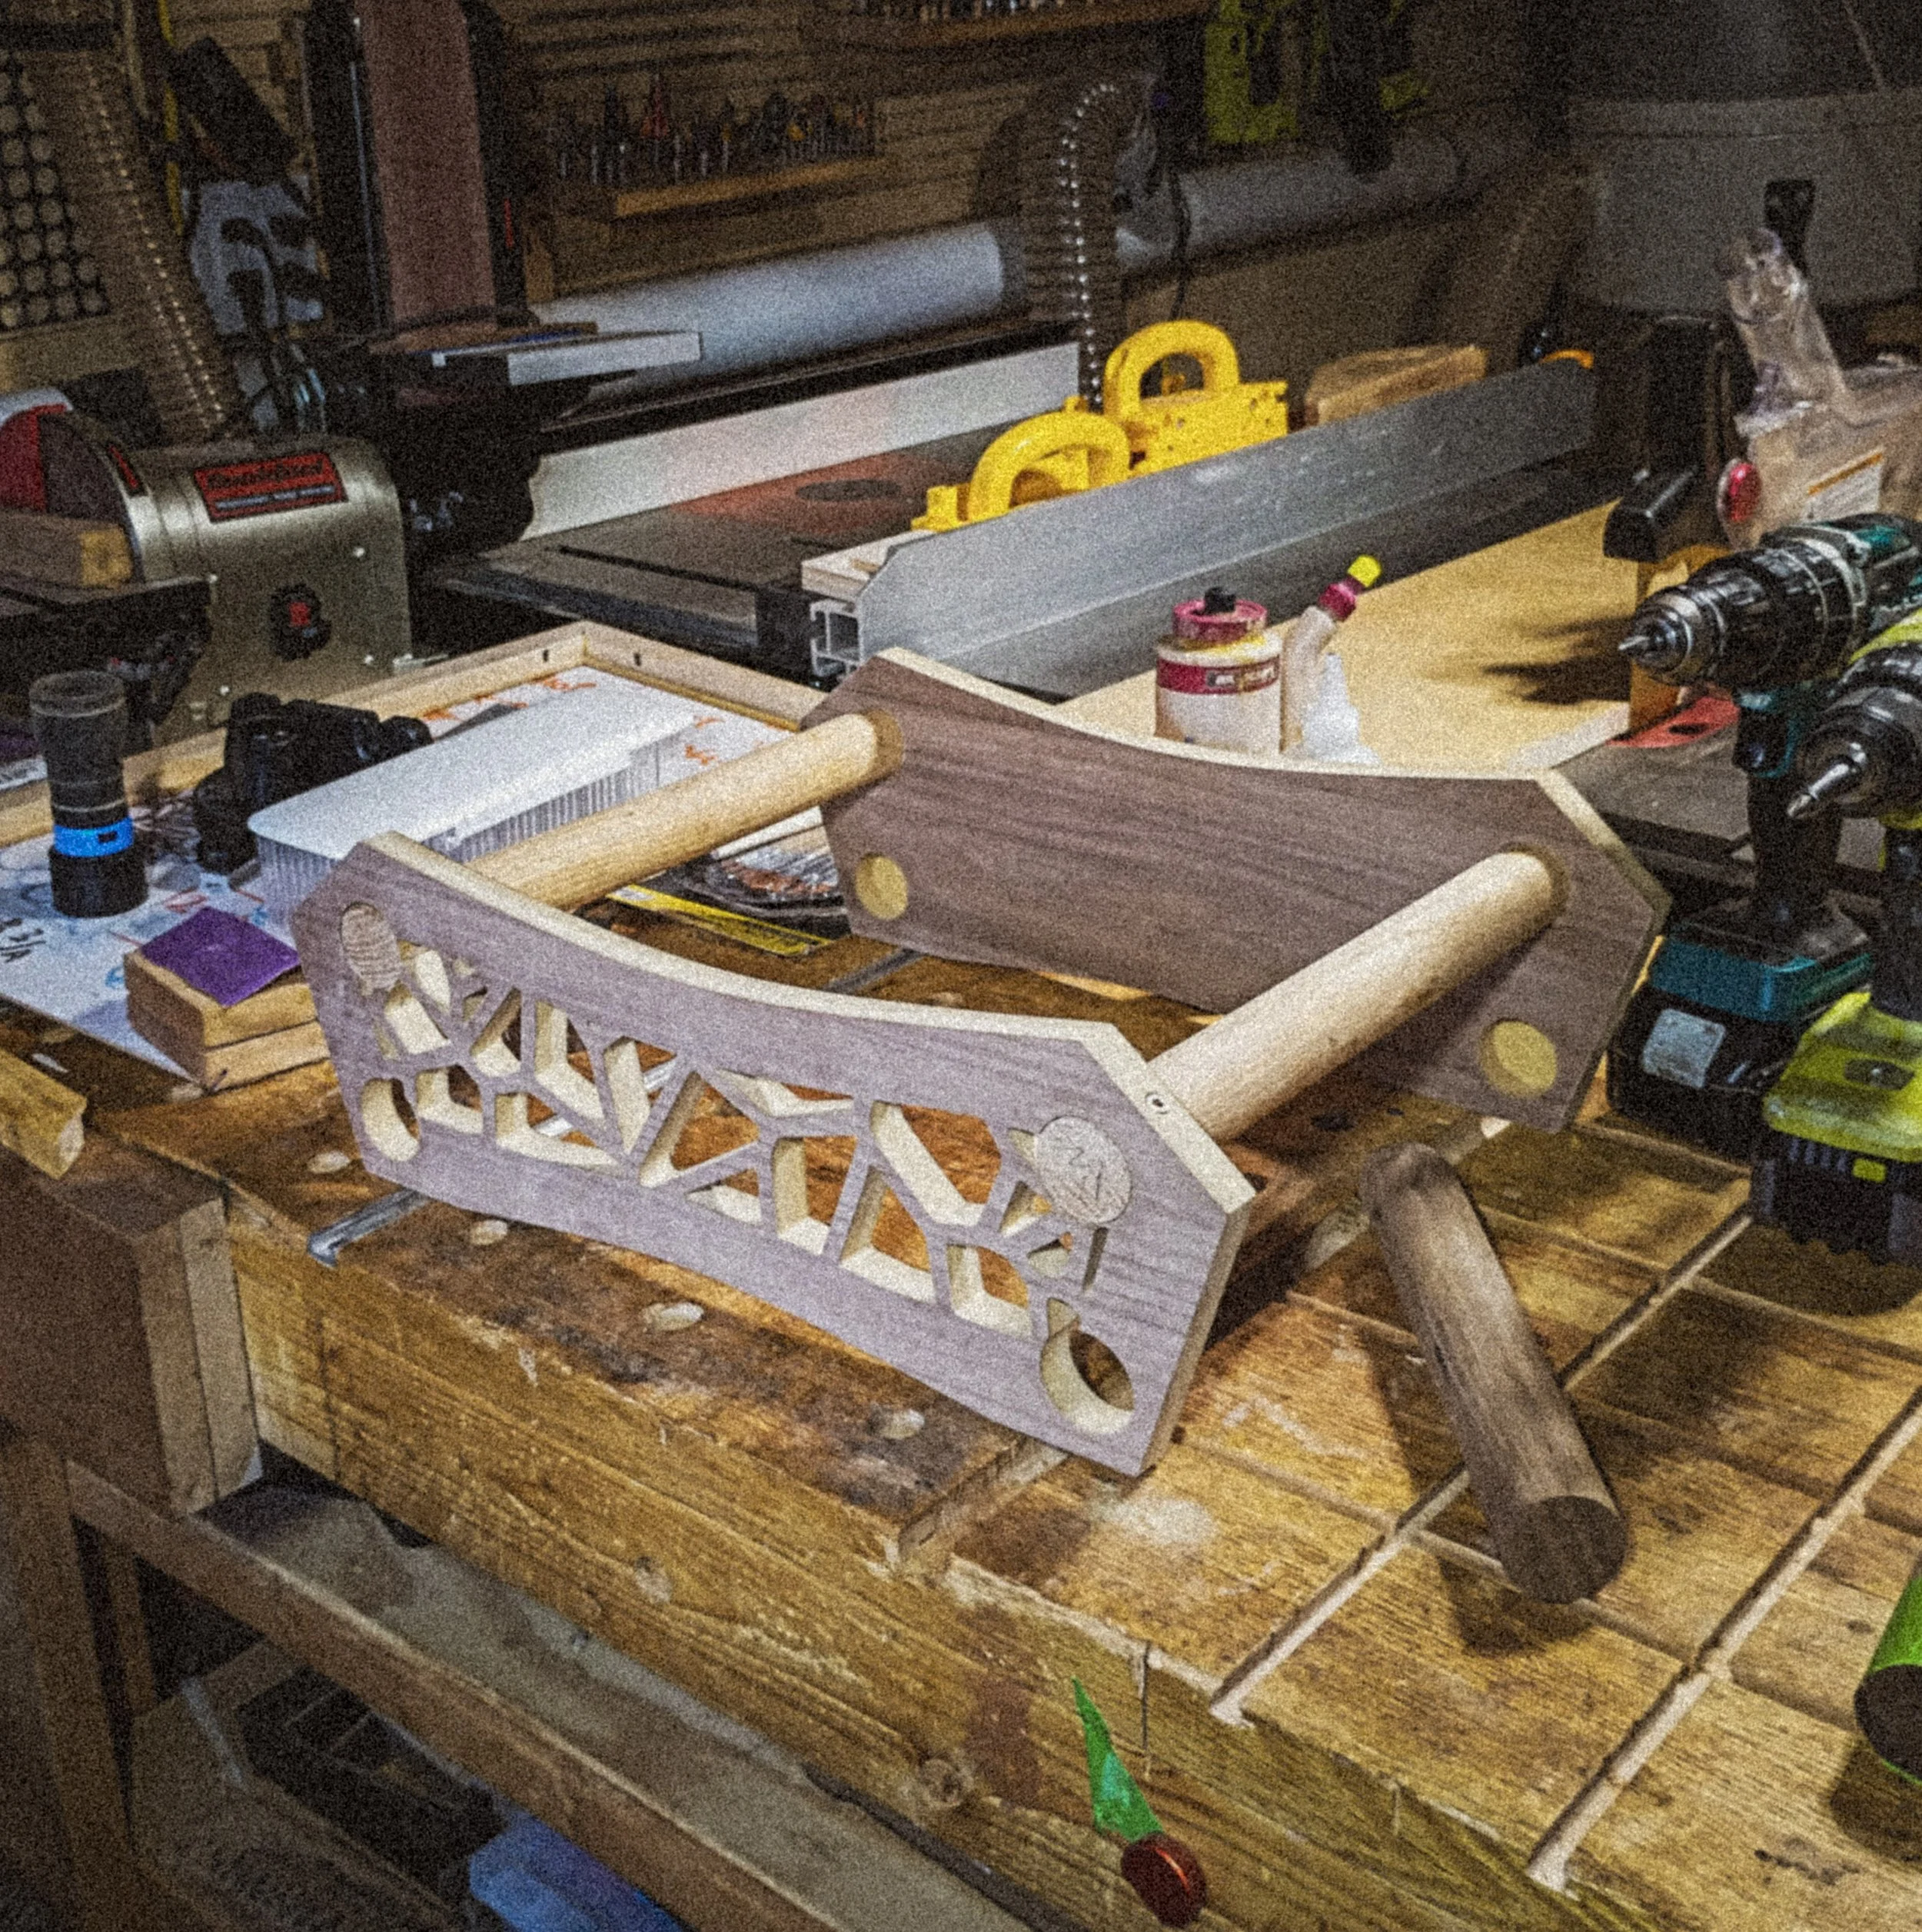
We started with the Voronoi — the most complex, most material-removed version — to test strength. How do you test strength? By doing handstands on it.
Plywood base panels, oak dowels, the full Voronoi pattern CNC’d into the sides. If this version could hold a full workout upside down, the other two designs were guaranteed.
Then a second test: a scaled 3D-printed model for vibration and earthquake simulation. Both passed.
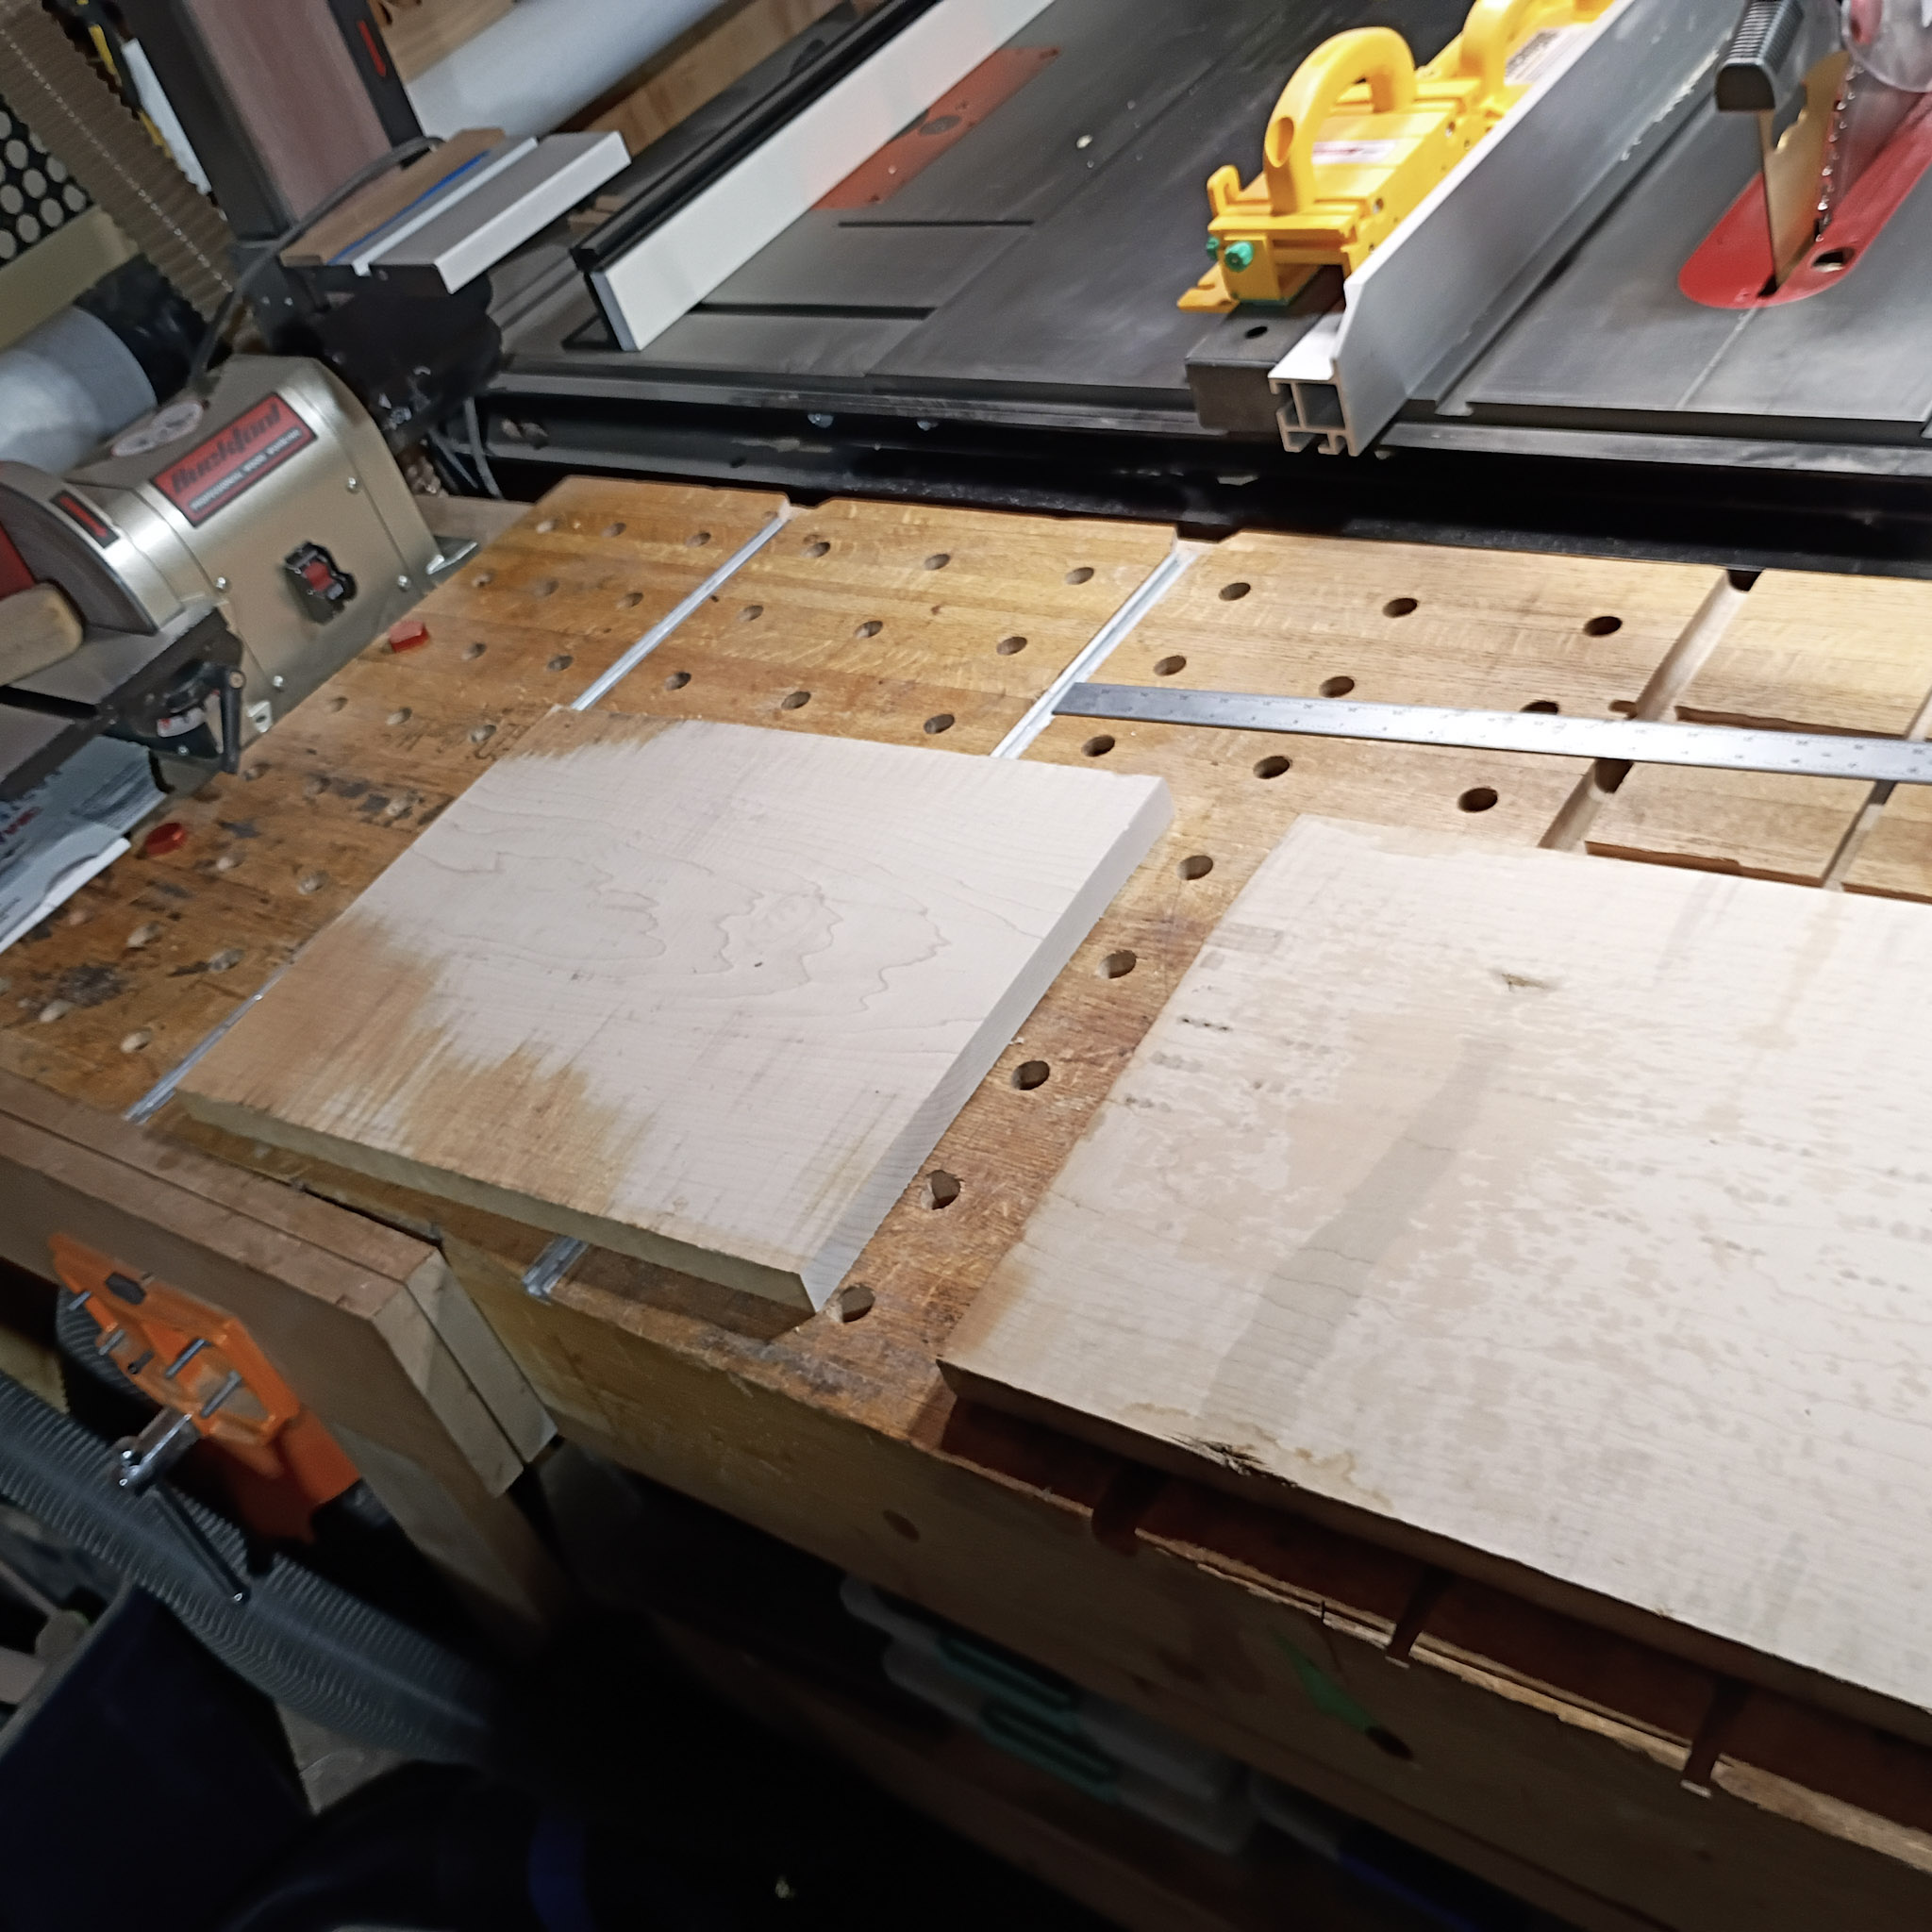
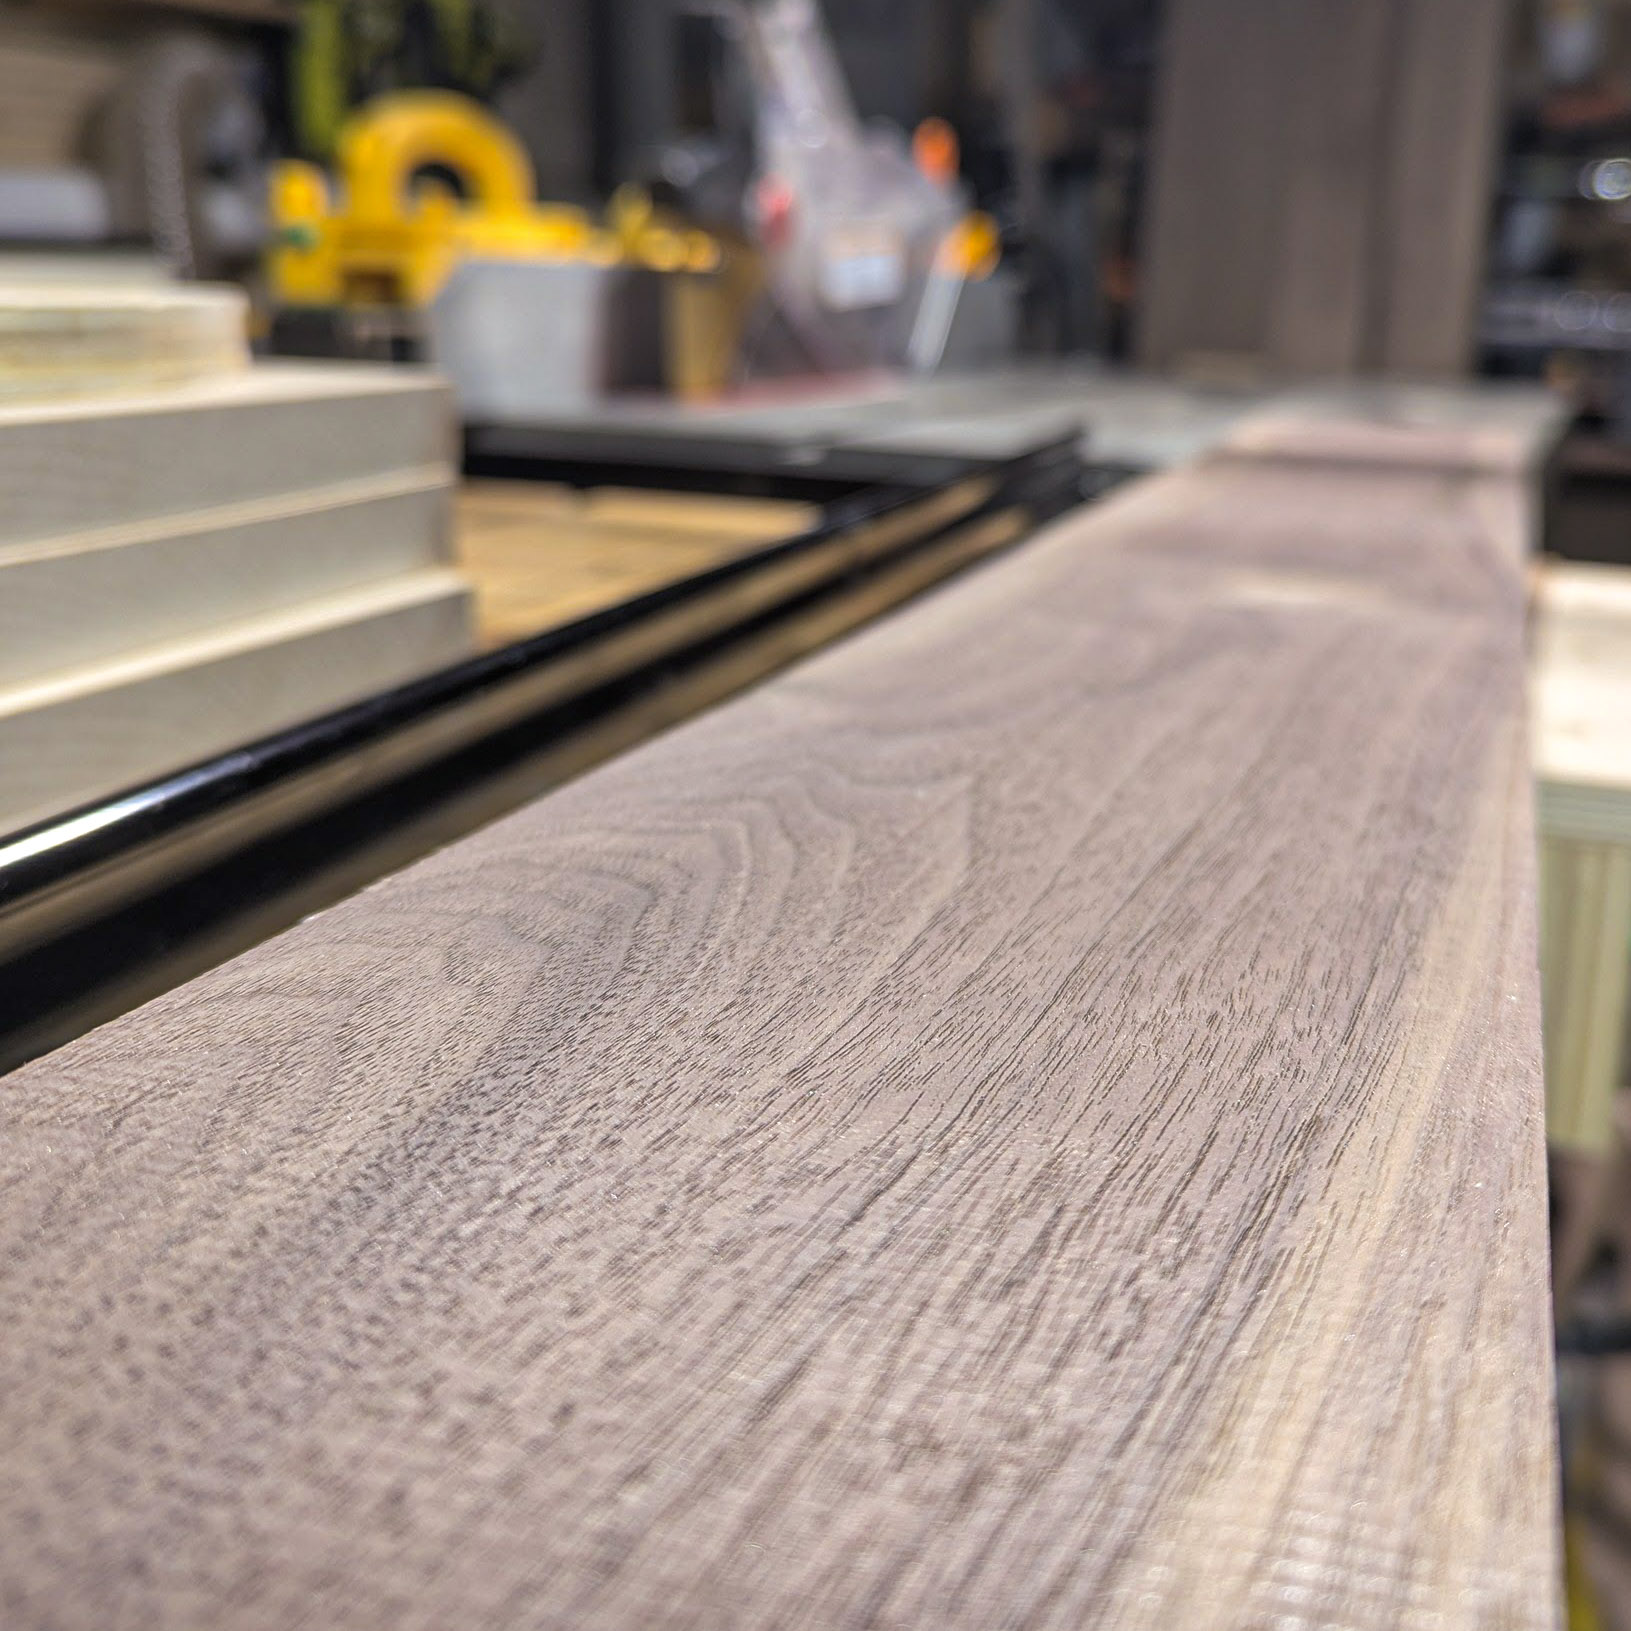
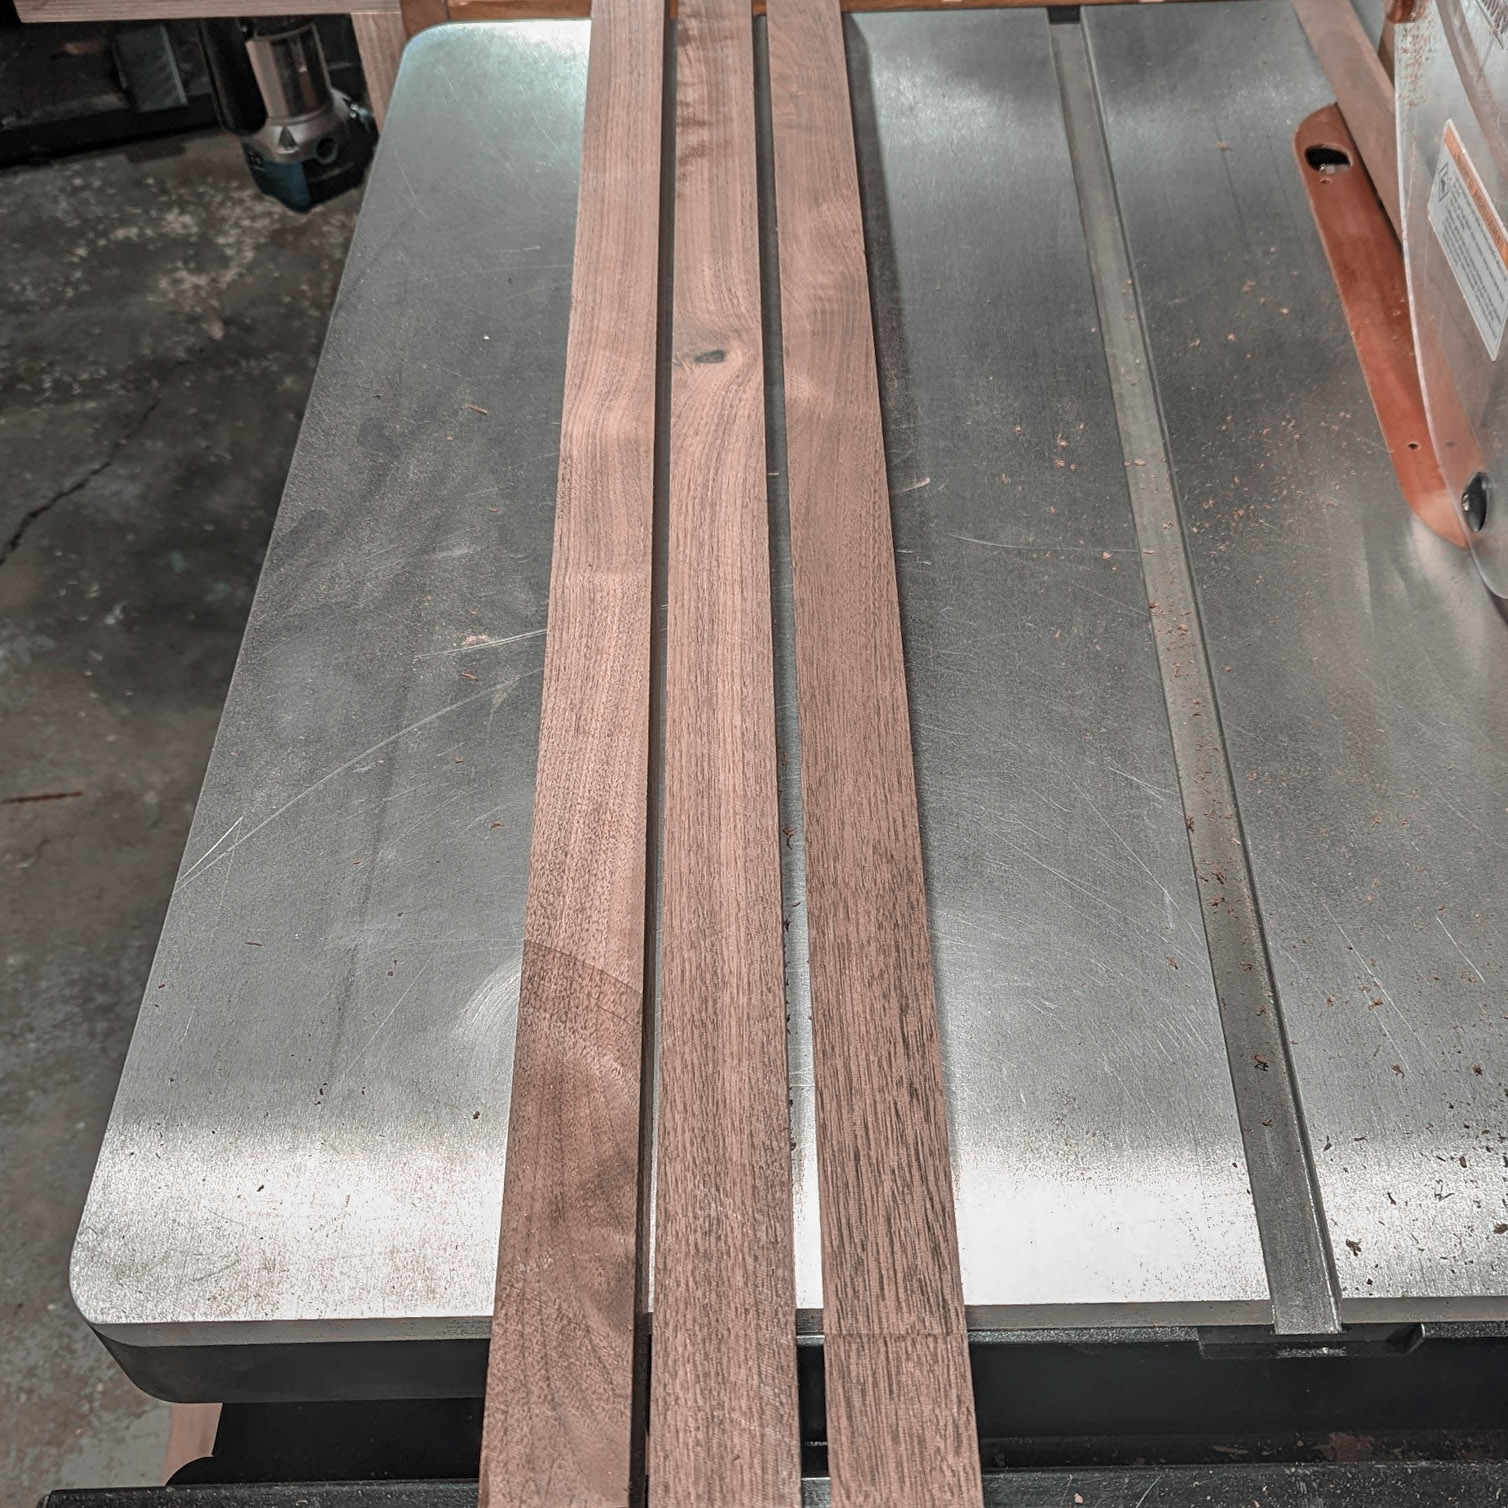
It starts with two pieces of raw maple.
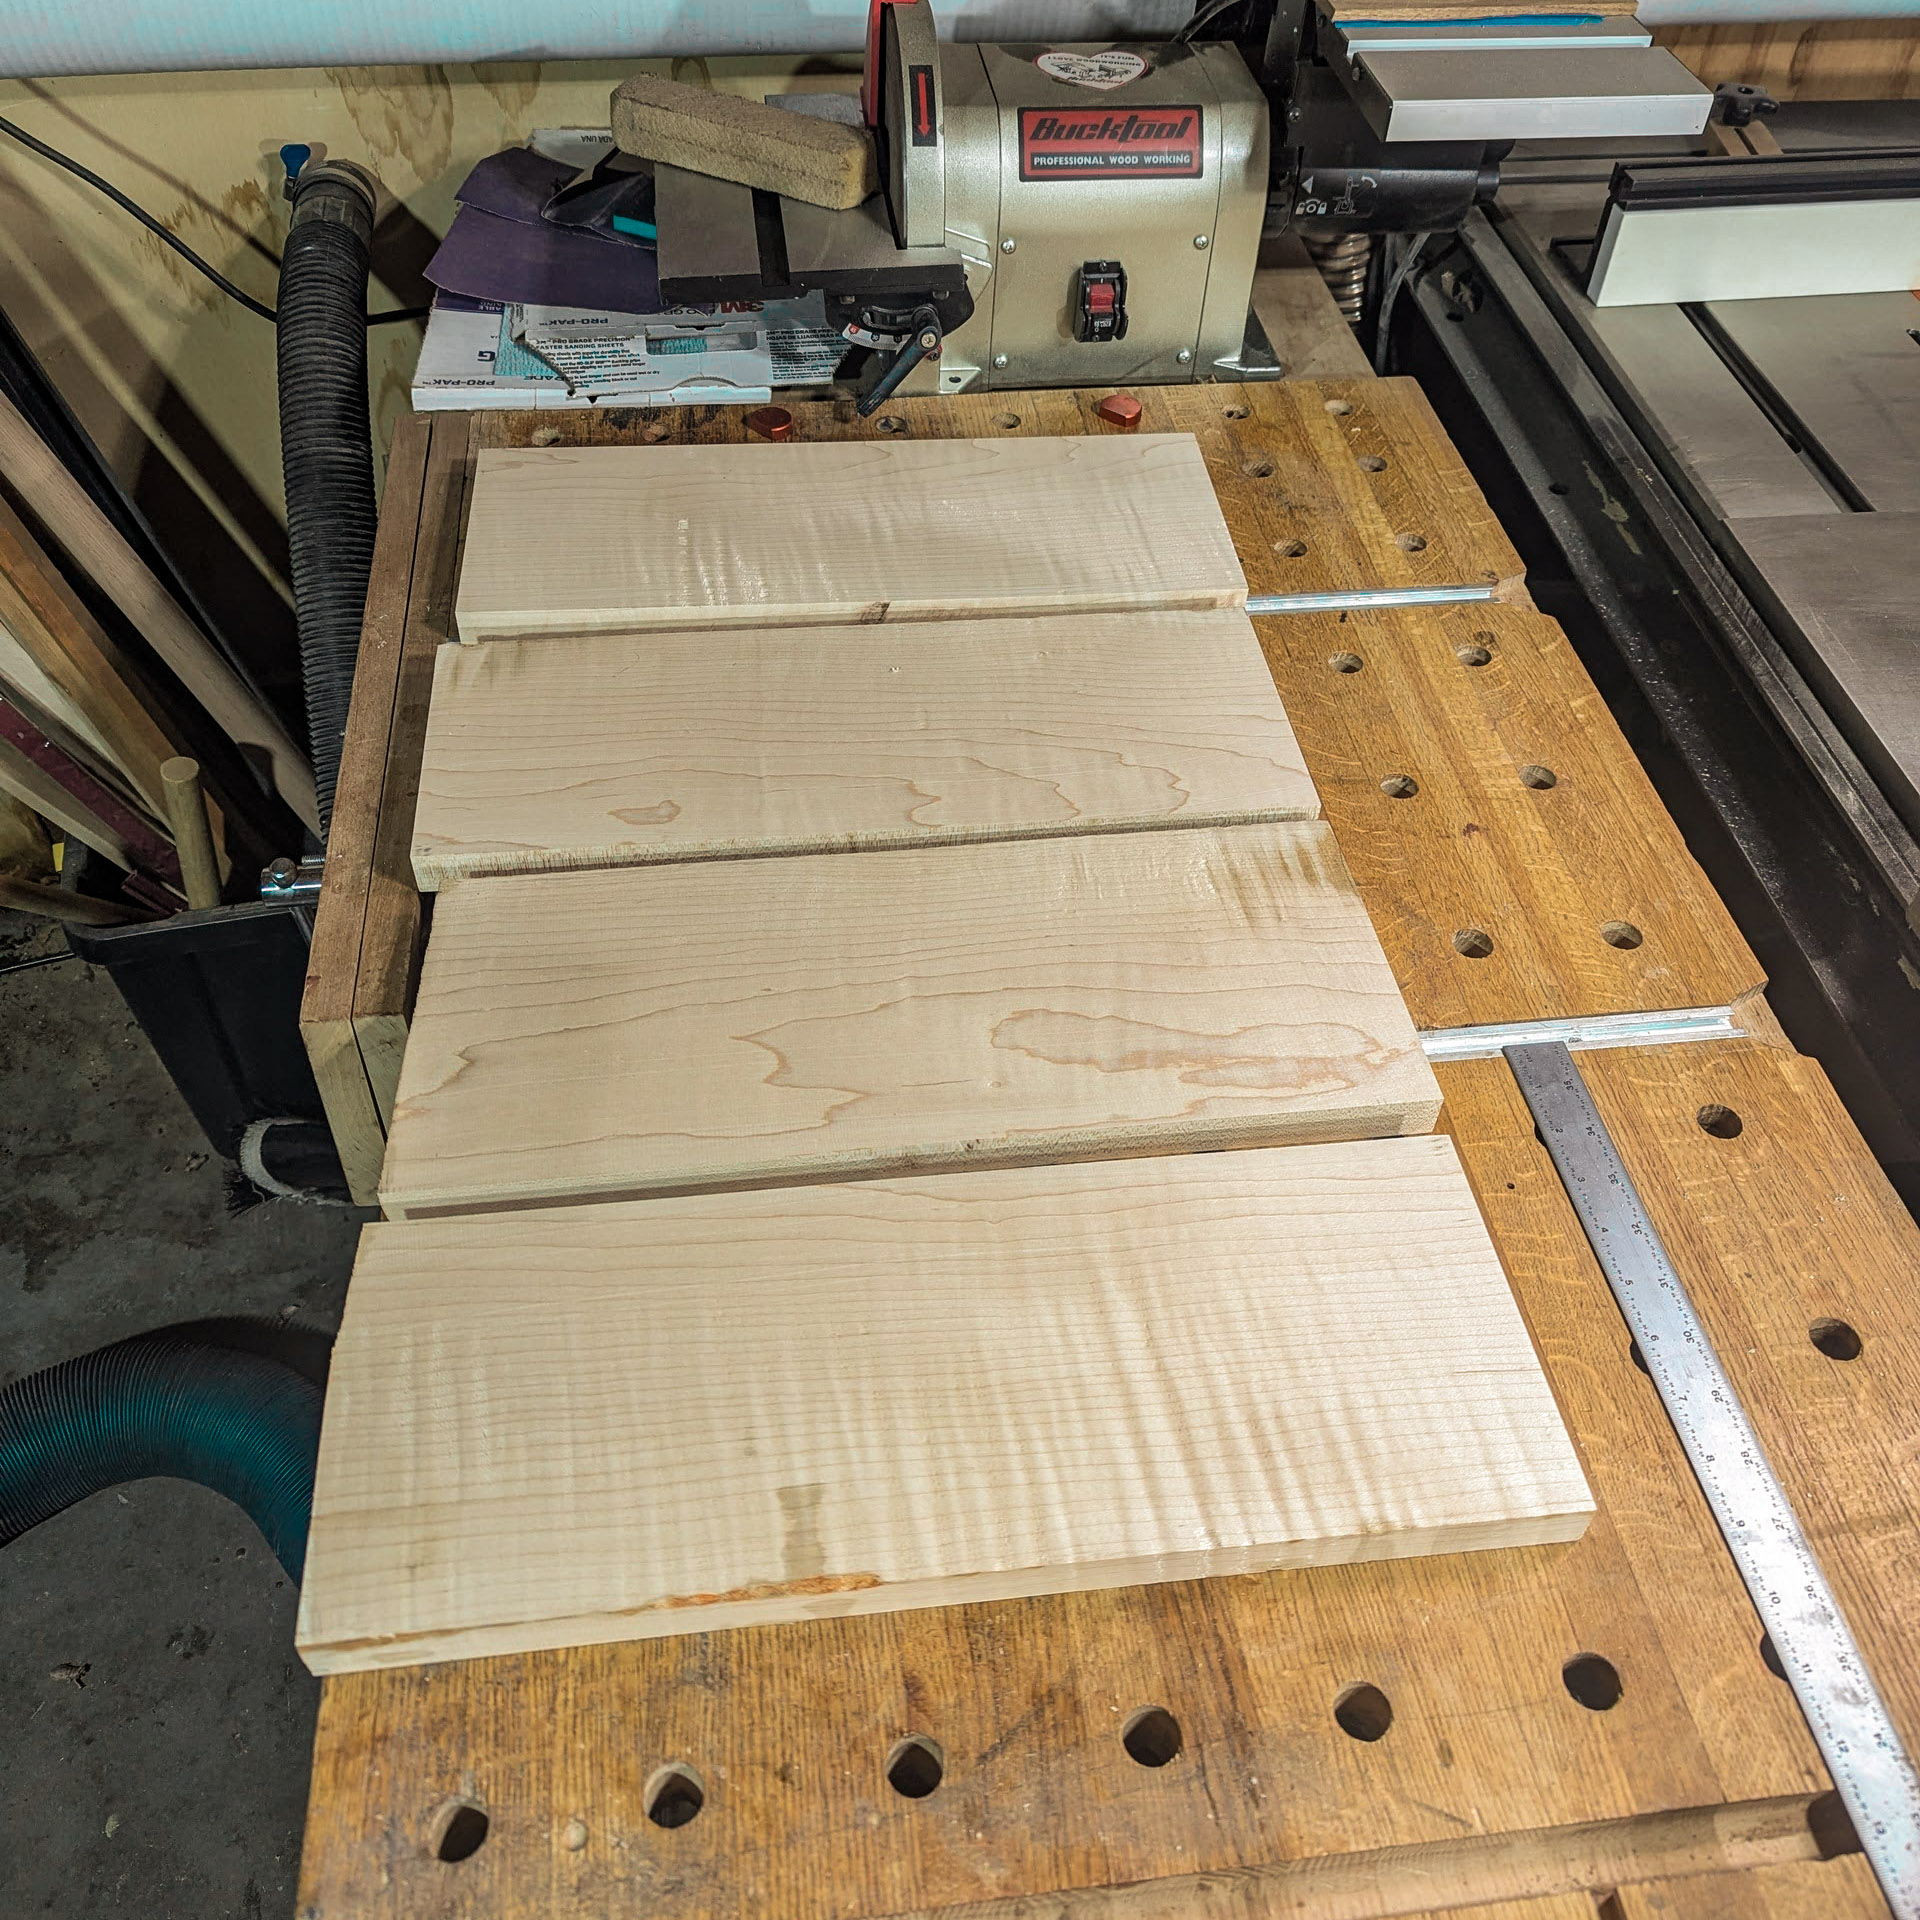
You cut them into four. Plane them. Sand them. Run them through until the curl shows up and they’re dead flat. Then you square them — every edge true, every corner 90°. Then you set them on risers, and you wait. Let the wood breathe. Let the moisture equalize.
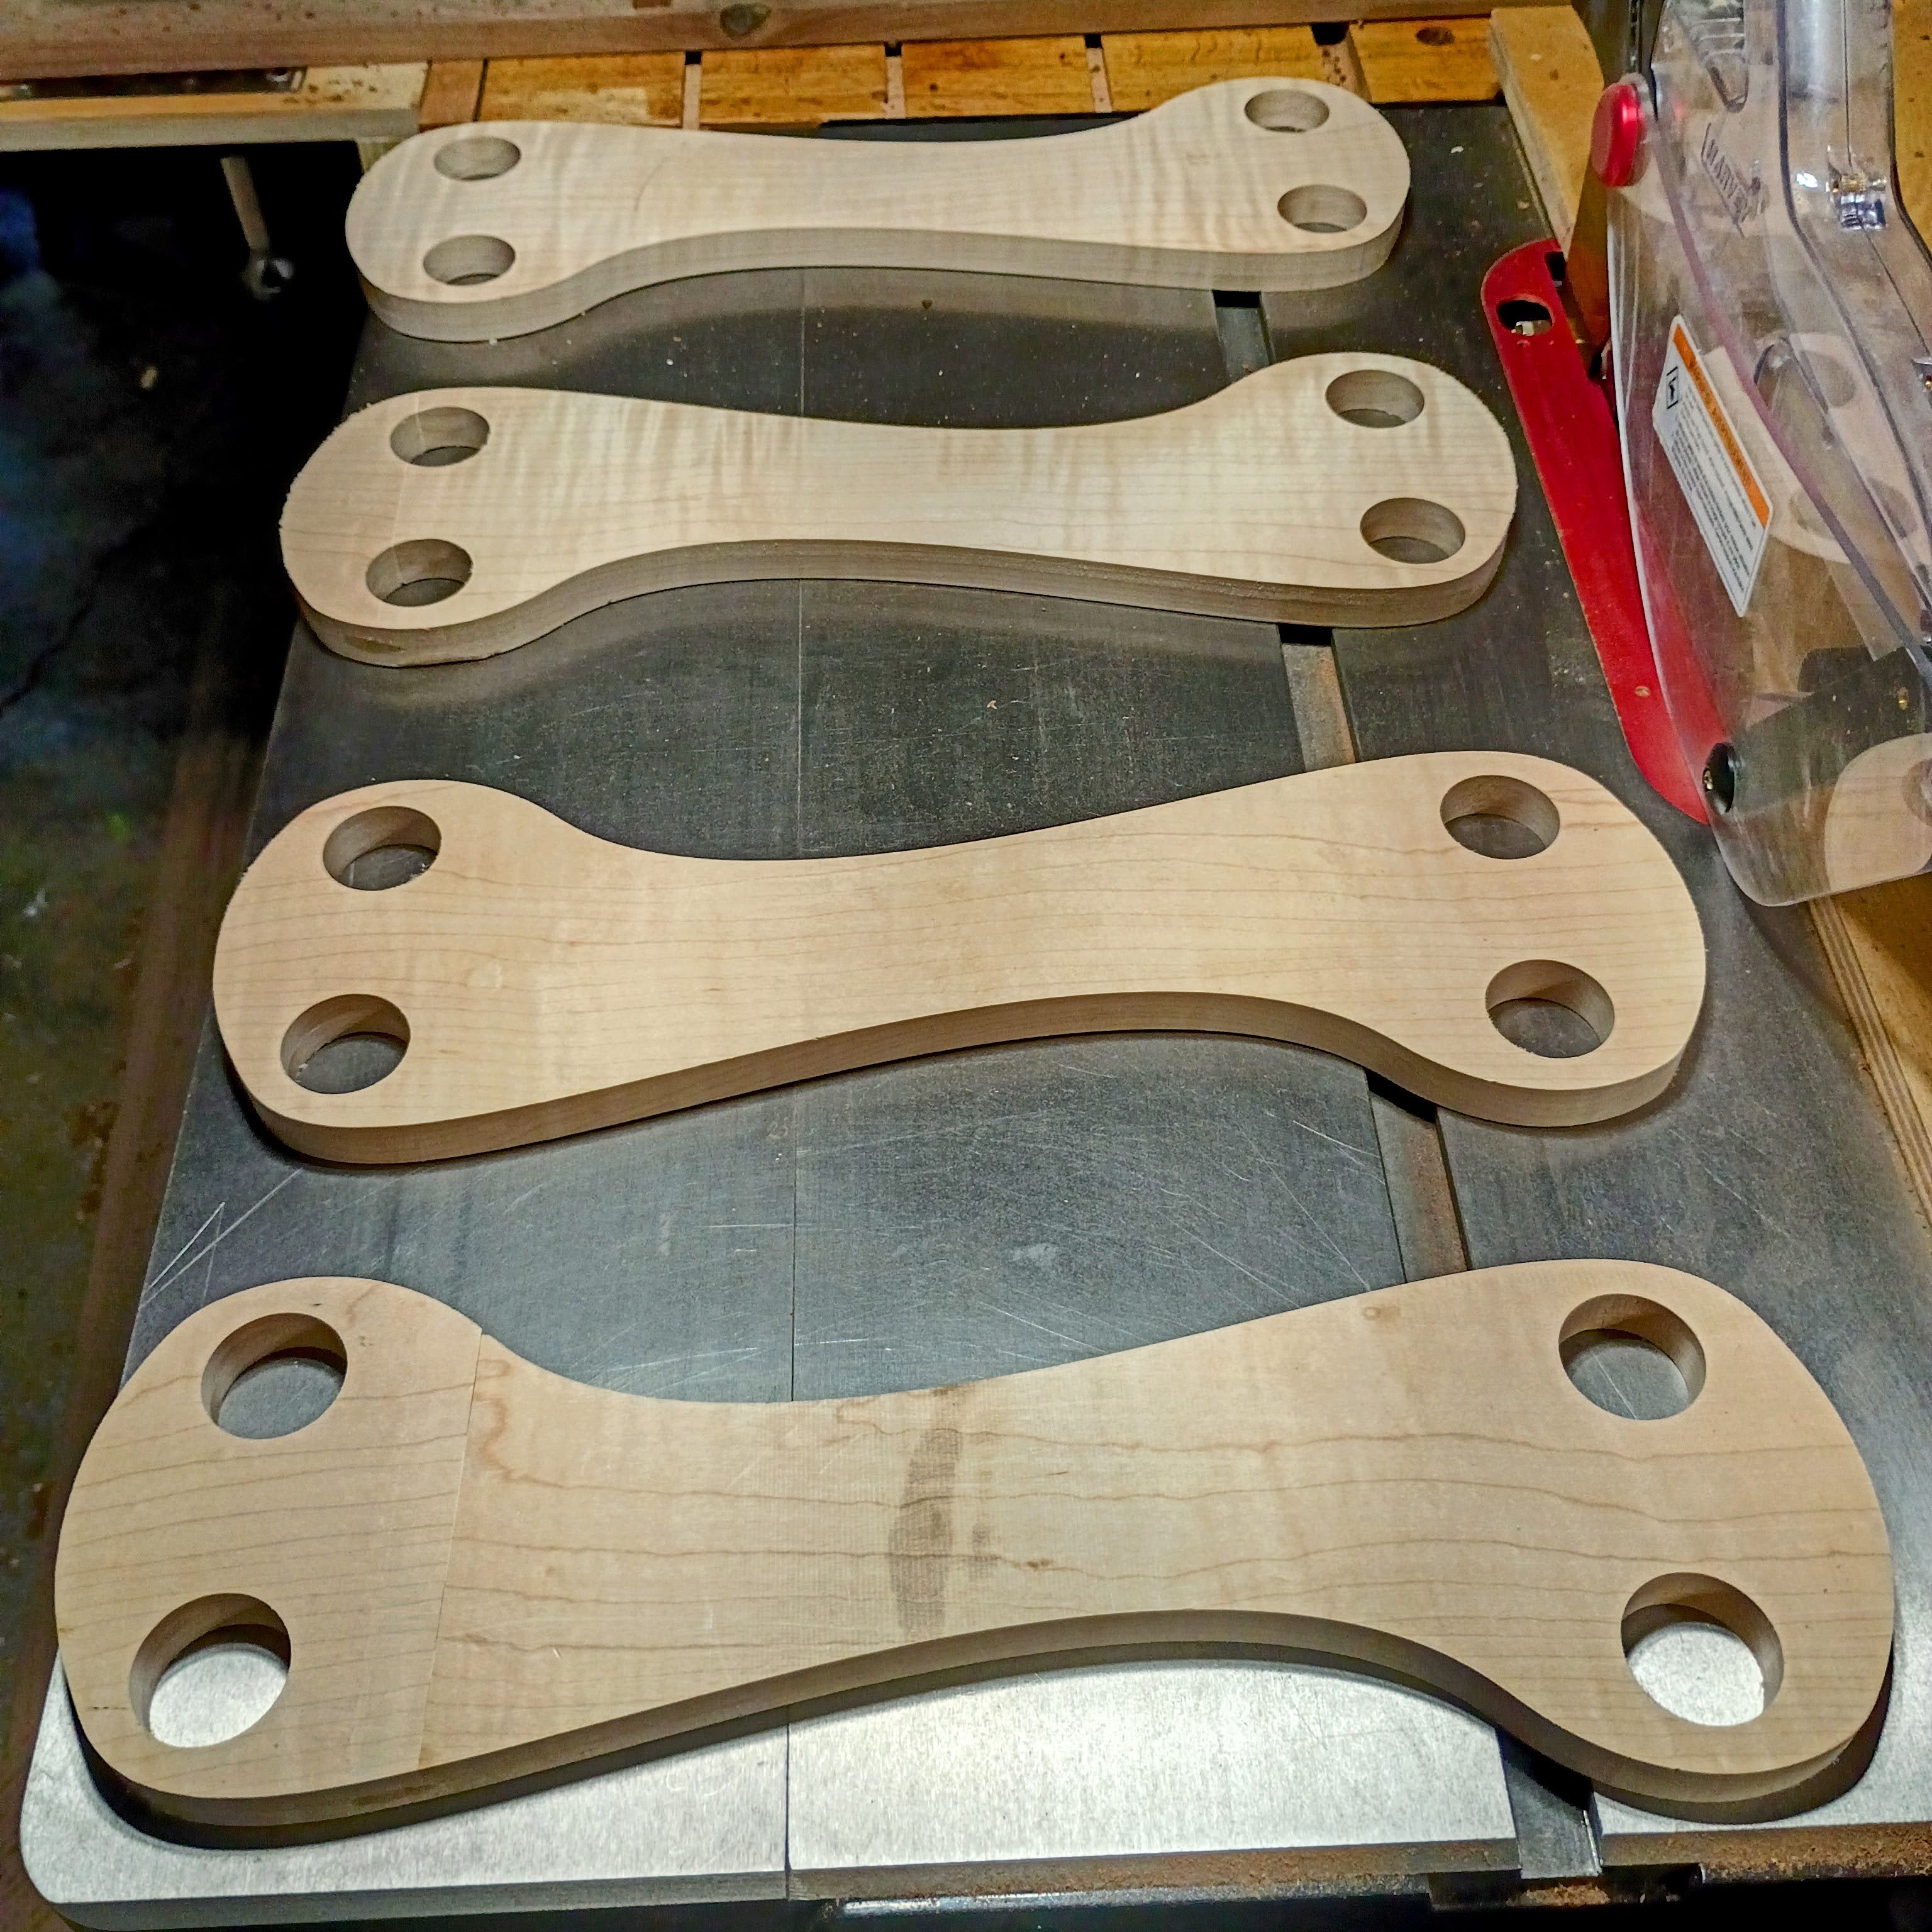
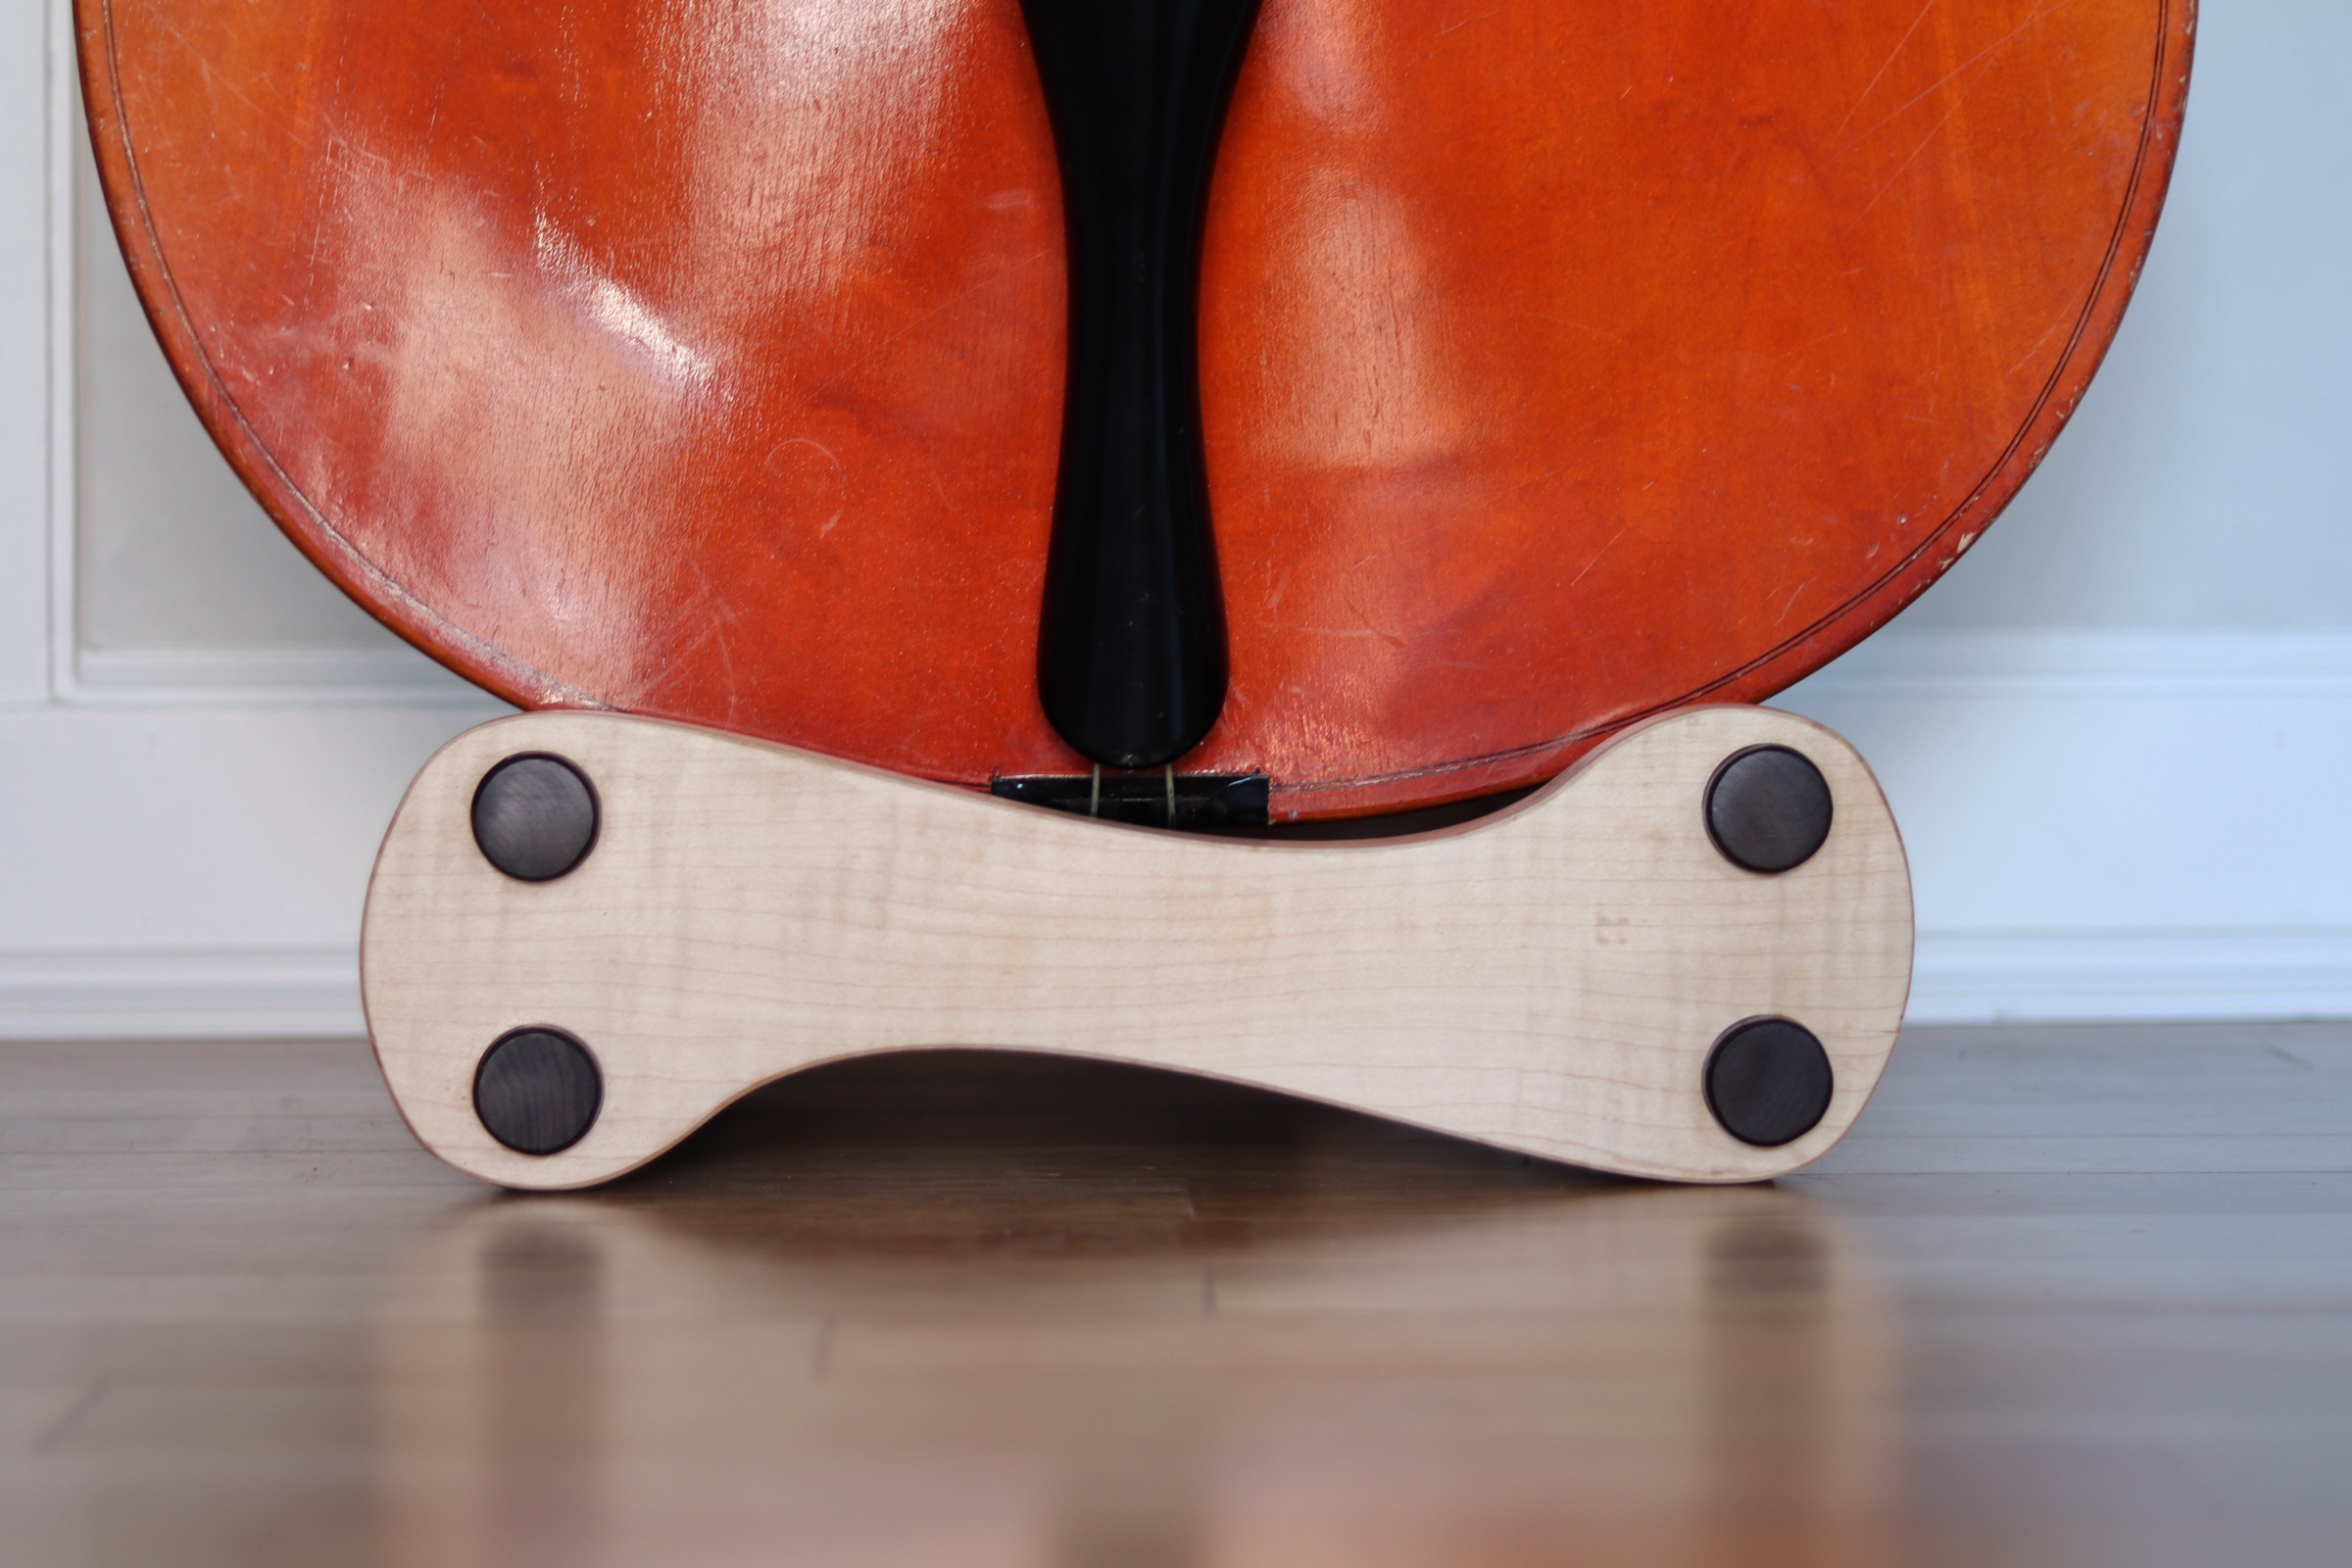
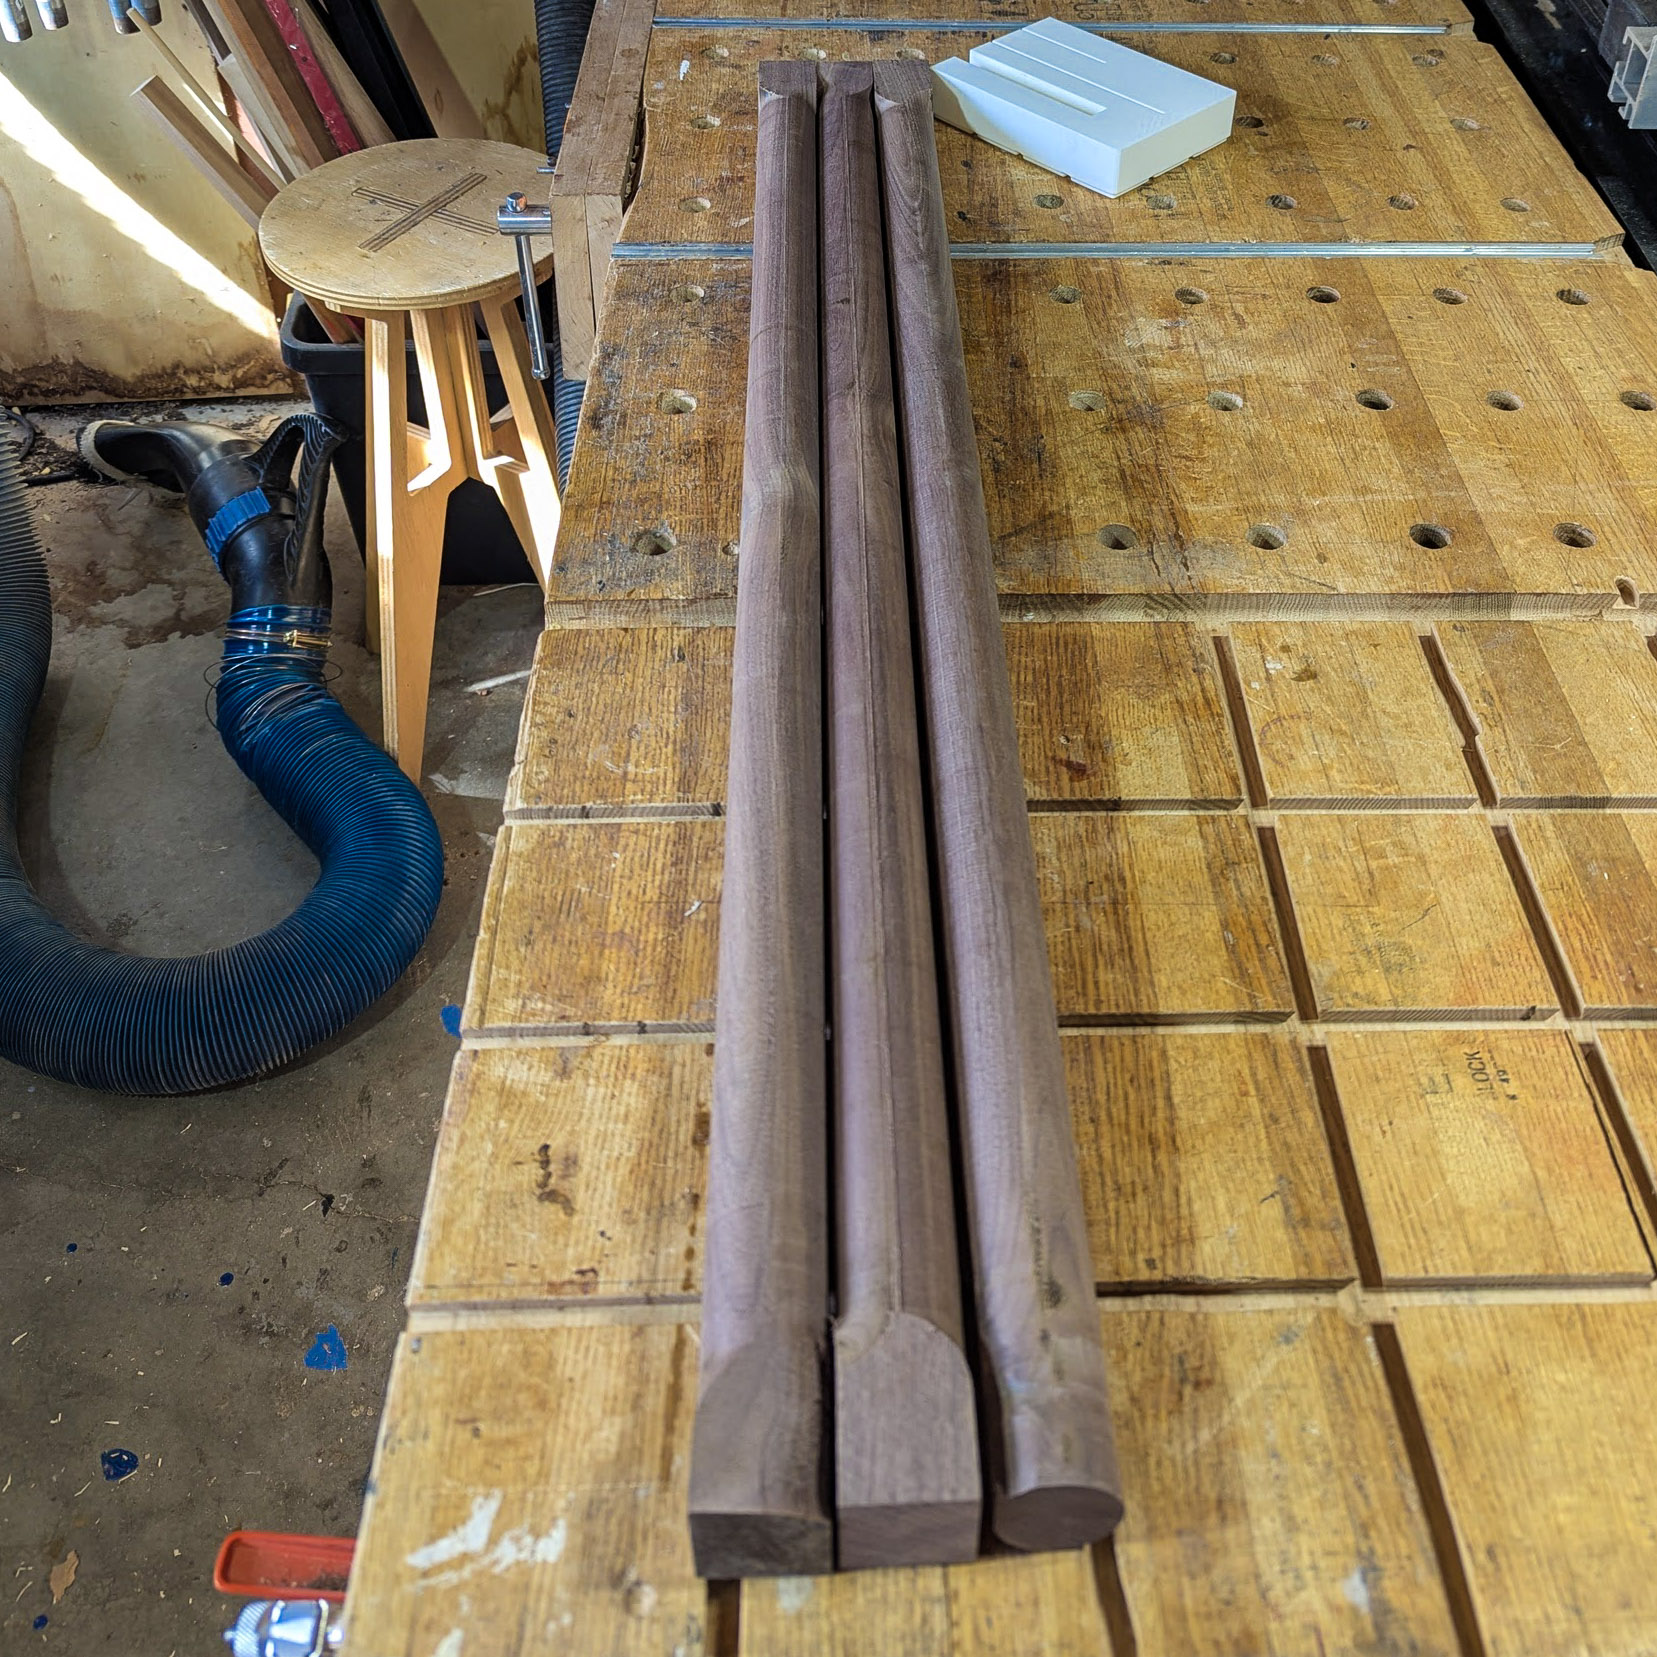
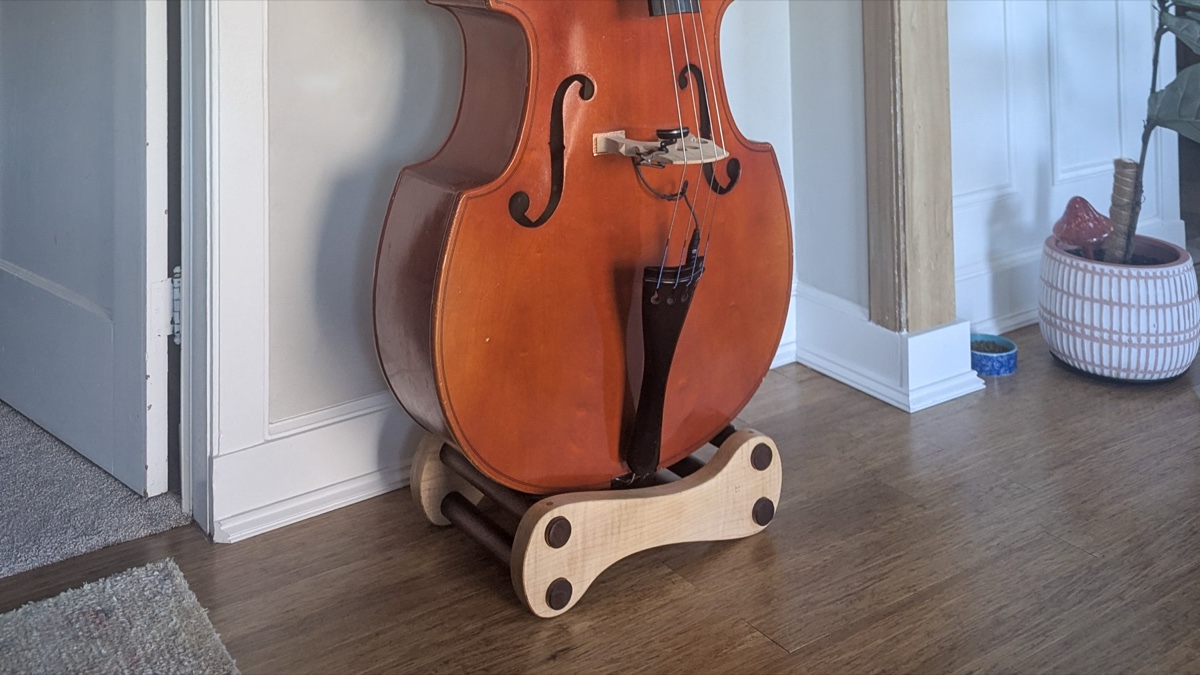
The panels are walnut — 38mm thick, CNC-cut to the Asymmetrical profile. The figure-8 silhouette with its offset lobes. Maple dowels at 38mm diameter connect the panels, their end-grain showing as perfect circles on the side faces.
That’s how a bass stand starts.
The 3D-printed cradle points in matte black PETG — strong enough to handle the instrument, soft enough not to mark it.
Every joint is wood-to-wood. No hardware visible. The stand should look like it grew that way.
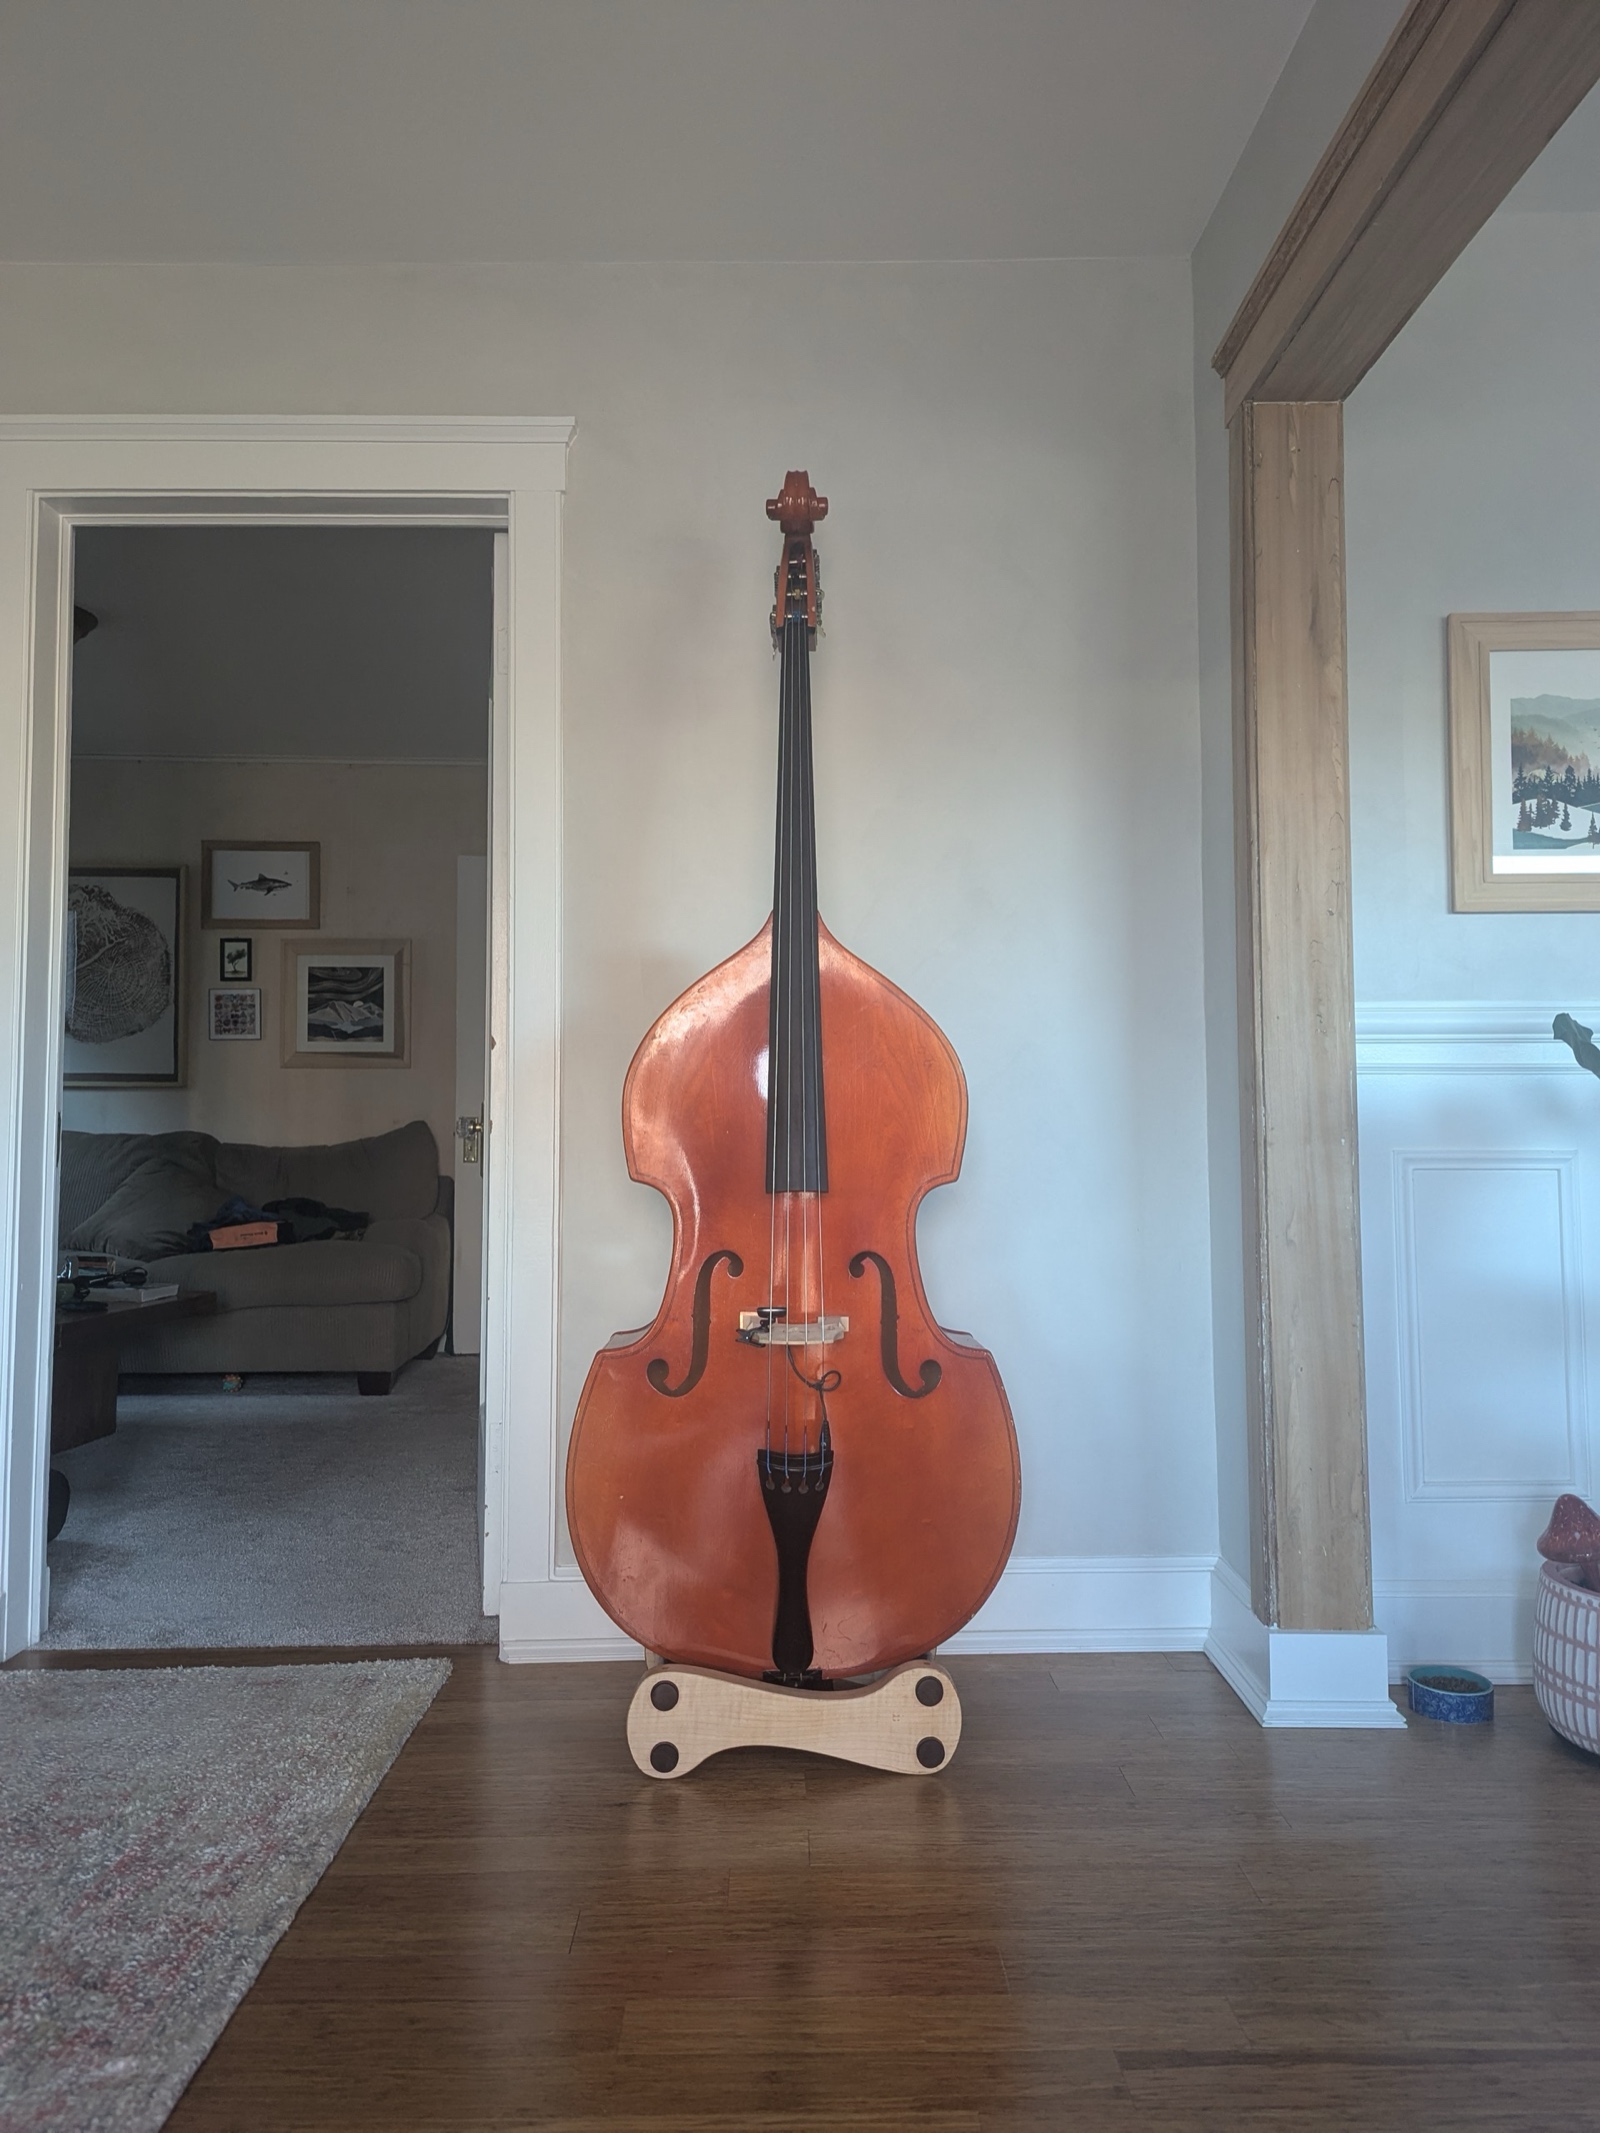

The bass is home. Standing tall on maple and walnut, the bow-tie cradle holds the instrument exactly the way it was designed to — present, proud, part of the room. Not a piece of gear tucked in a corner. A statement.
It’s not just a stand. It’s a bow tie.
Labore et Constantia.
Materials
Walnut, Maple, PETG
Joinery
Wood-to-wood, no visible hardware
Client
Ben LaRiviere
Status
Build Complete
