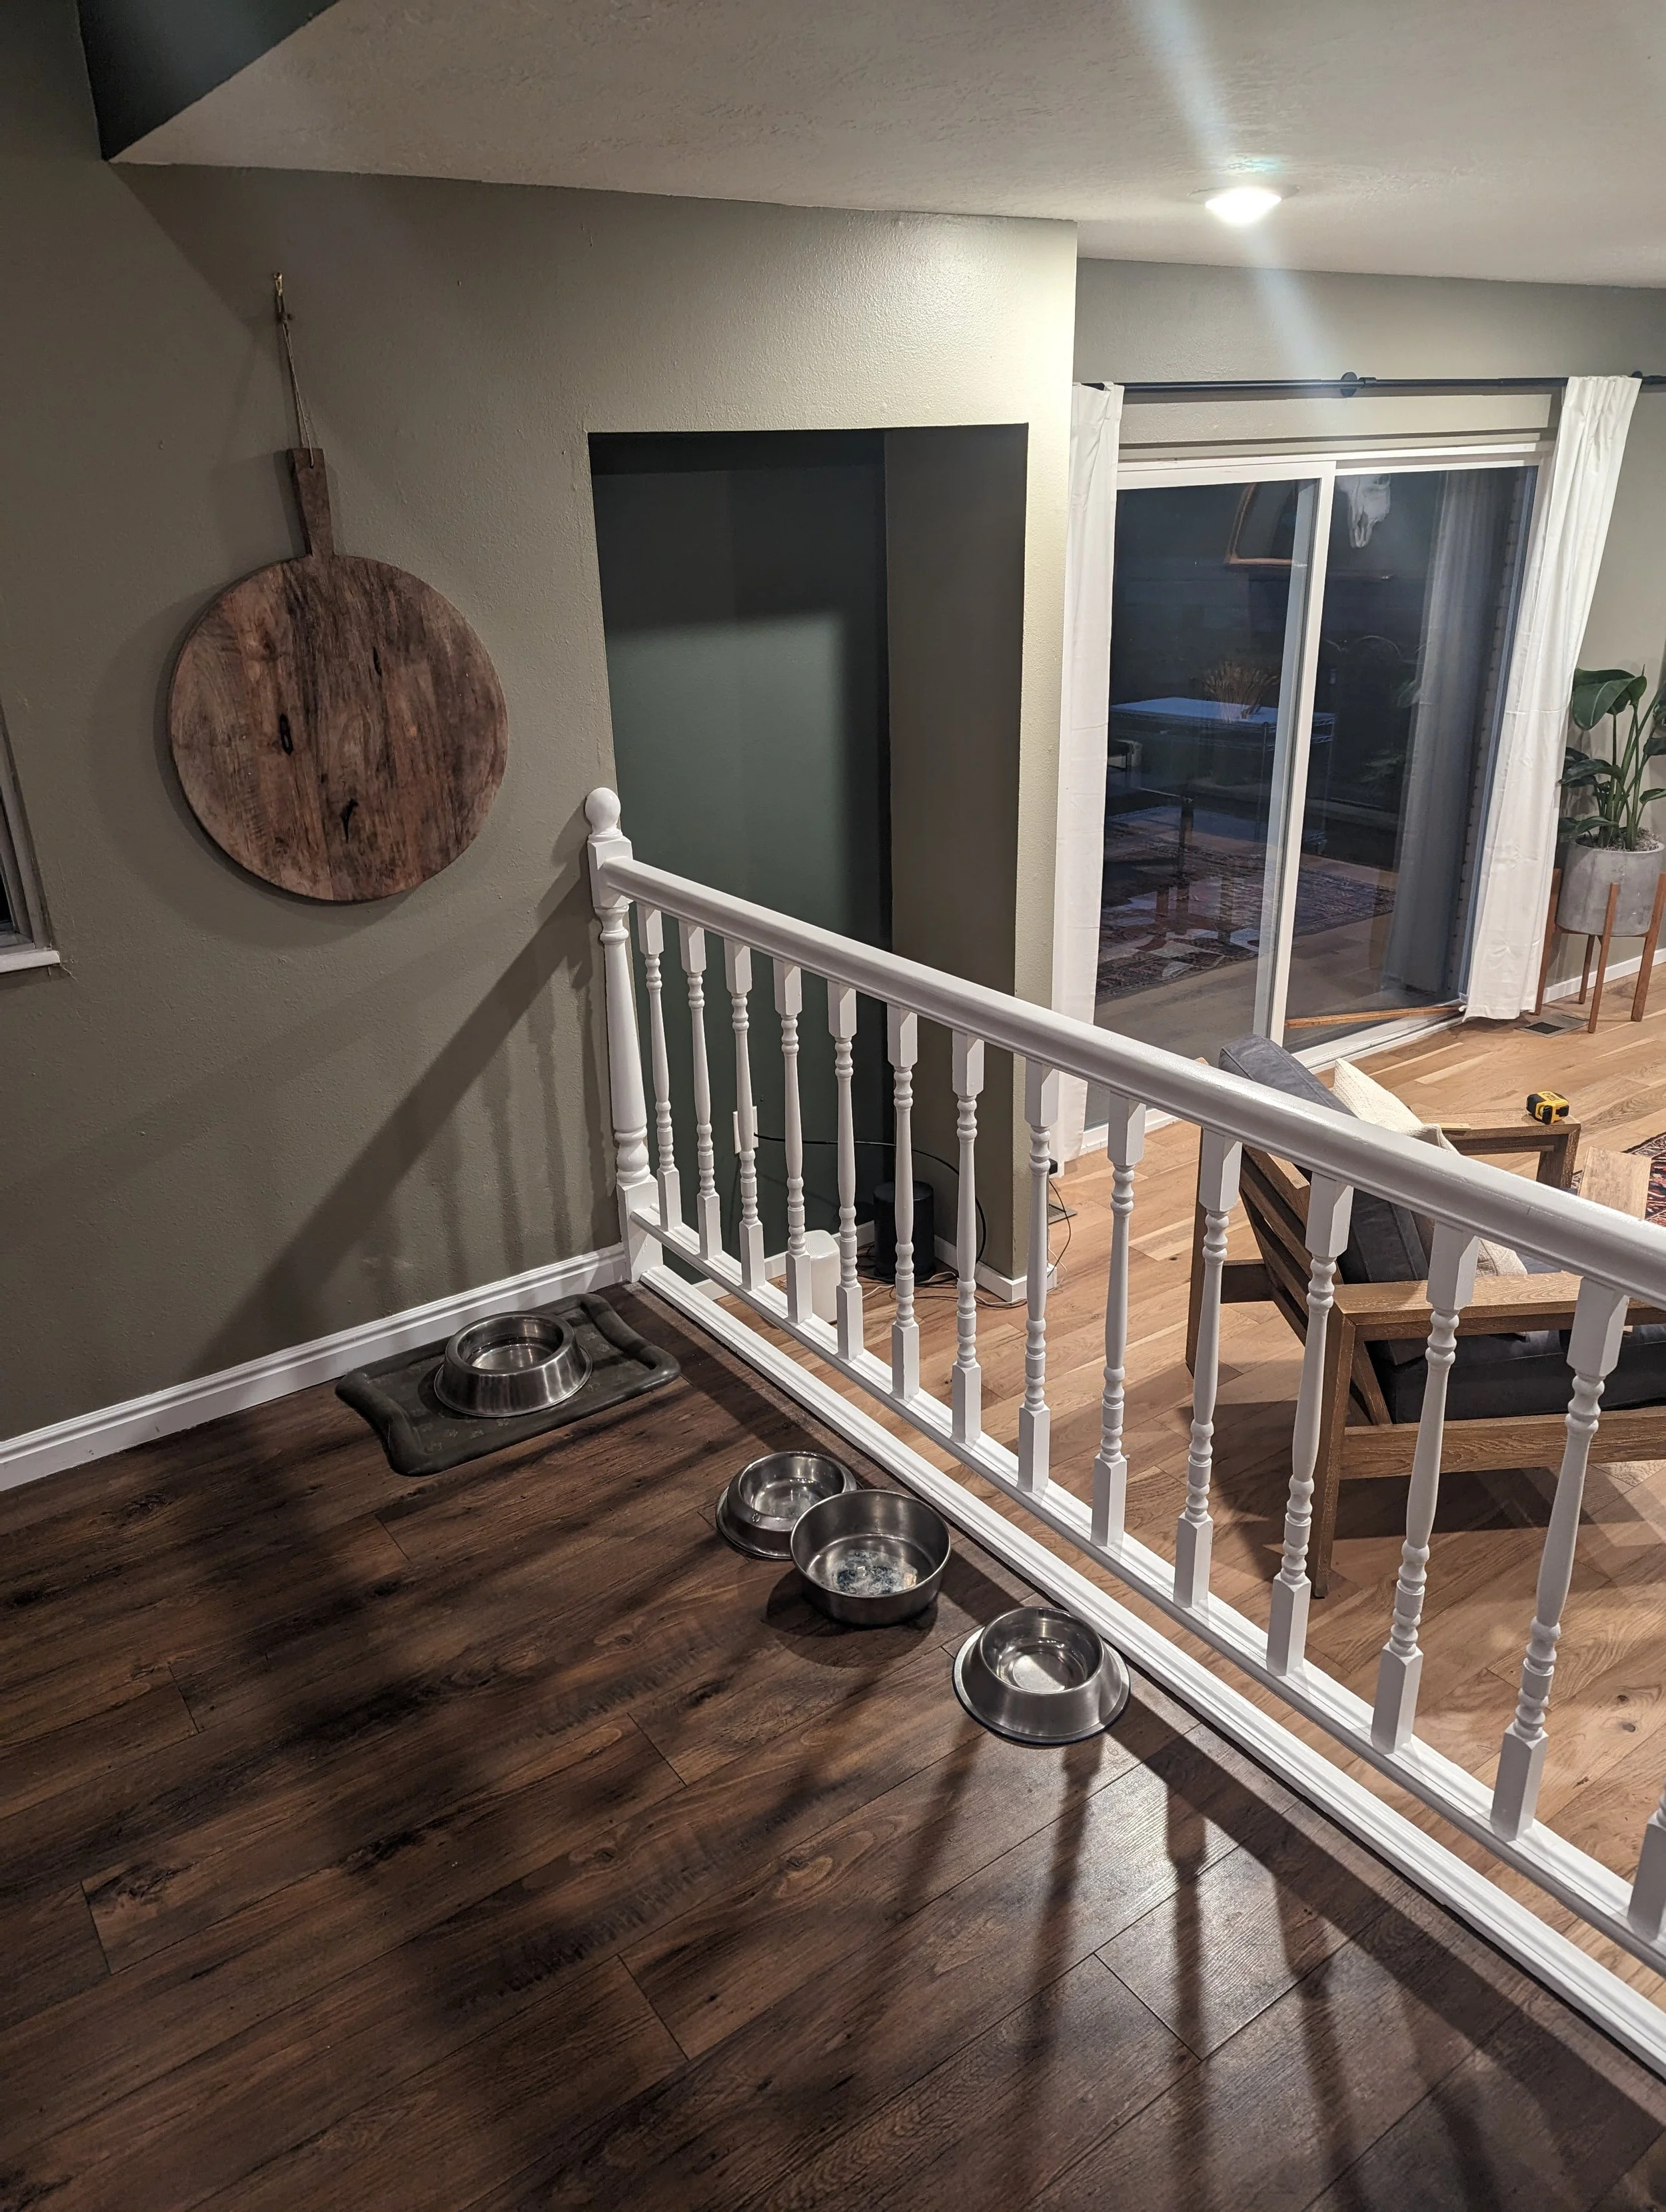
Jill lives in a cozy yet stylish AF home. Her space is open and inviting, with plenty of room to breathe. It's adorned with a curated selection of items, making the minimalistic aesthetic feel expansive and filling.
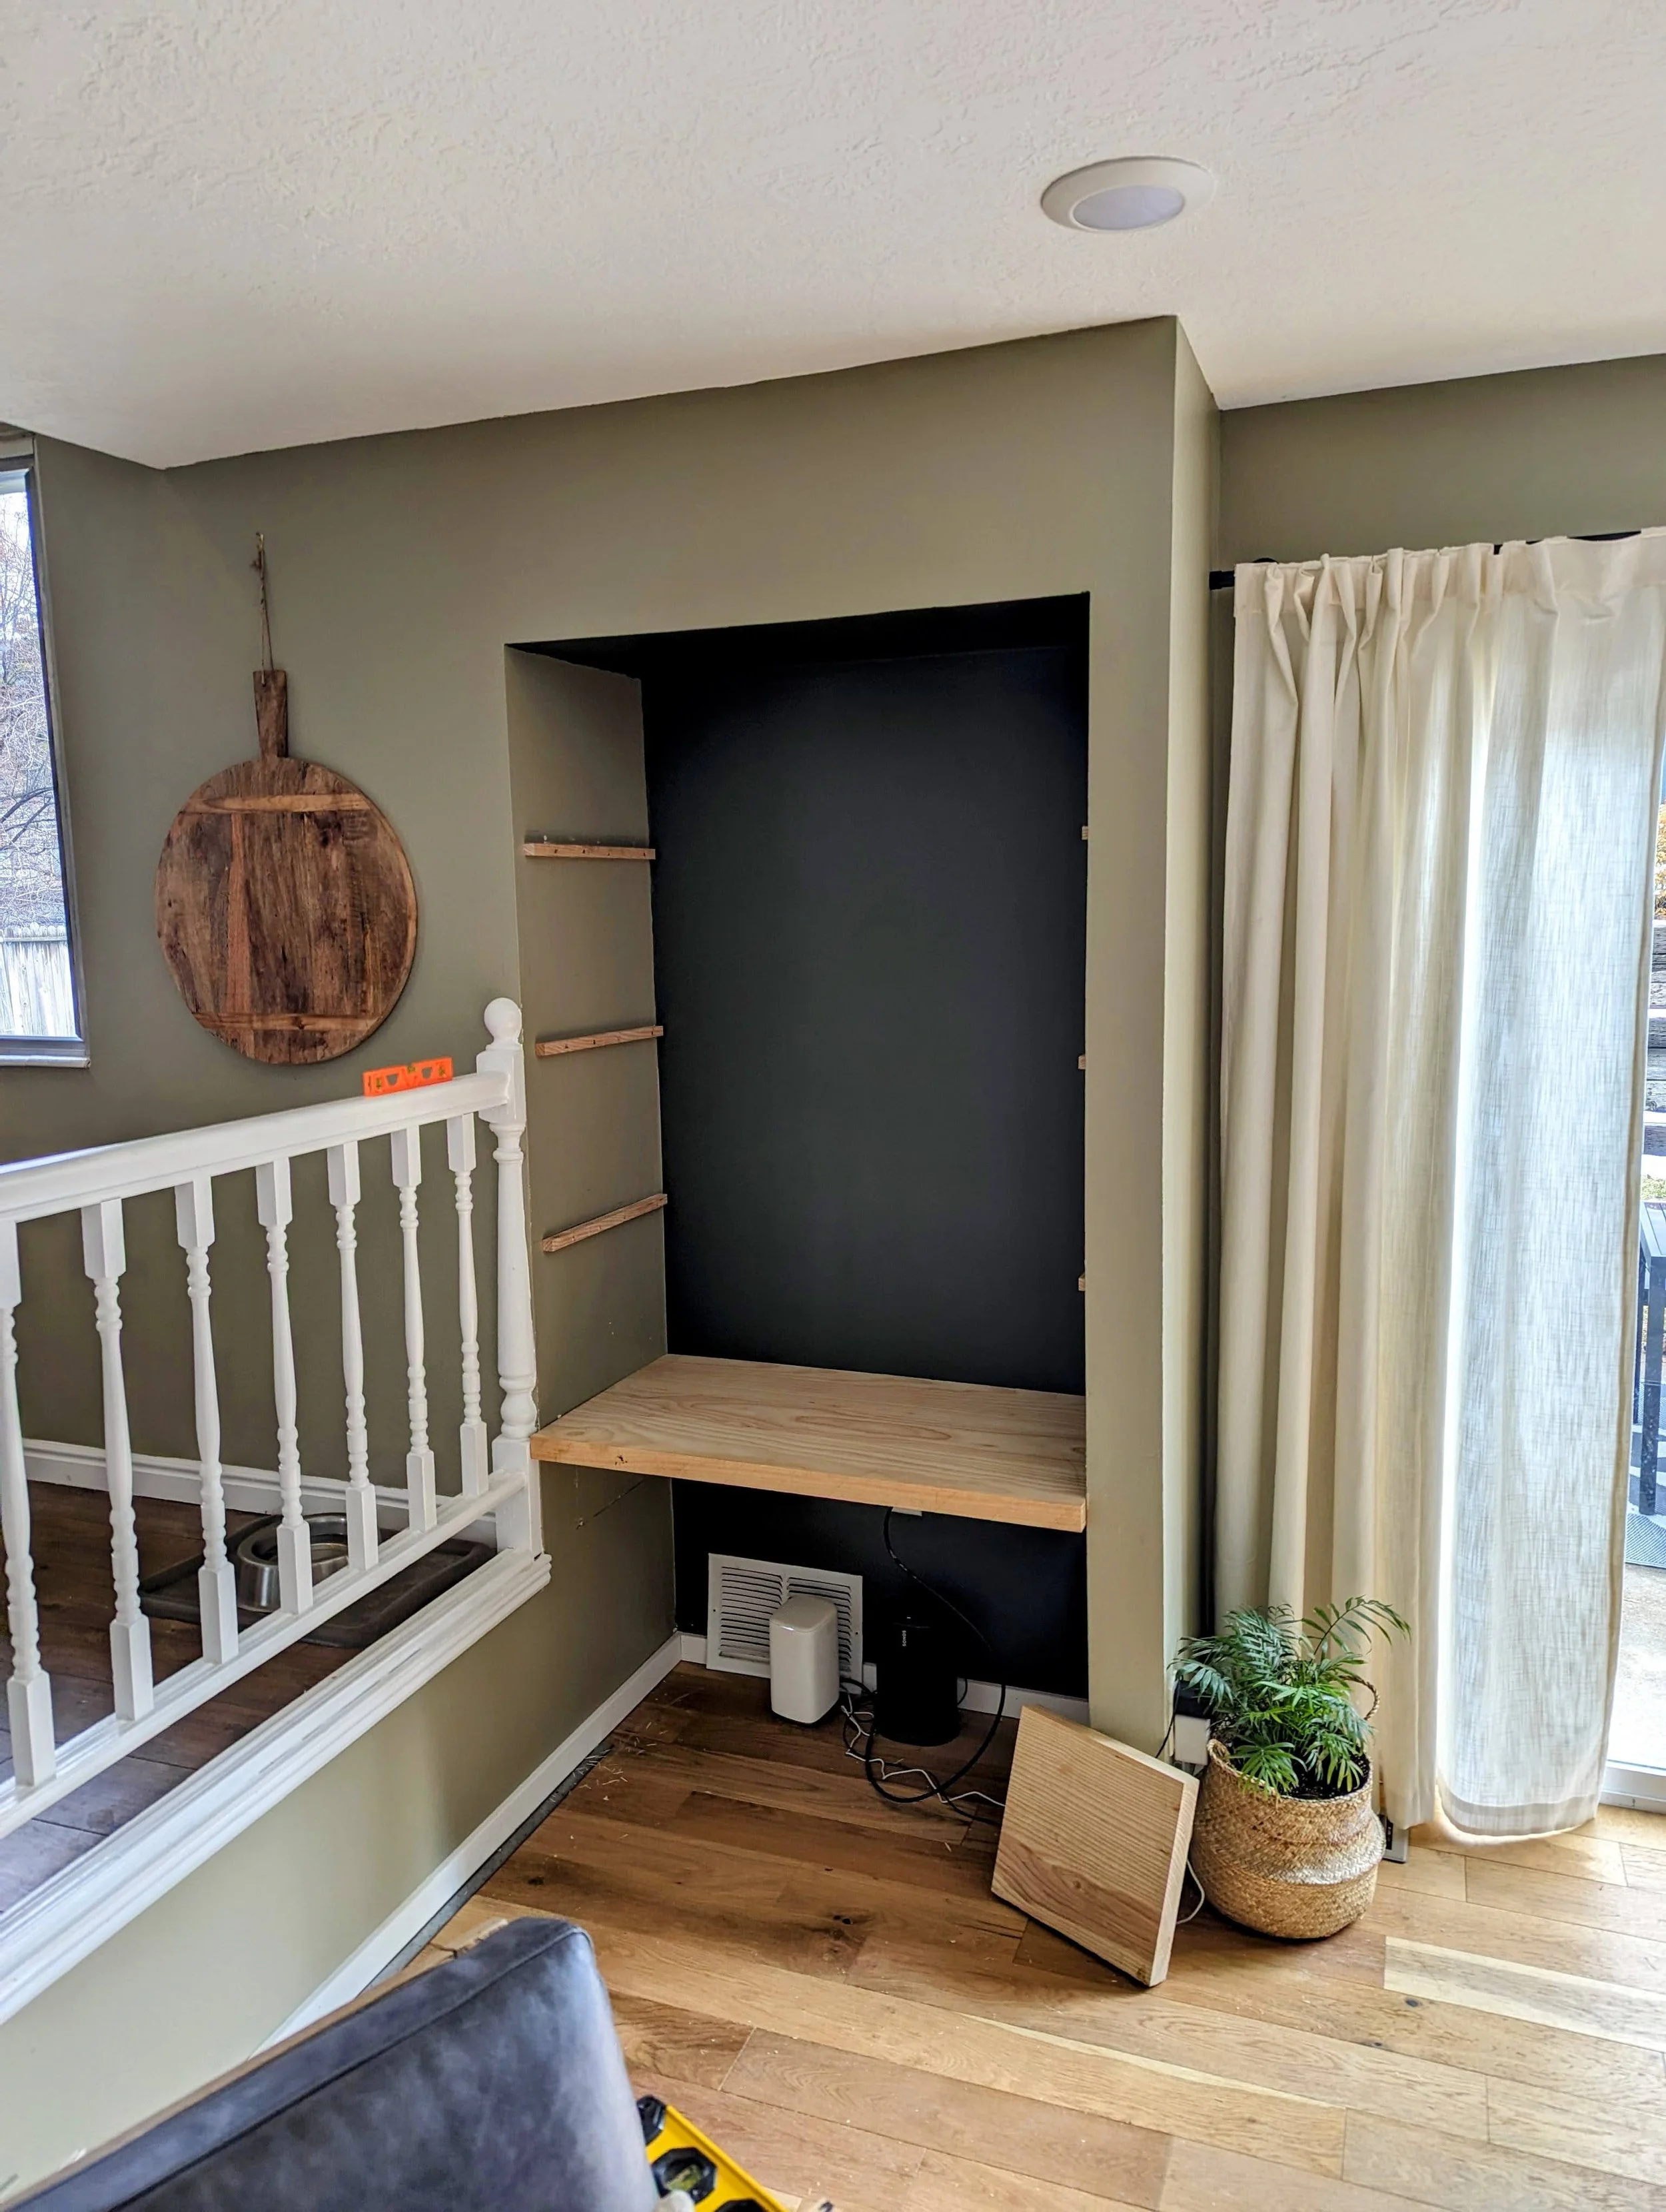
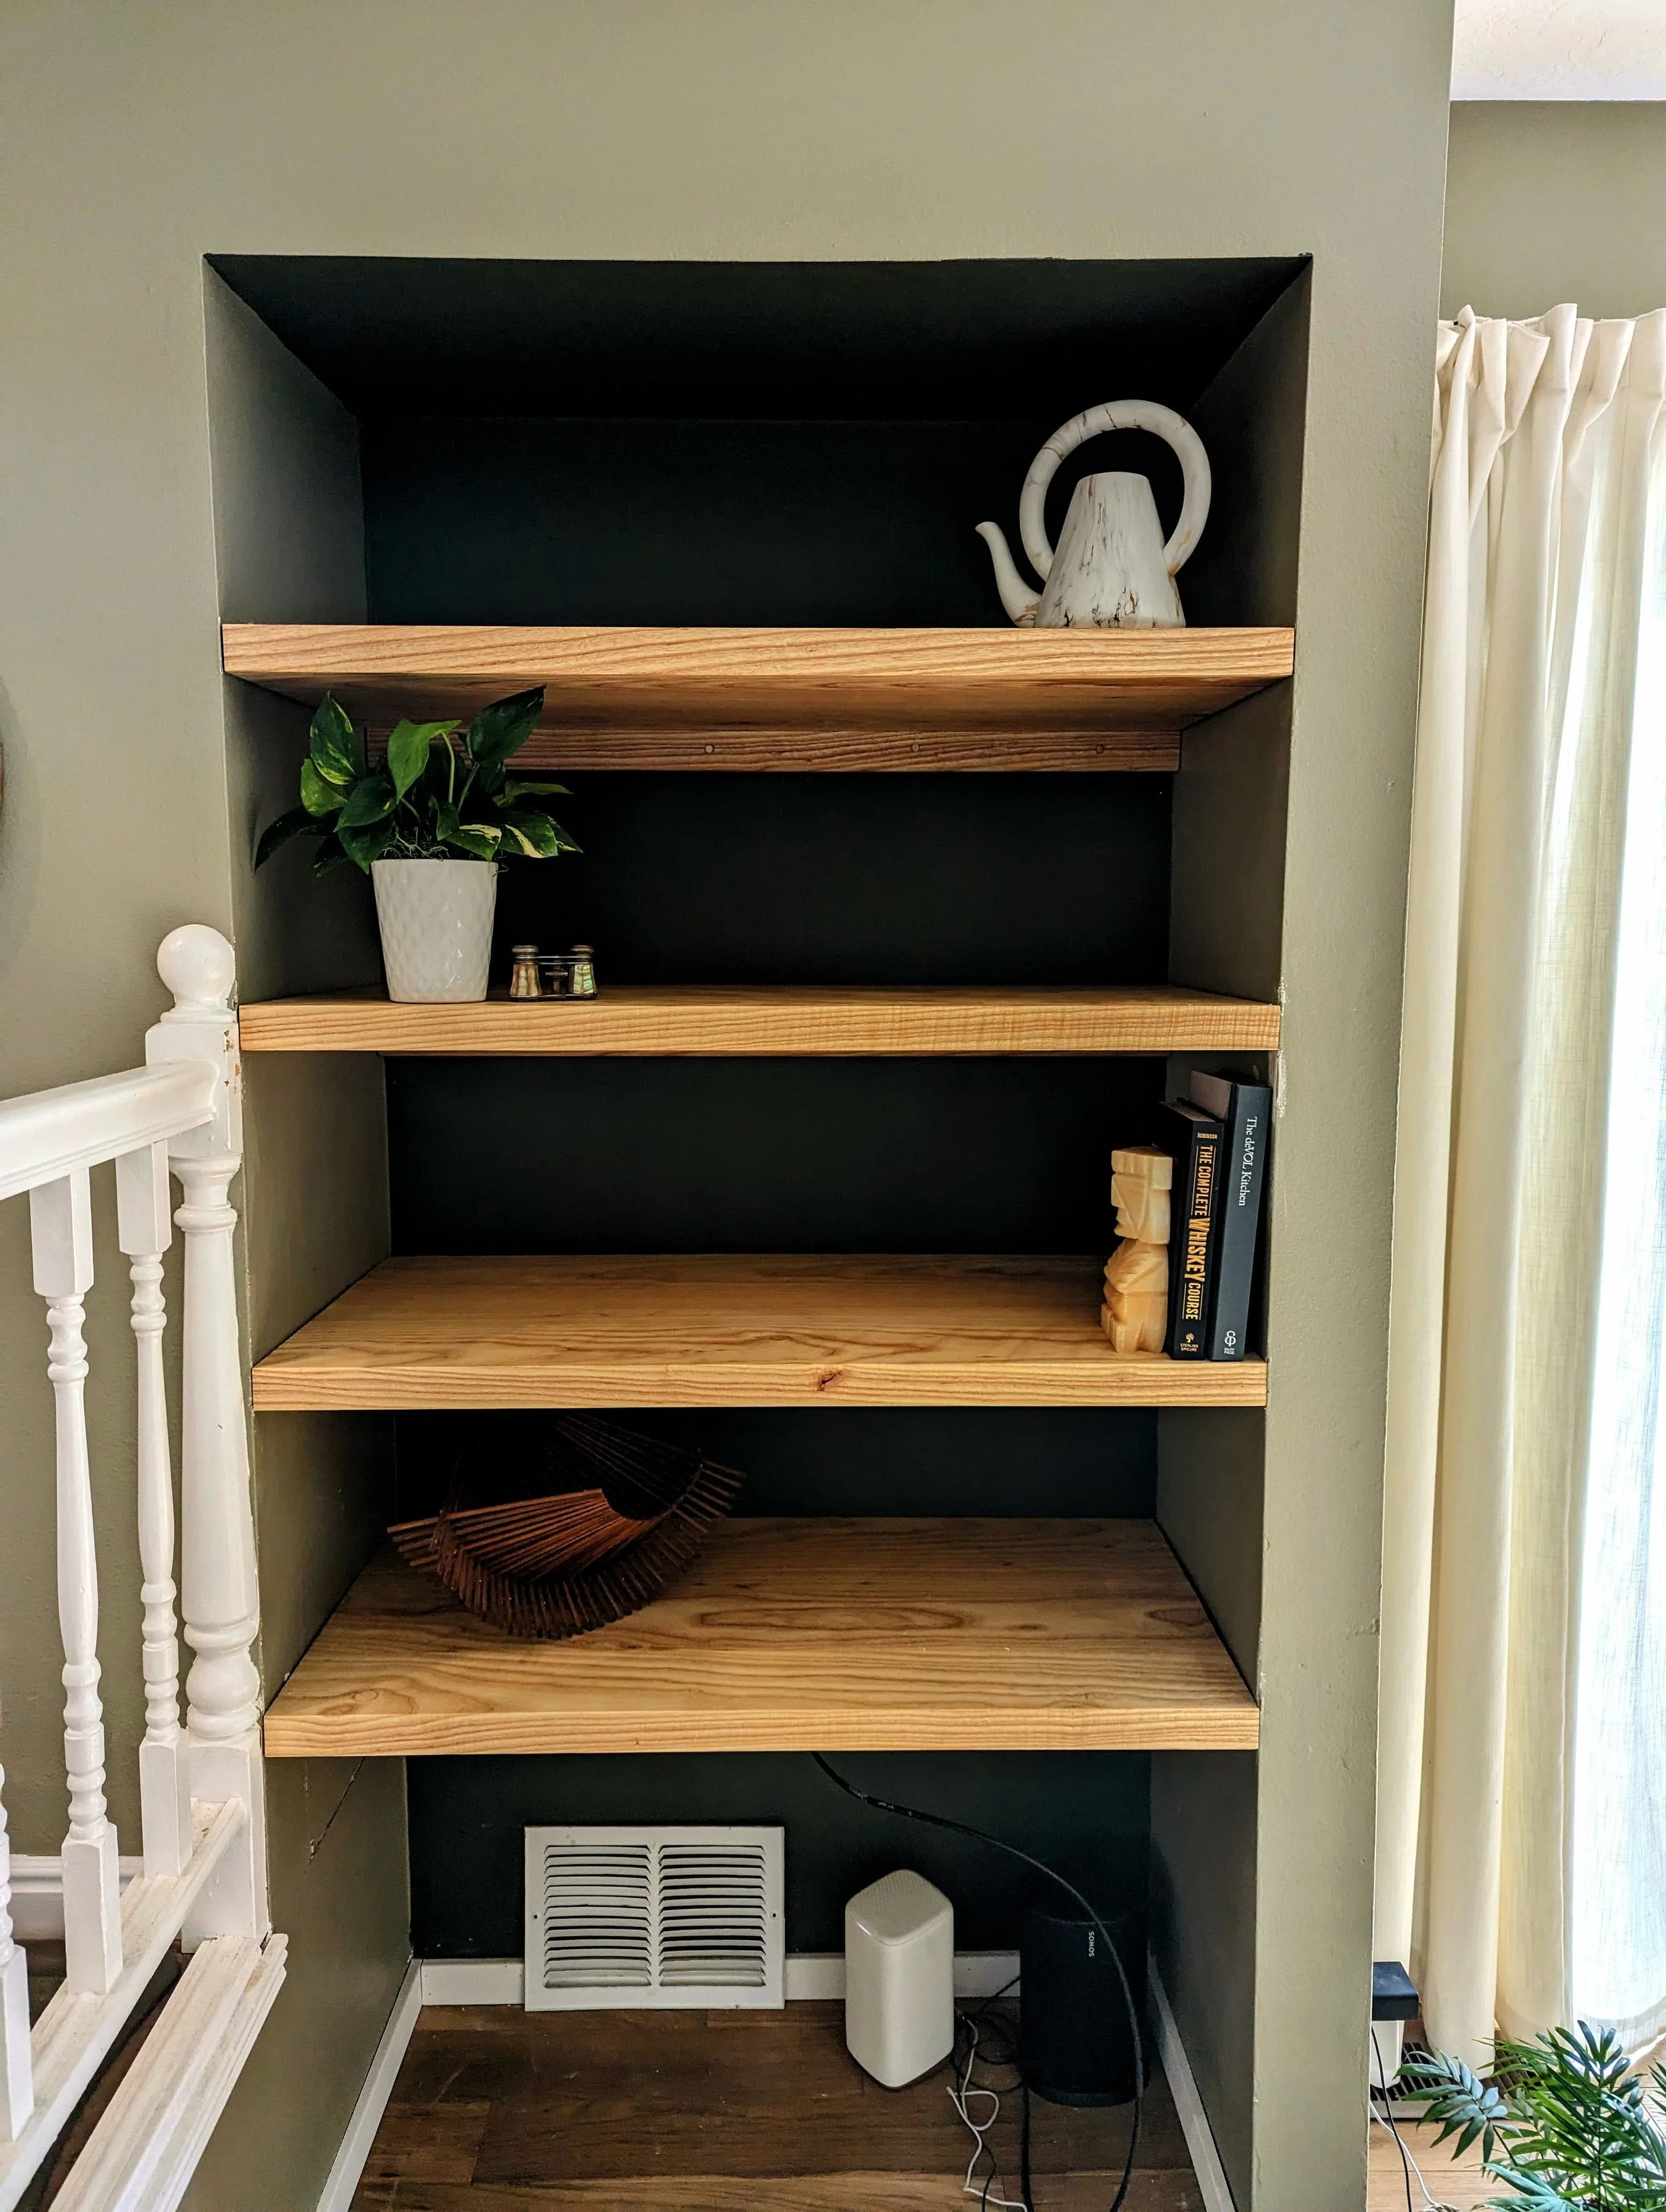
The previous owner had converted a corner of her family room into a makeshift home office during the pandemic, leaving a small hole in the wall. Jill turned to me and said, "Juan, we need some shelves to go in there. I want a natural wood look, something that matches my floor. I want the panels to be substantial but keep it simple and natural."
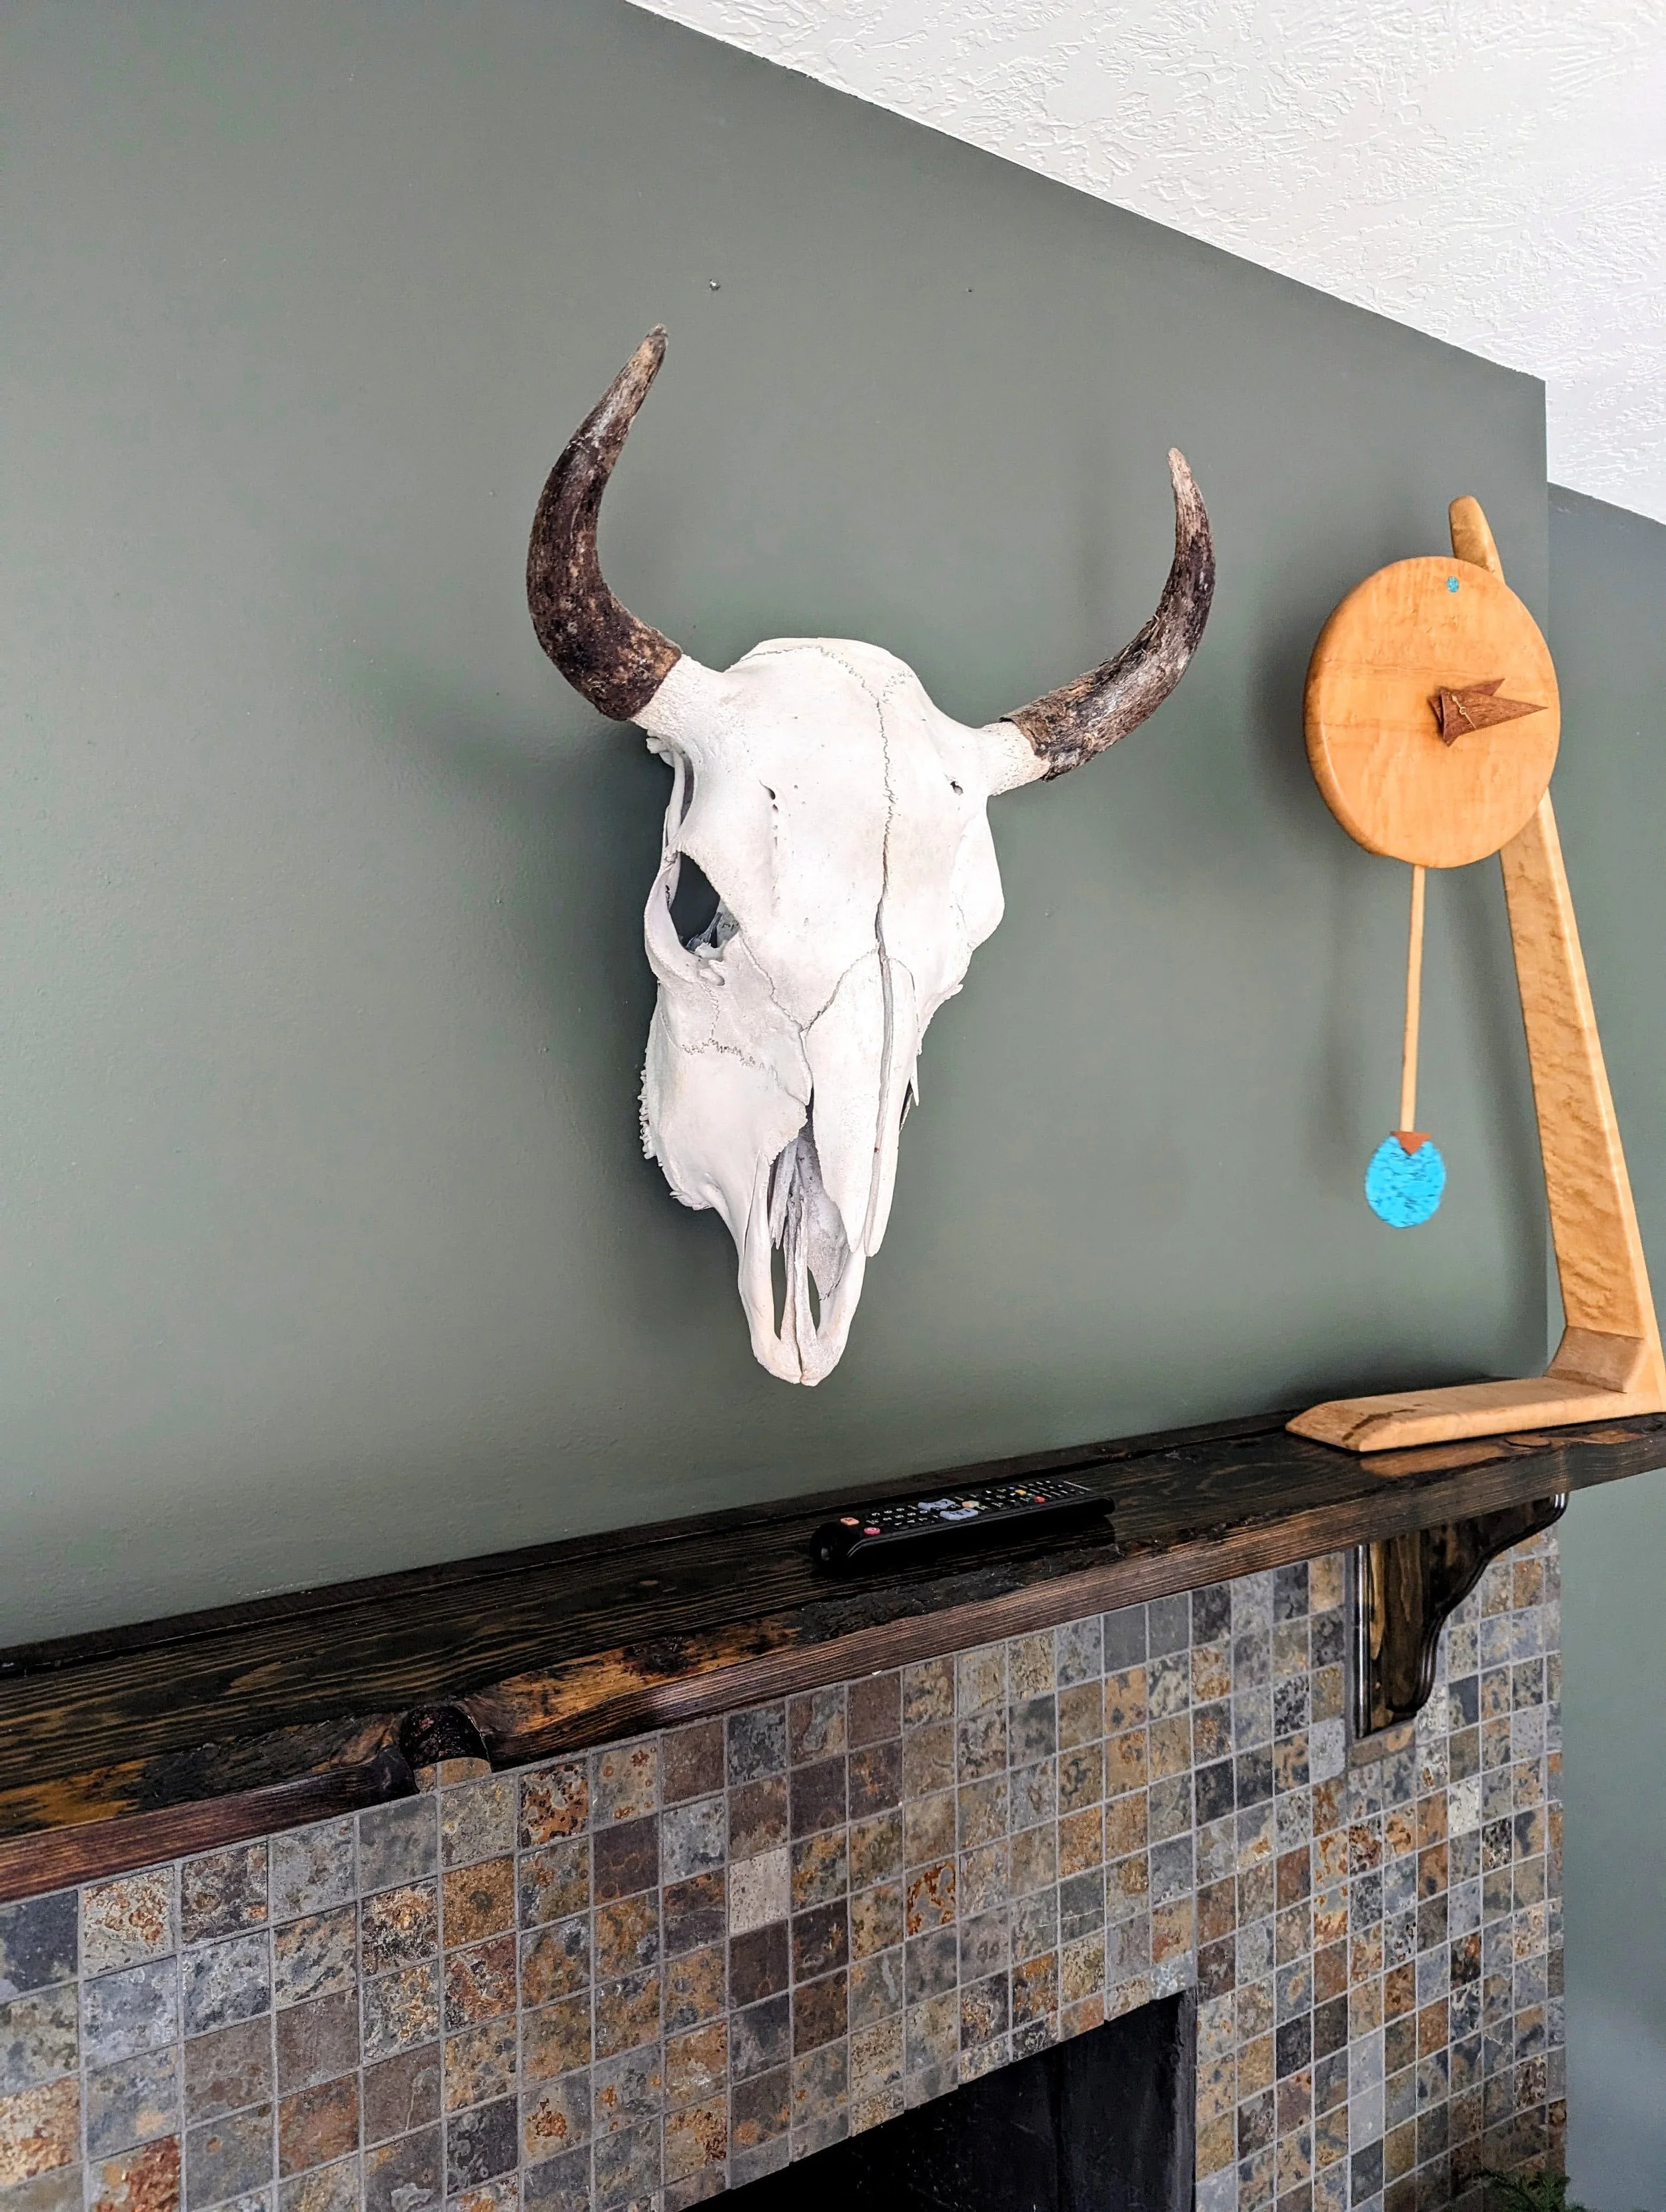
As I glanced around the room, my eyes fell upon the bison skull hanging on the wall, and I felt a sense of appreciation for the unique charm of her home.
I immediately fell in love with this project. It may seem like just a matter of hanging some shelves, but to me, it's an opportunity to enhance this already awesome space, turning a bland nook into a mini-gallery. Plus, maybe some of Jill's style will rub off on me in the process.
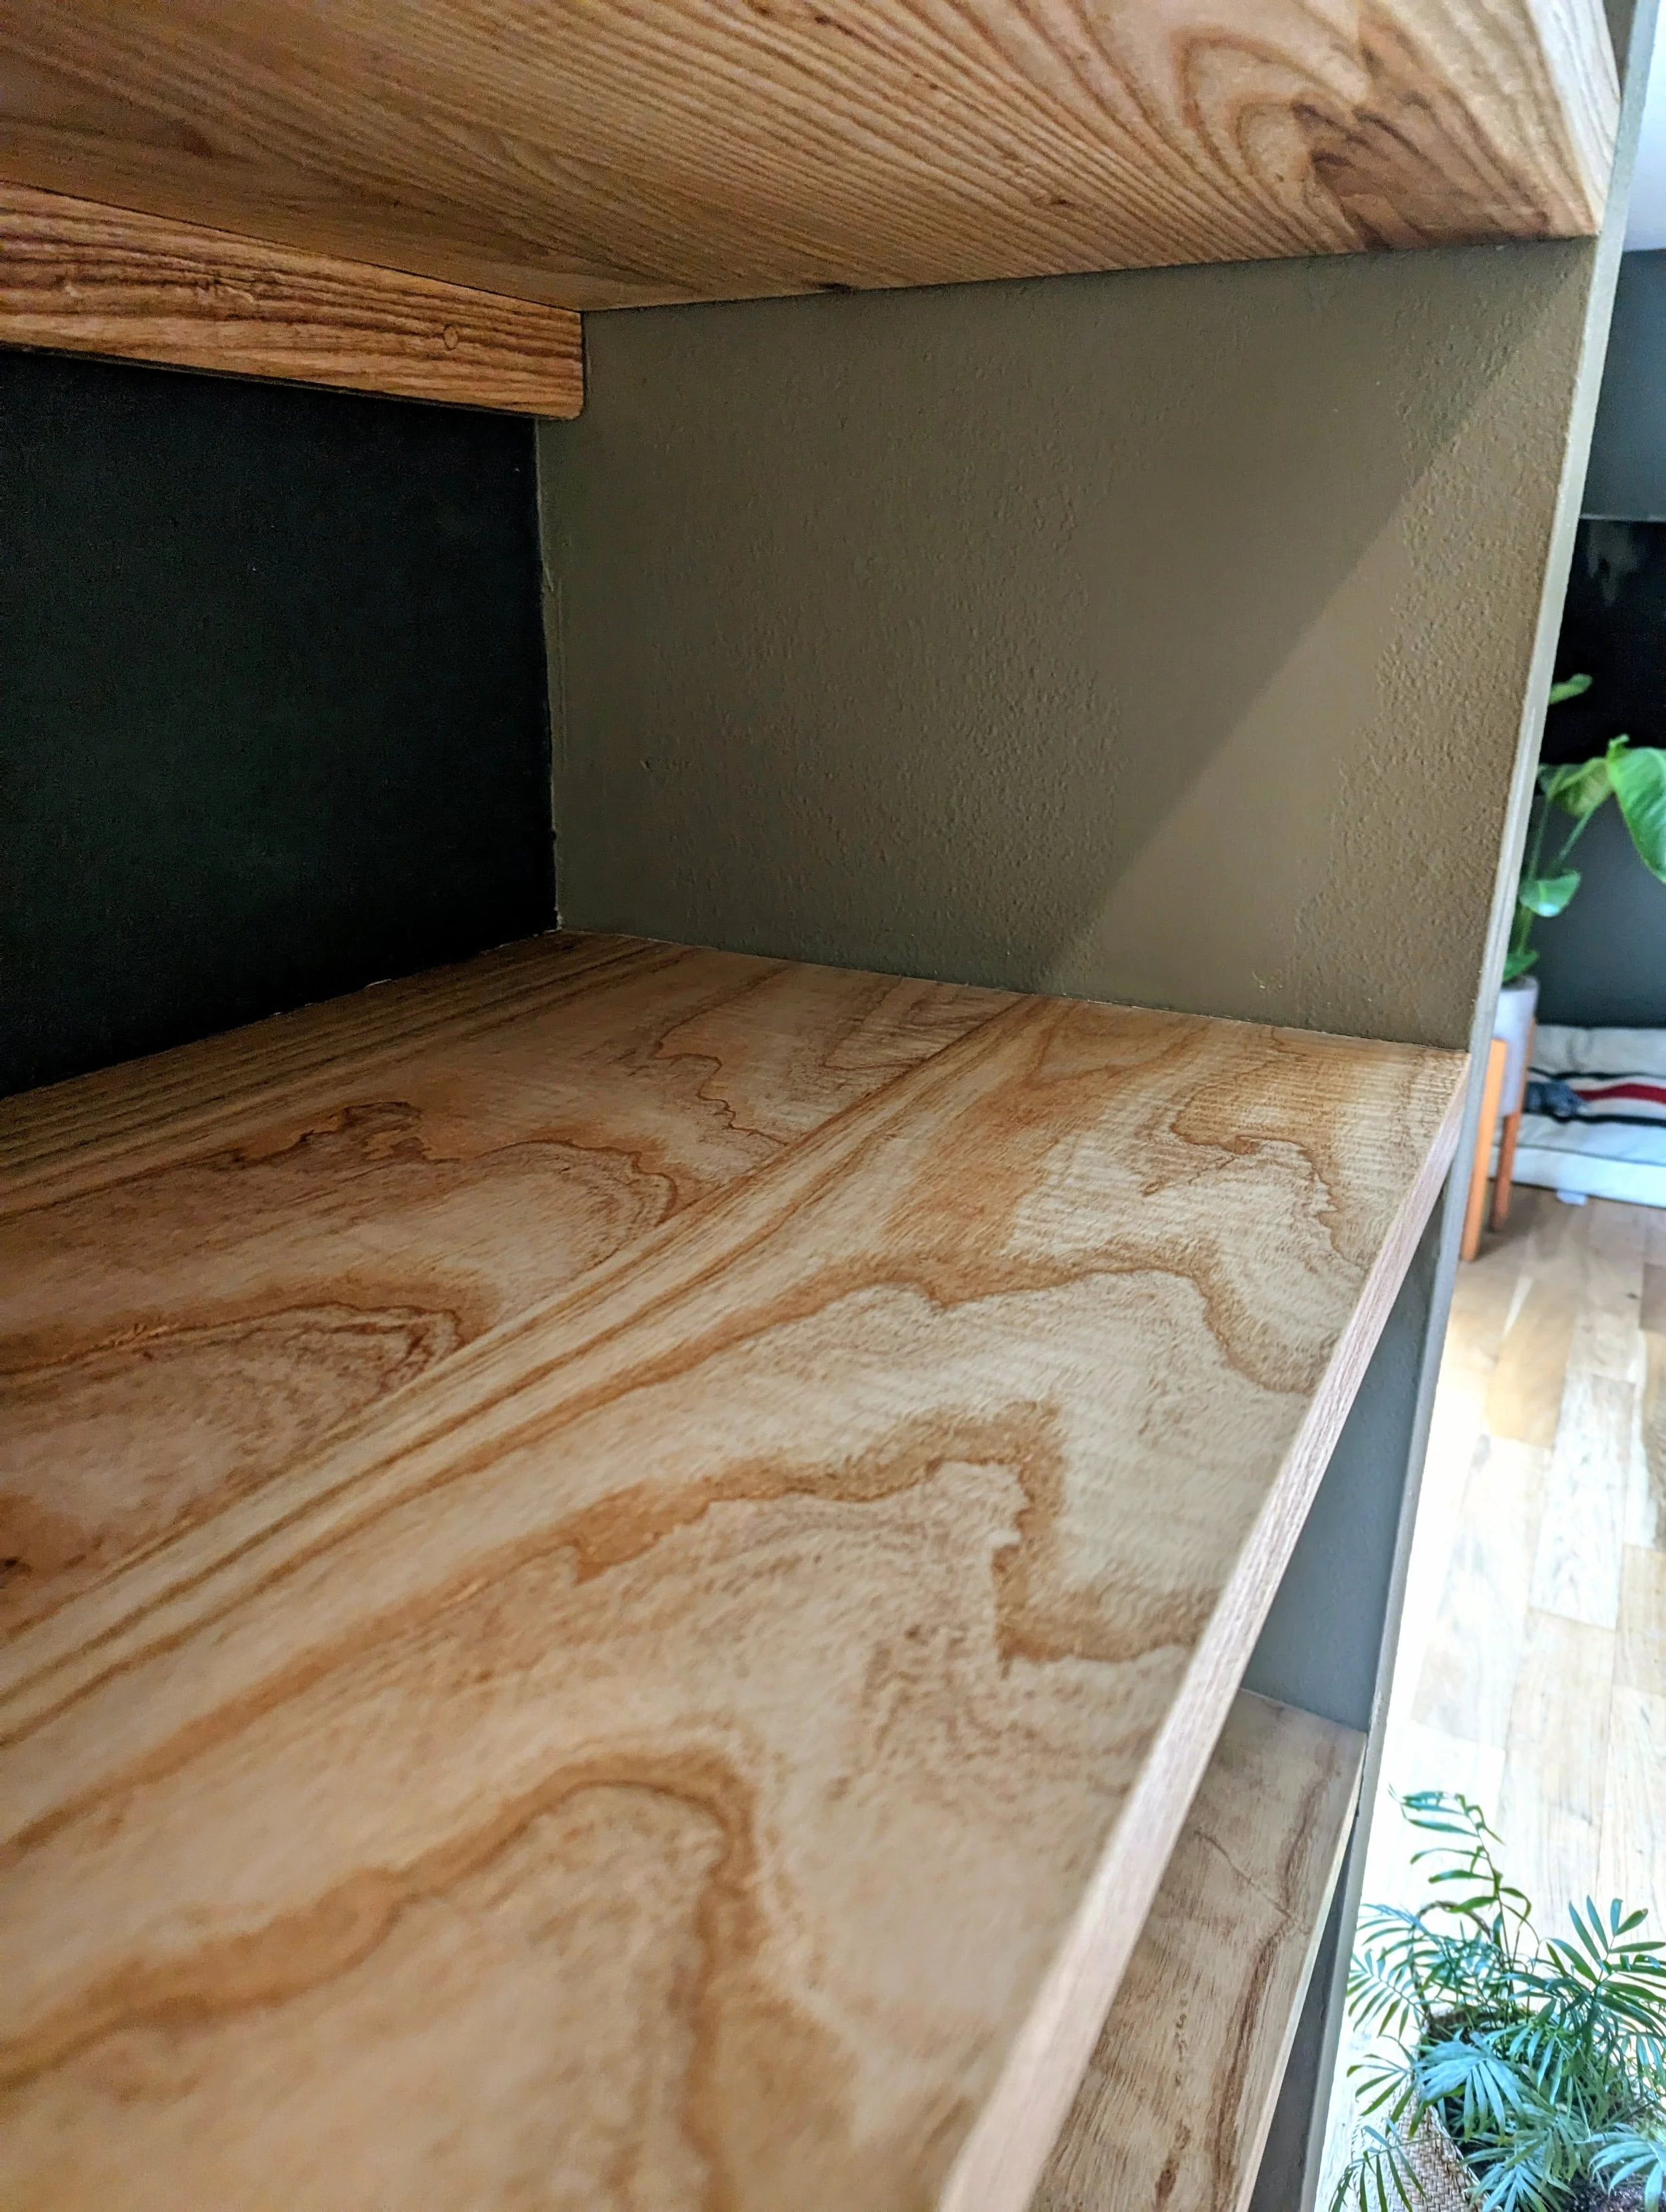
Jill had a very clear idea of what she wanted. She knew the thickness of the shelves should be about 2 inches. She wanted a light wood 🌳 that had personality but that didn’t look rustic. We decided on 4 shelves so that we could have about 12 inches of space between them. That would allow her to store beautiful objects while also being small enough to make it into a small library if needed. We also figured that we wanted the shelves to be flushed with the wall. Often times playing with different depths creates beautiful light and shadow games. For these shelves, there was enough contrast between the wall color and the wood that all we needed was softness and continuity. We aimed for minimalism in terms of architectural build-up. In other words, we wanted as little visible support as possible.
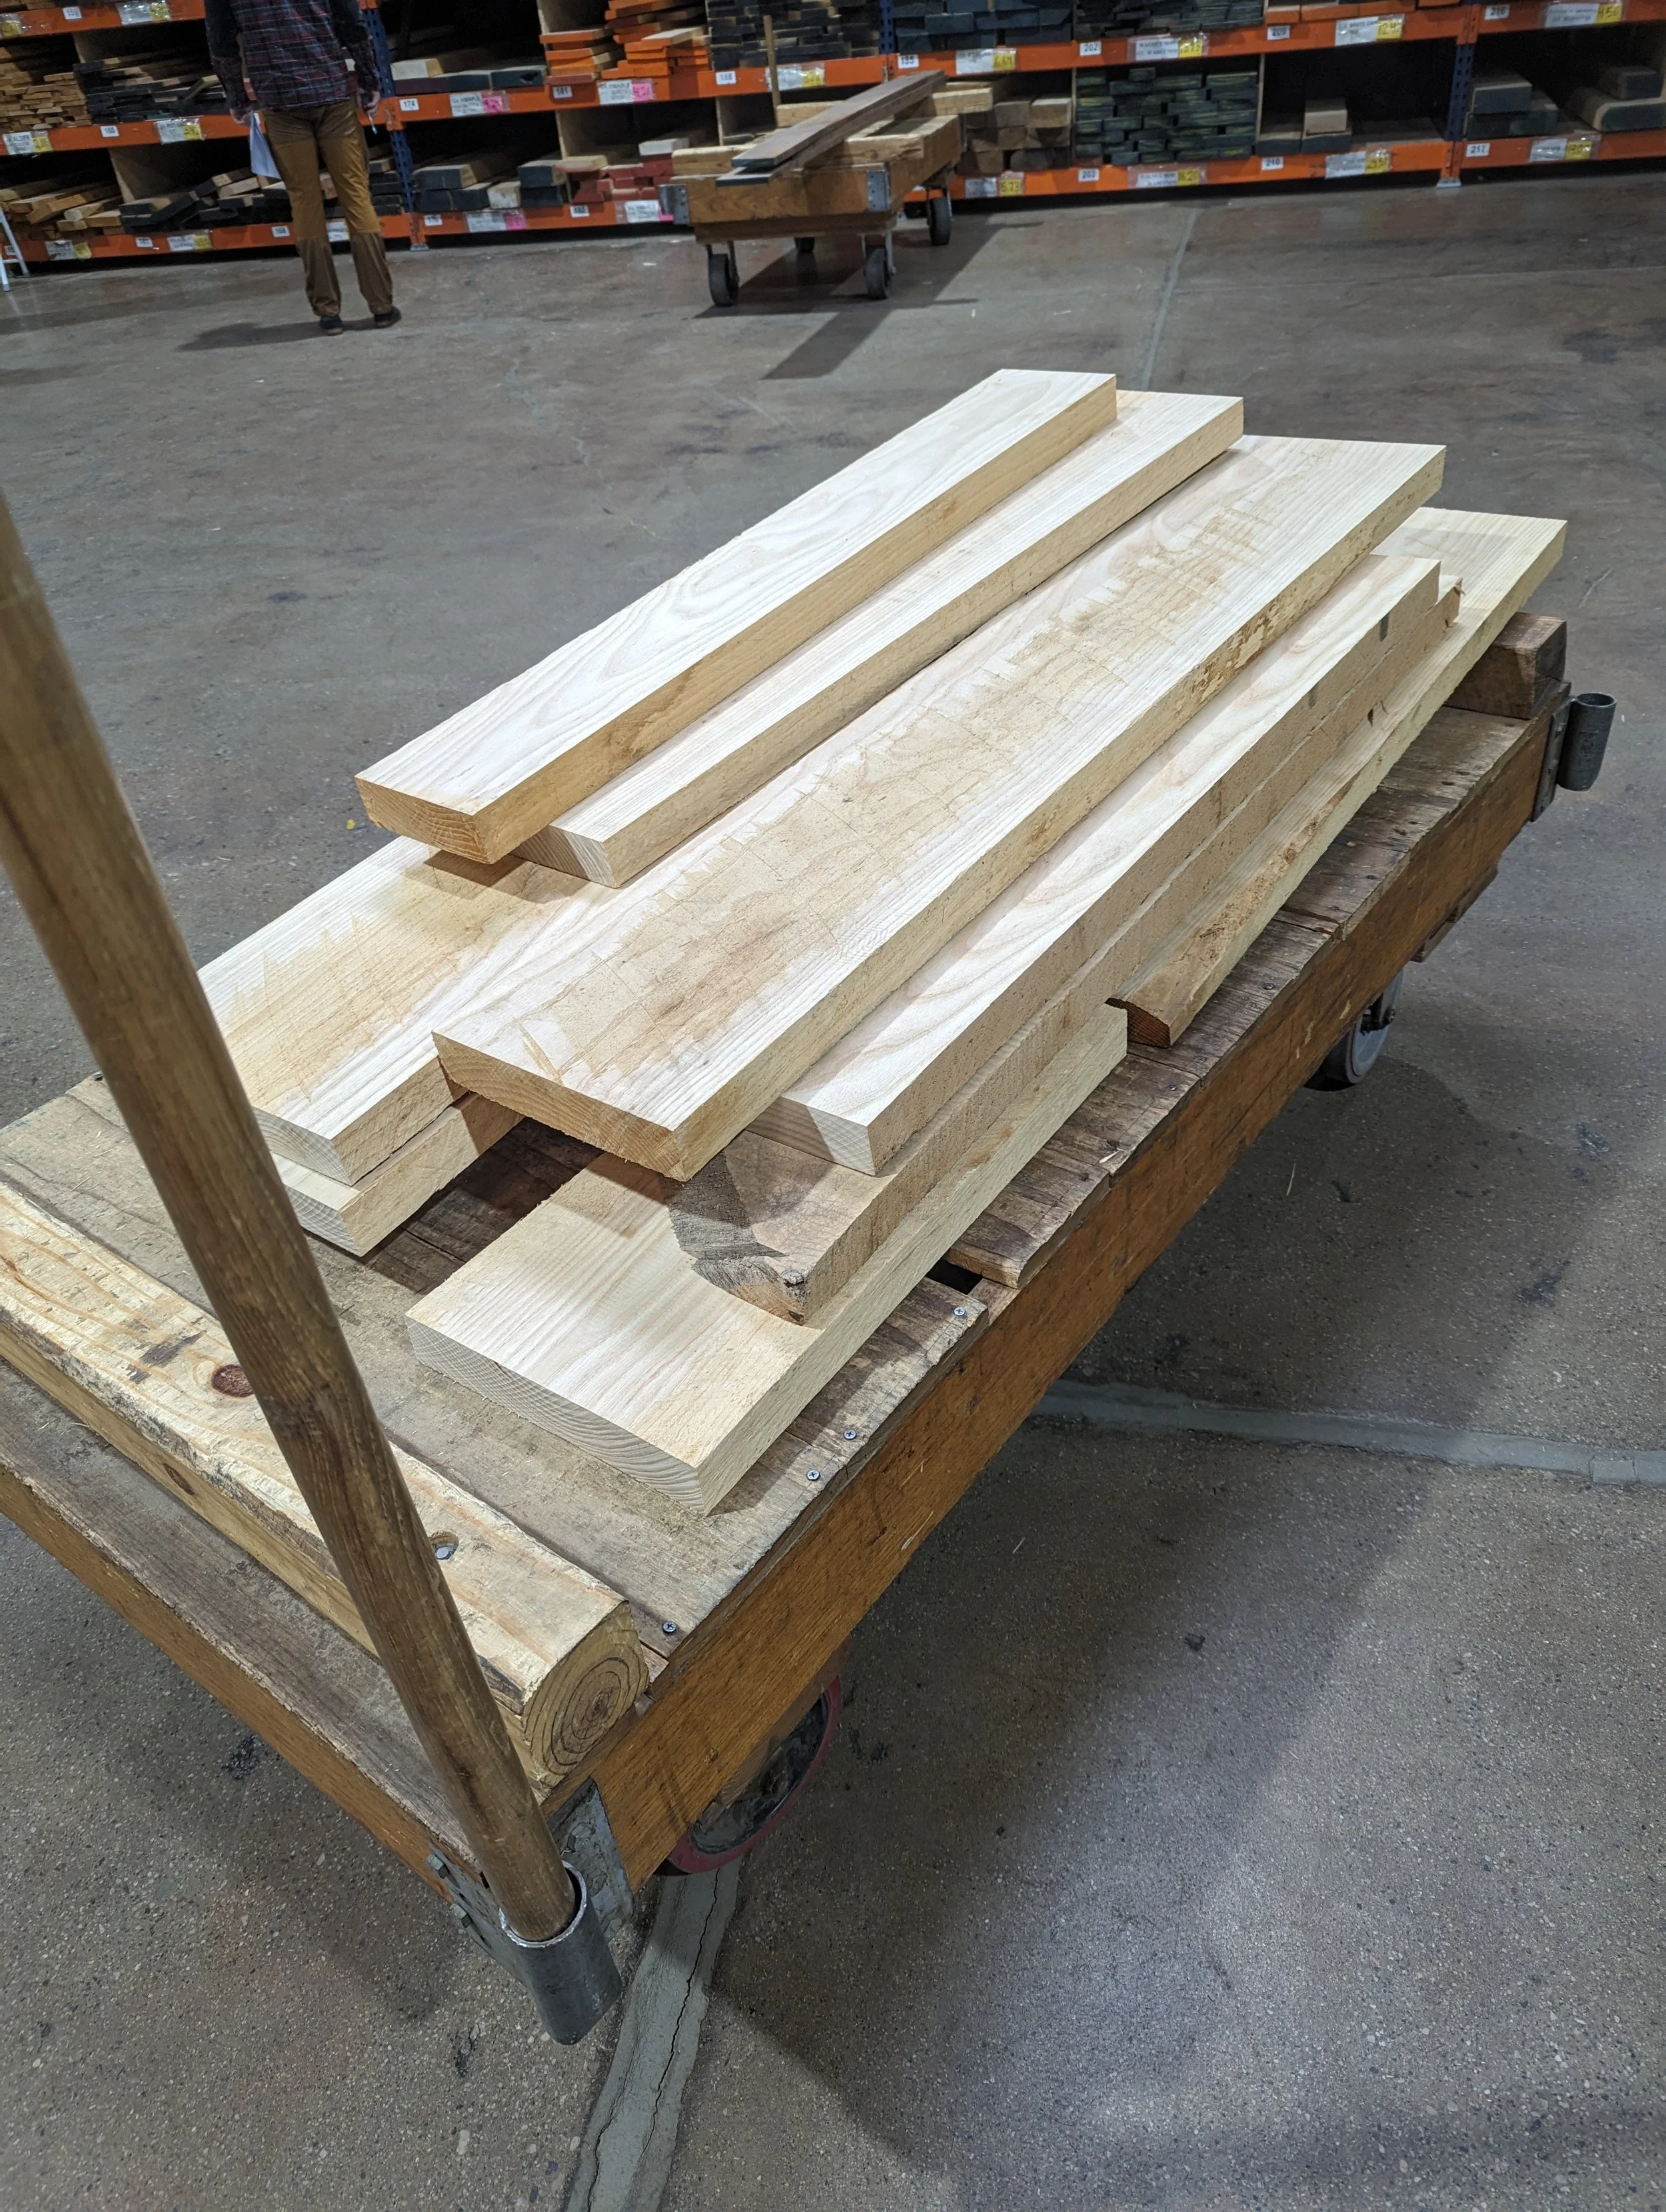
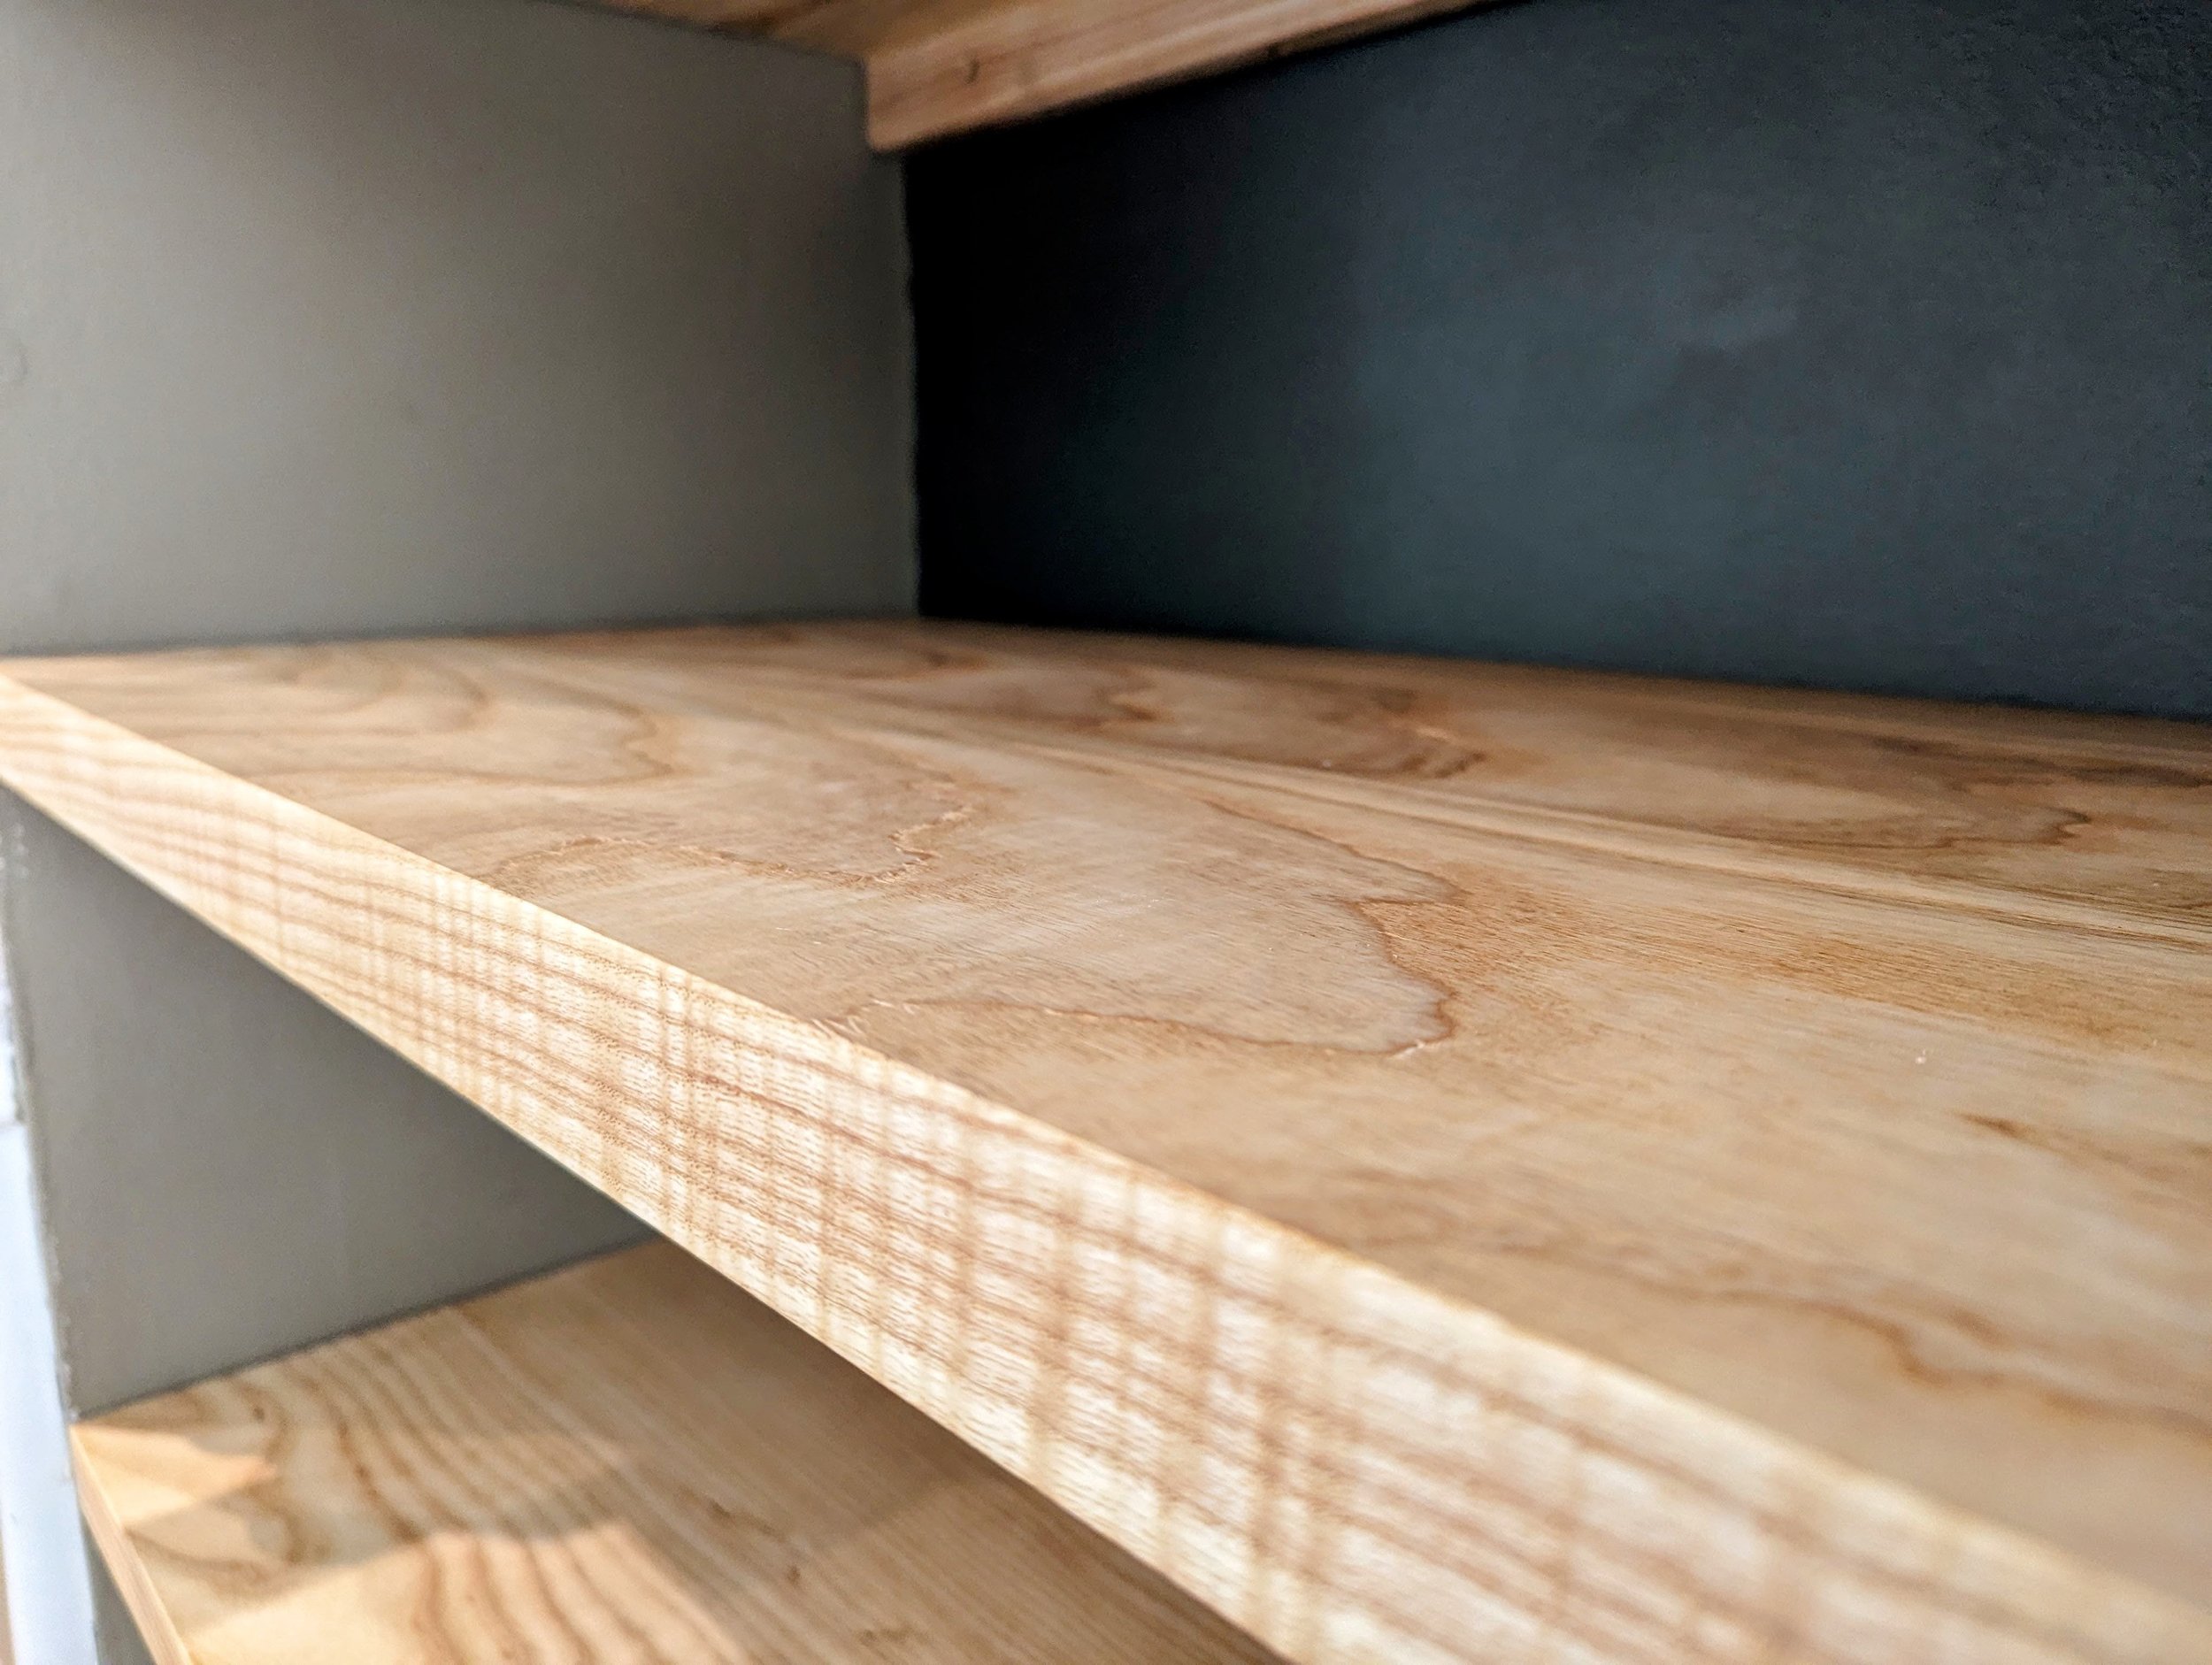
With all these considerations in mind, we decided that the best wood would be ash. It matched the floor, also ash, and it would give us both the pattern and the strength. 🛠️
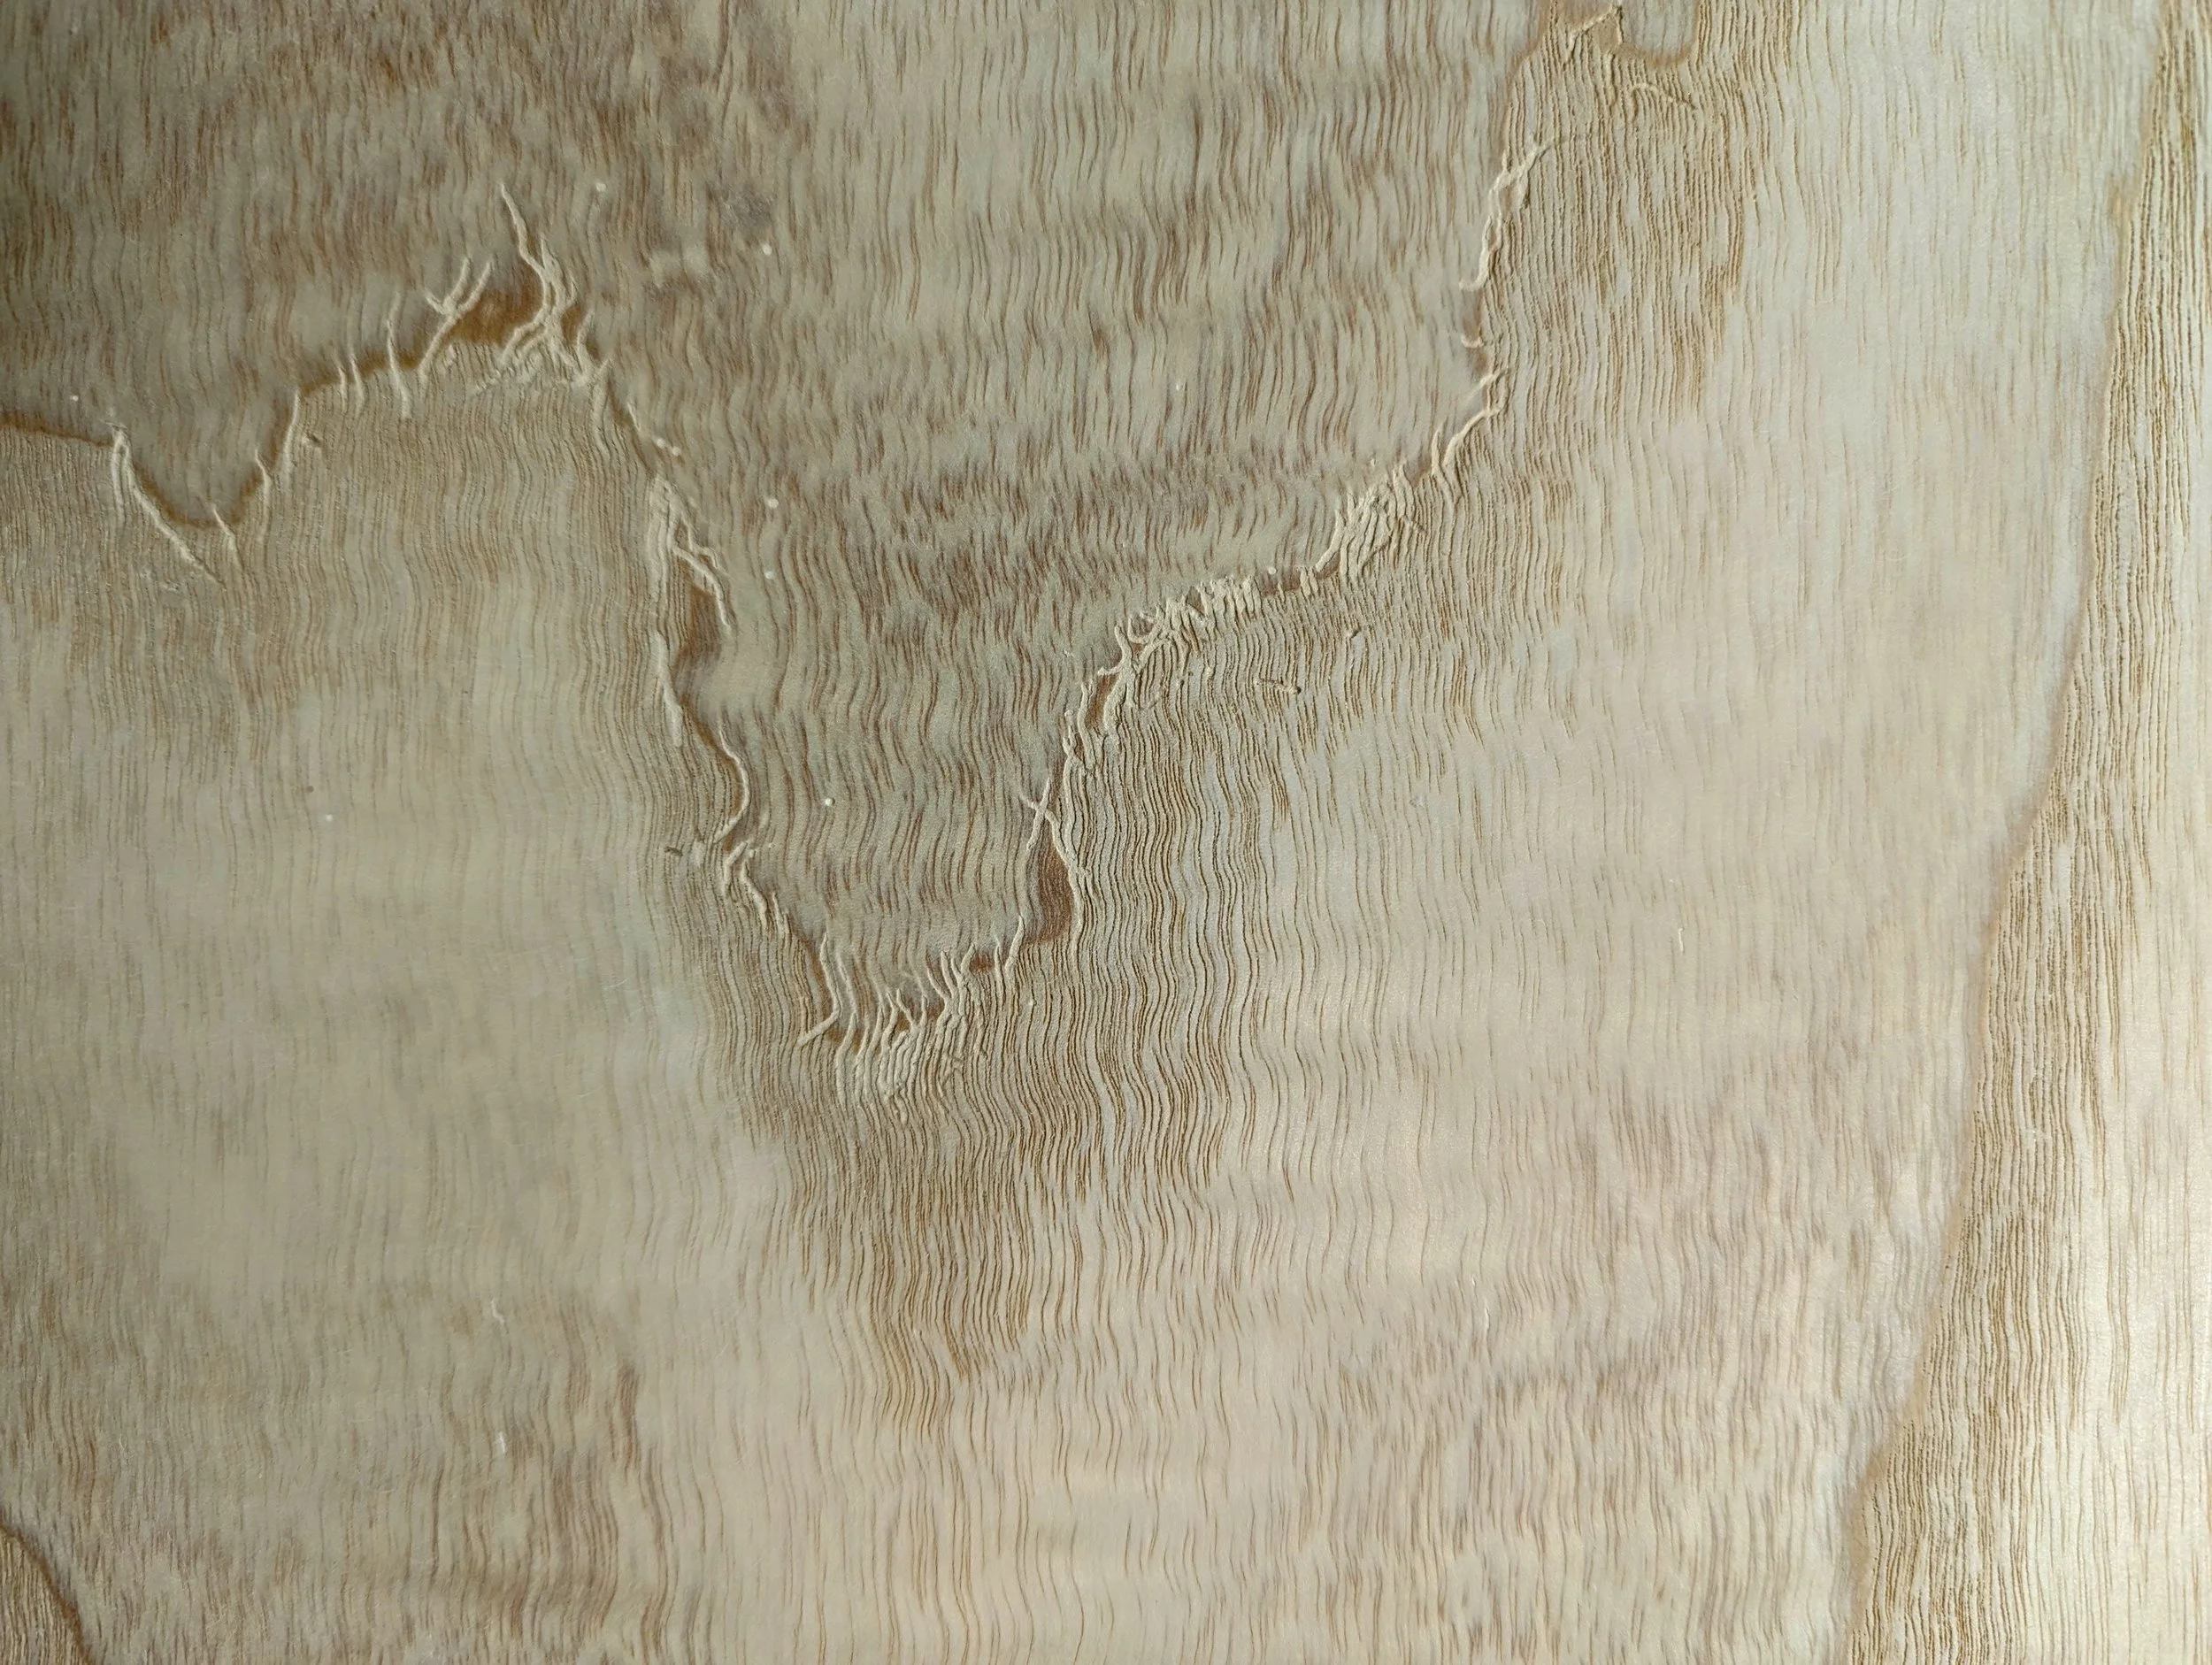
Ash, a light-colored hardwood with a smooth, almost creamy texture, boasts a long and storied history in woodworking. Prized for its strength, durability, and shock resistance, it's been used for everything from spear shafts in ancient times to baseball bats and furniture today. It was perfect for what we wanted.
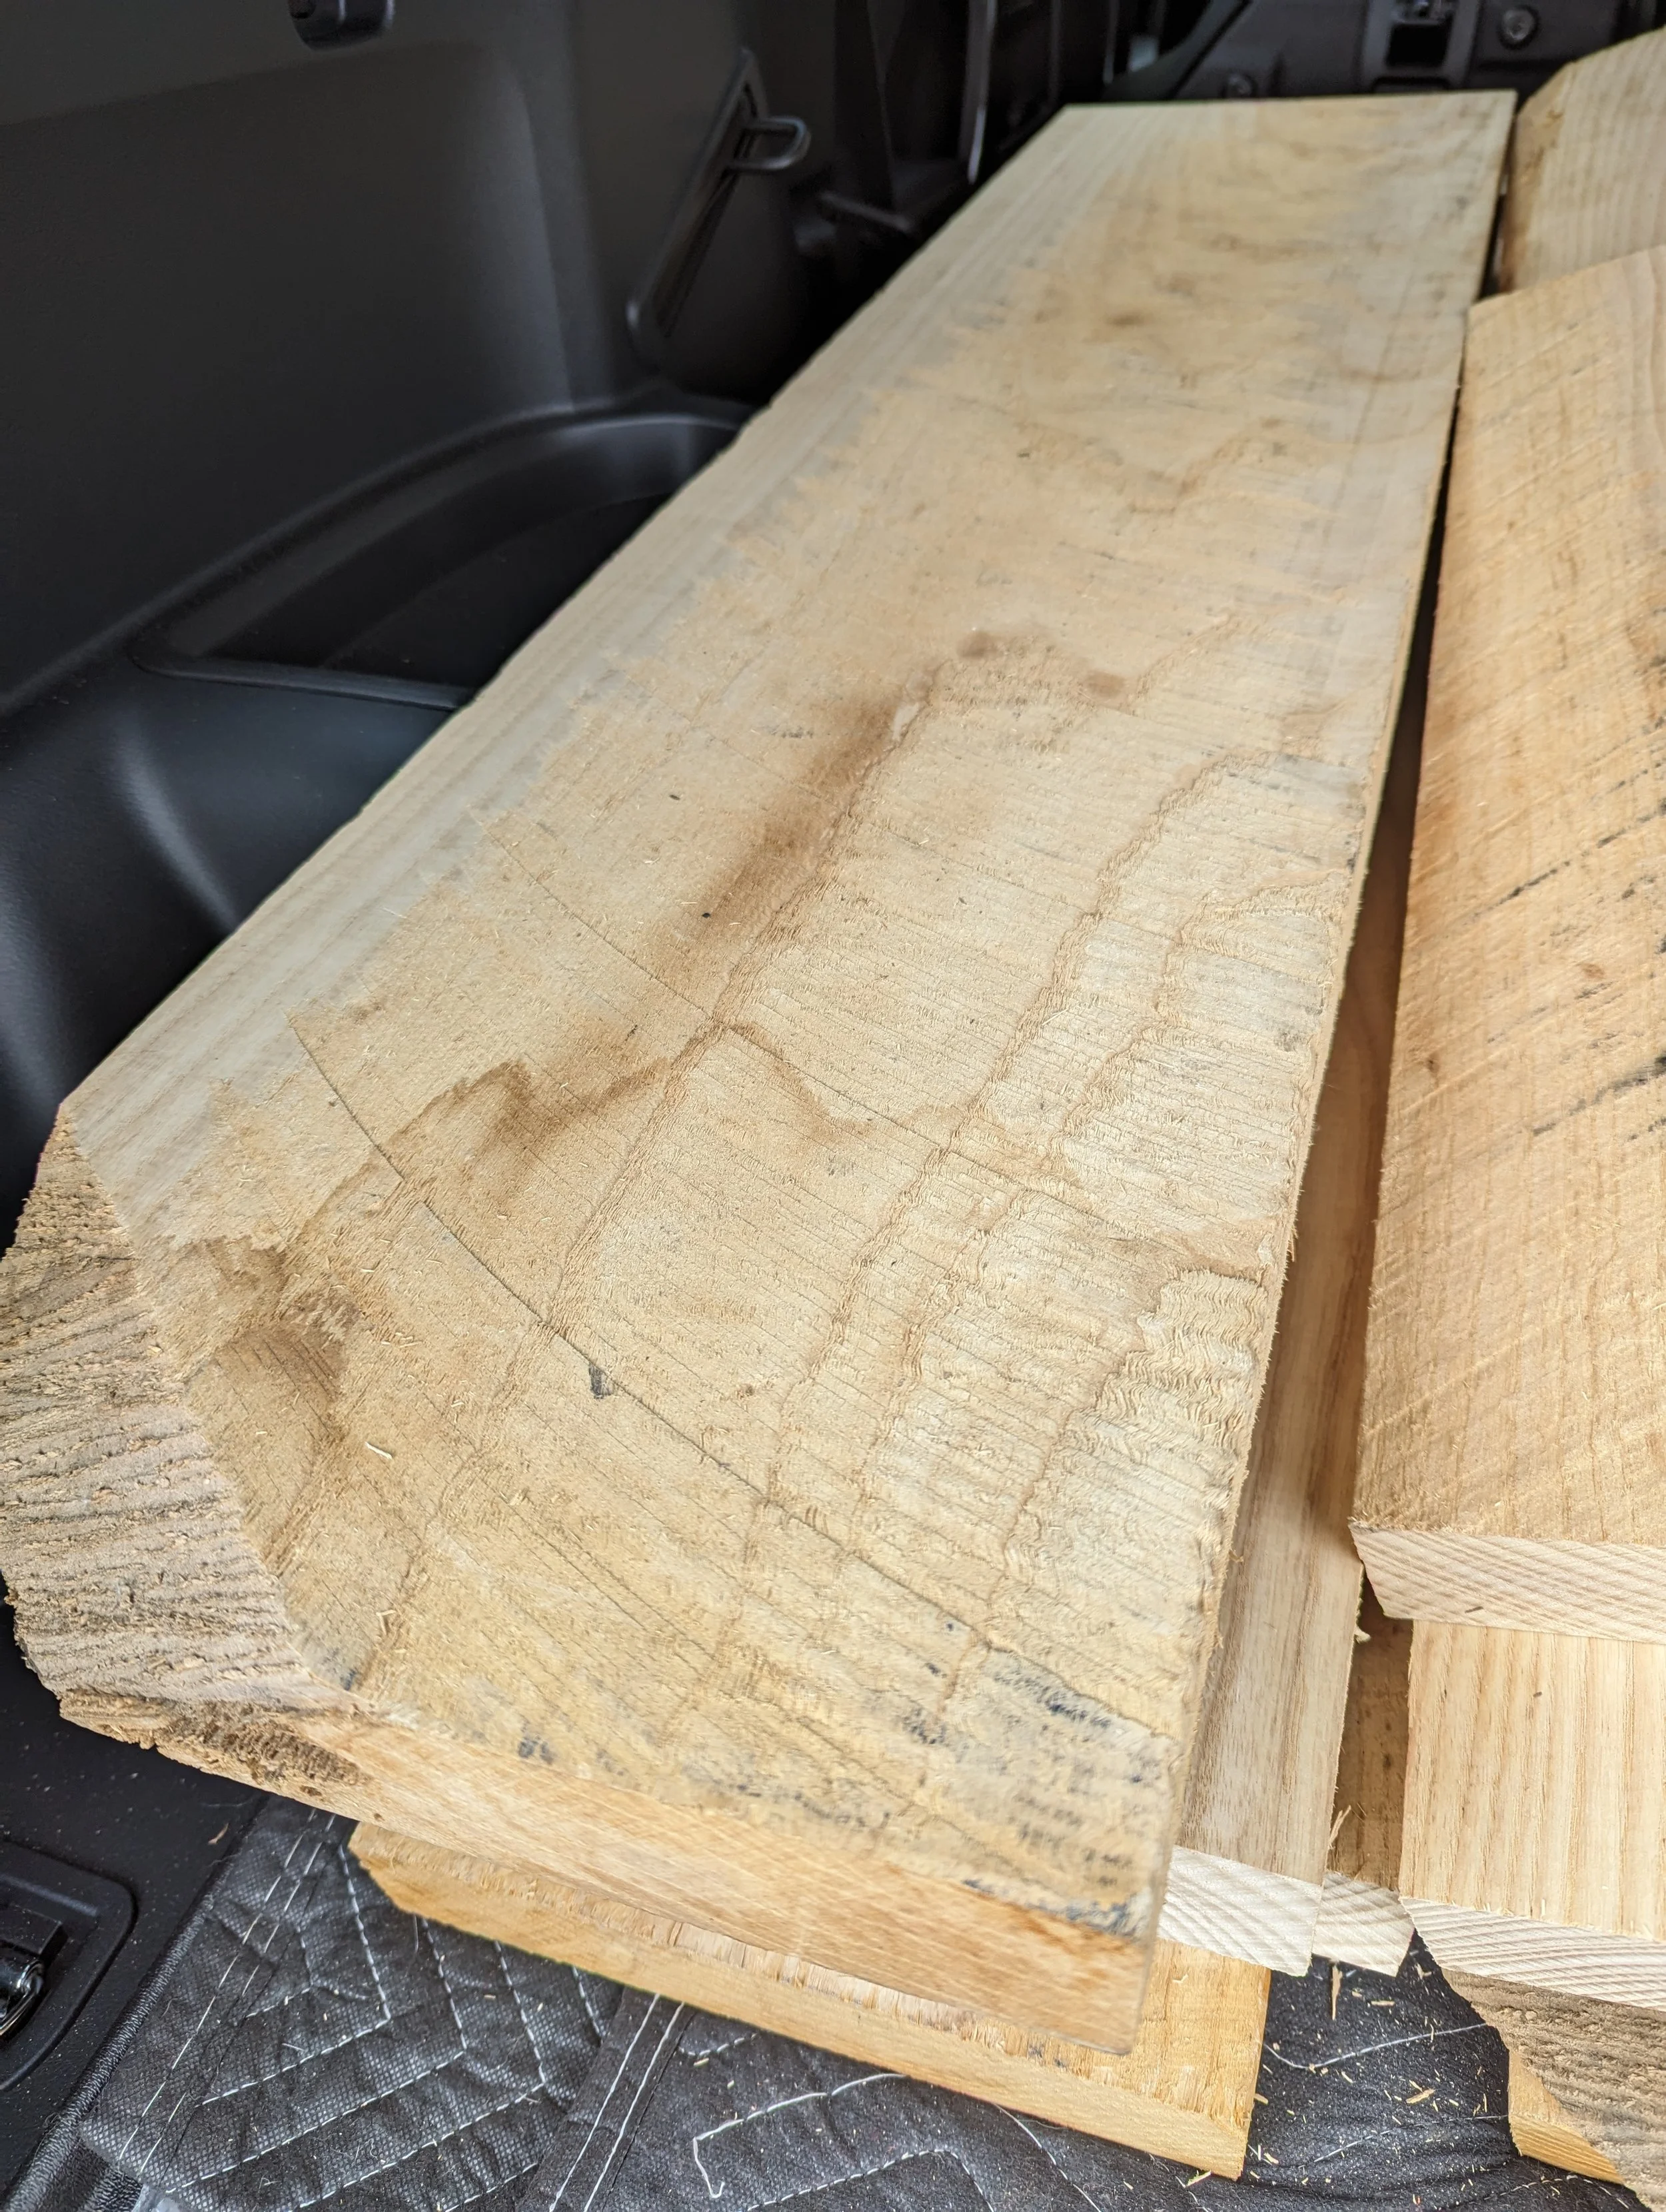
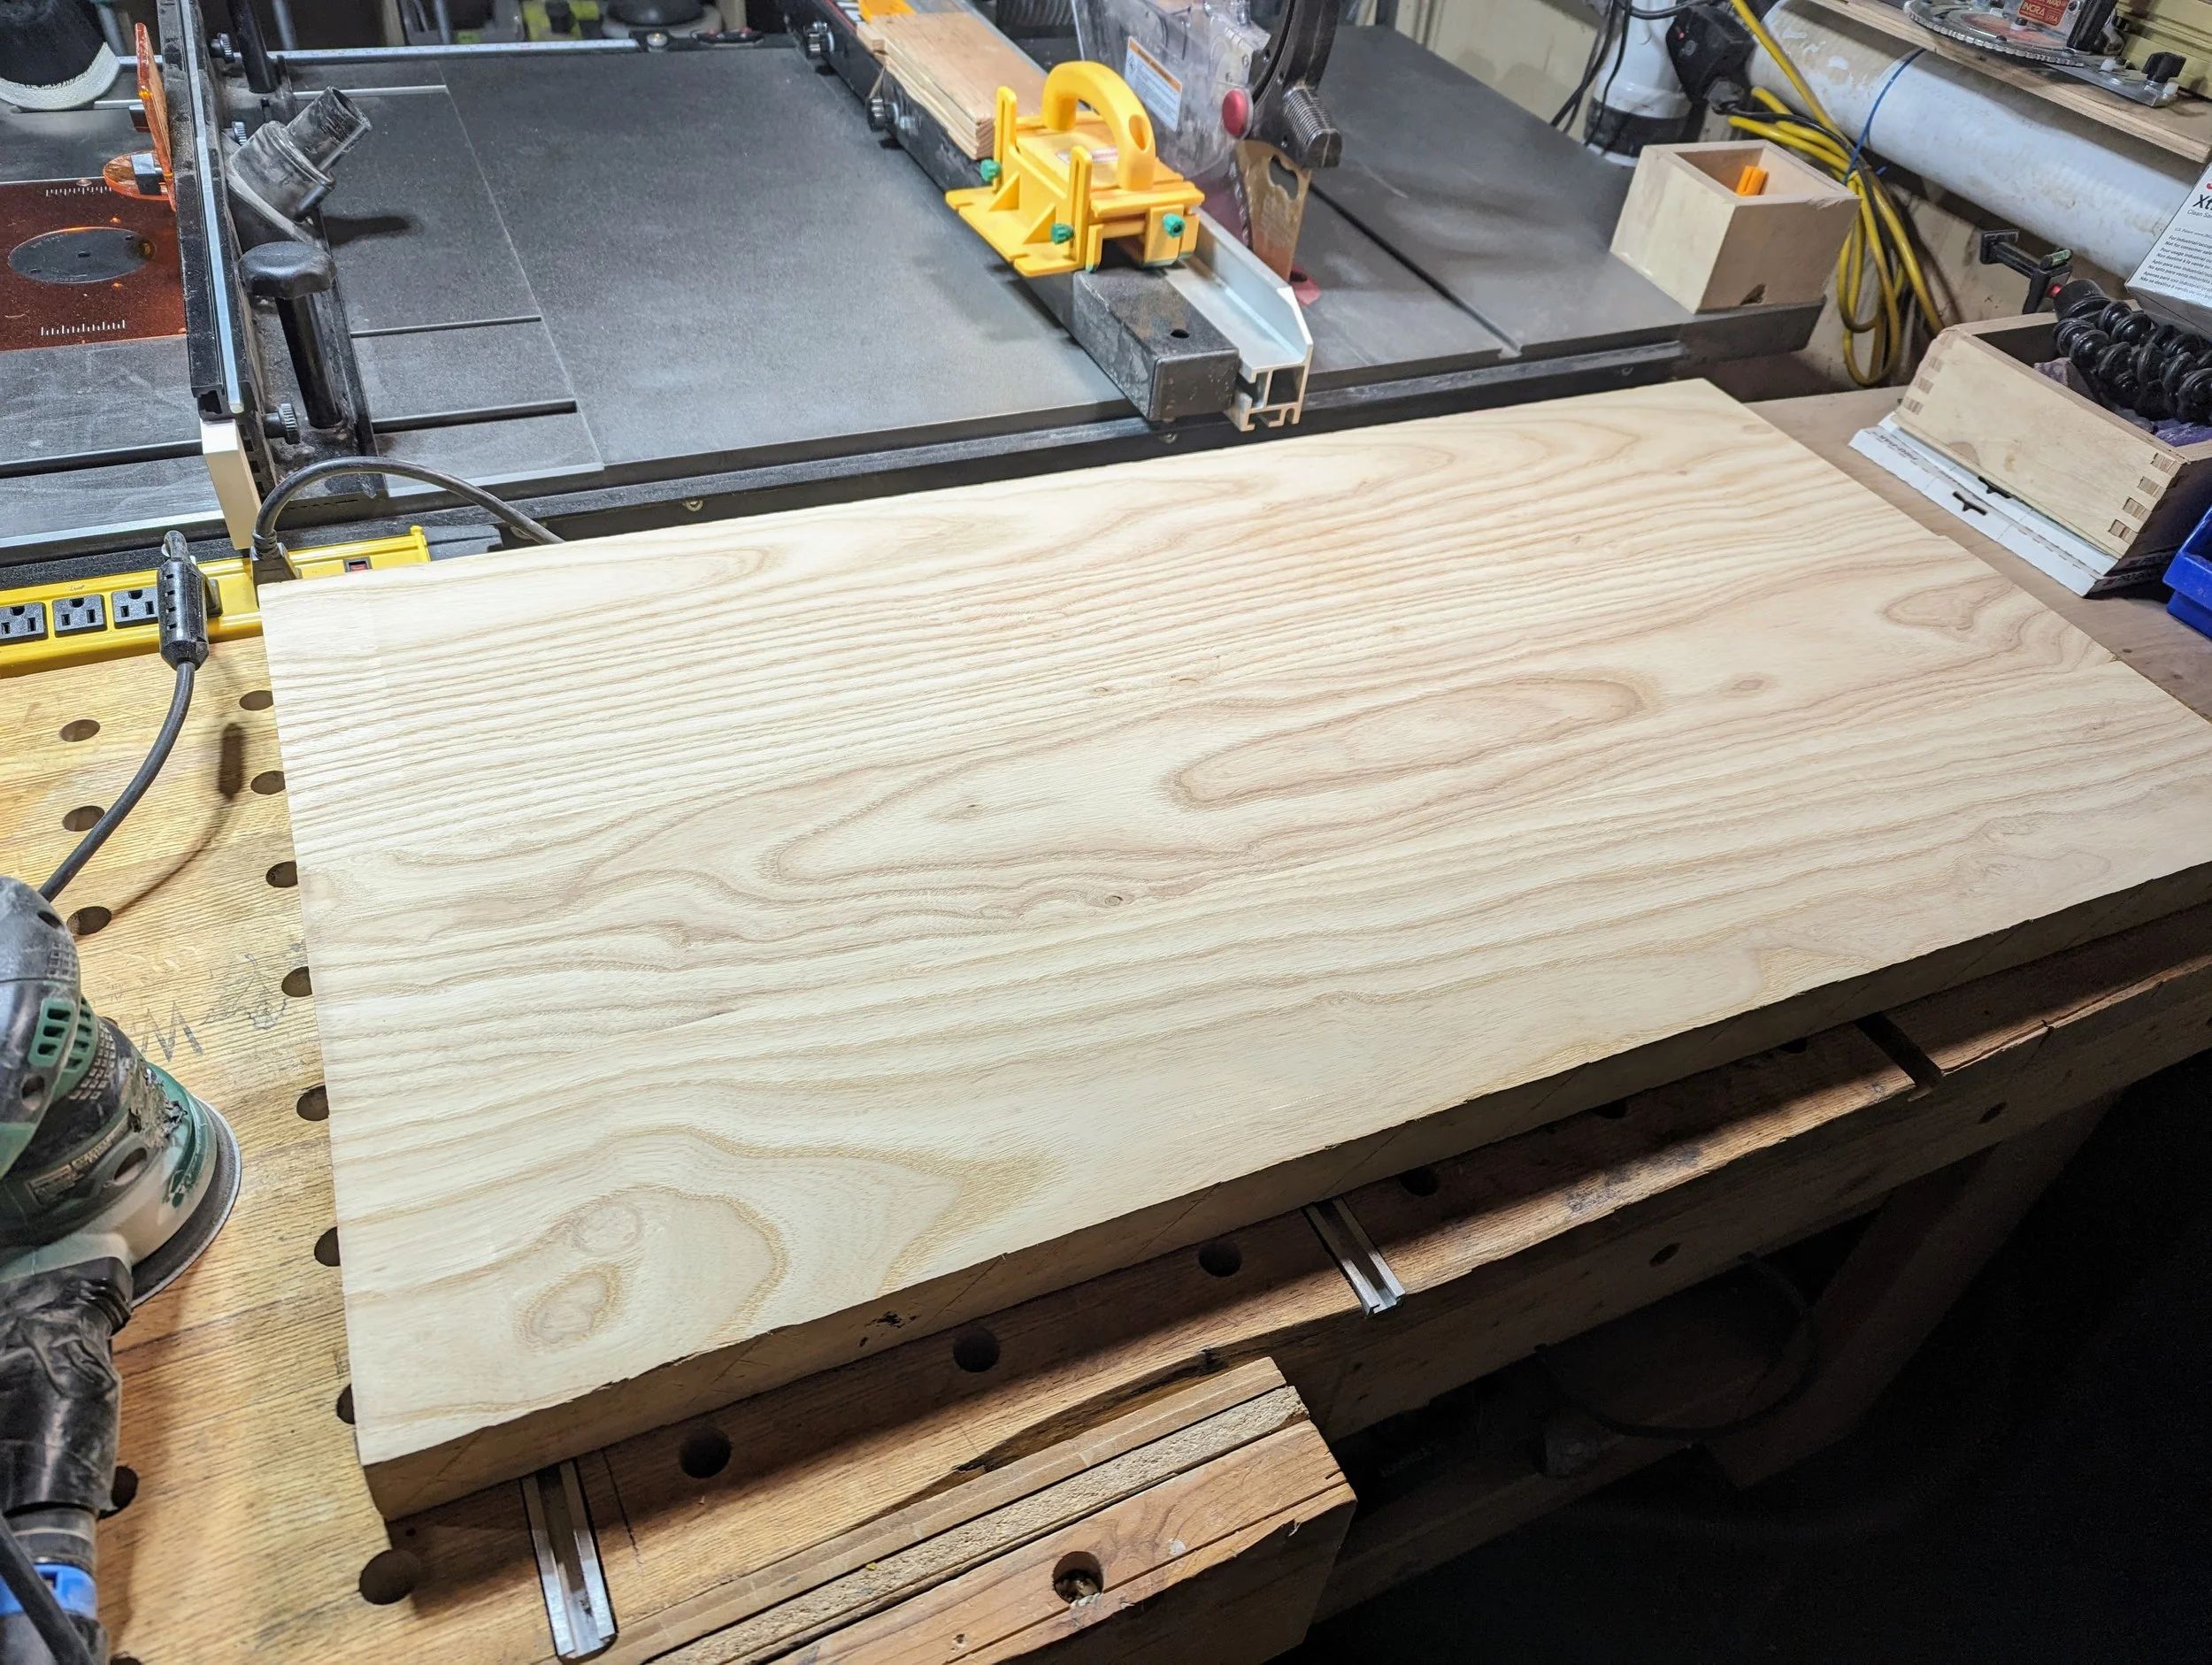
Each shelf was 20x40x2 inches (WxLxH), and because ash is dense, they were heavy. So we decided to use ash itself as the supports on the sides and in the back. The build started by milling the boards. The wood we got was as raw as it gets but in fairly good condition. Once I had planed them to thickness, I glued the panels together. Everything went smoothly here. The boards were properly dried, and they behaved quite nicely. The panels came back flat and almost ready for oiling and waxing. Once this was done, I started working at Jill's house. The first day, I installed the lateral supports. The main objective was that they were perfectly leveled. I was anticipating the drywall being too brittle to give us strength, but it behaved, and the supports were strong.
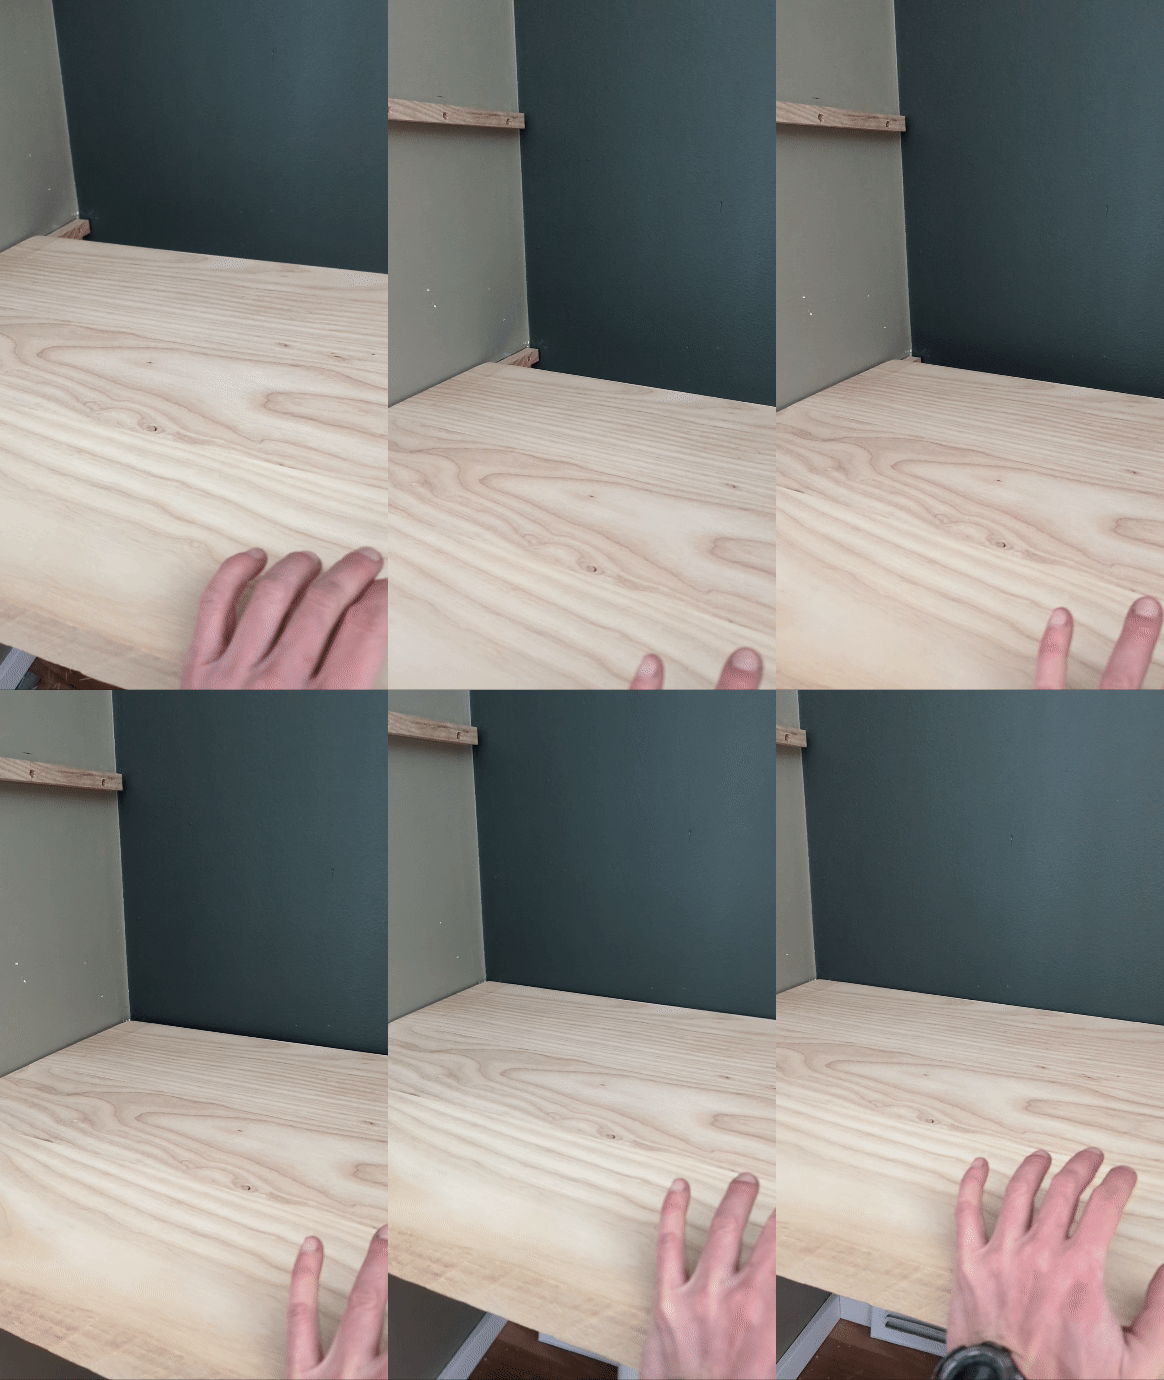
On the second day at Jill's, with the supports in place, I built a template on plywood that I would use to then cut the panels. Luckily enough, the template worked for all the shelves. My original idea—worst-case scenario—was to make one template per shelf. With that template ready, I tested for level. Phew! The supports were awesome, and I could go home and start cutting the panels to measure. This was an arduous but rewarding task. Mistakes were made and corrected over and over. I spent a lot of hours here with the router, getting closer, becoming friends.
Once the panels were ready, I took them to Jill's. I left them oversized on the front edge so that I could cut that front edge at Jill's house, ensuring they would be perfectly flush with the walls. The plans worked, and once all was up and installed, I left it ready for the final day.
That same day, Jill tested the shelves by putting some ornaments on top of them and seeing how they would look. She sent me the picture, and I was ecstatic. Everything was looking awesome. Now all we needed was to paint the walls and fill the holes with a little caulk.
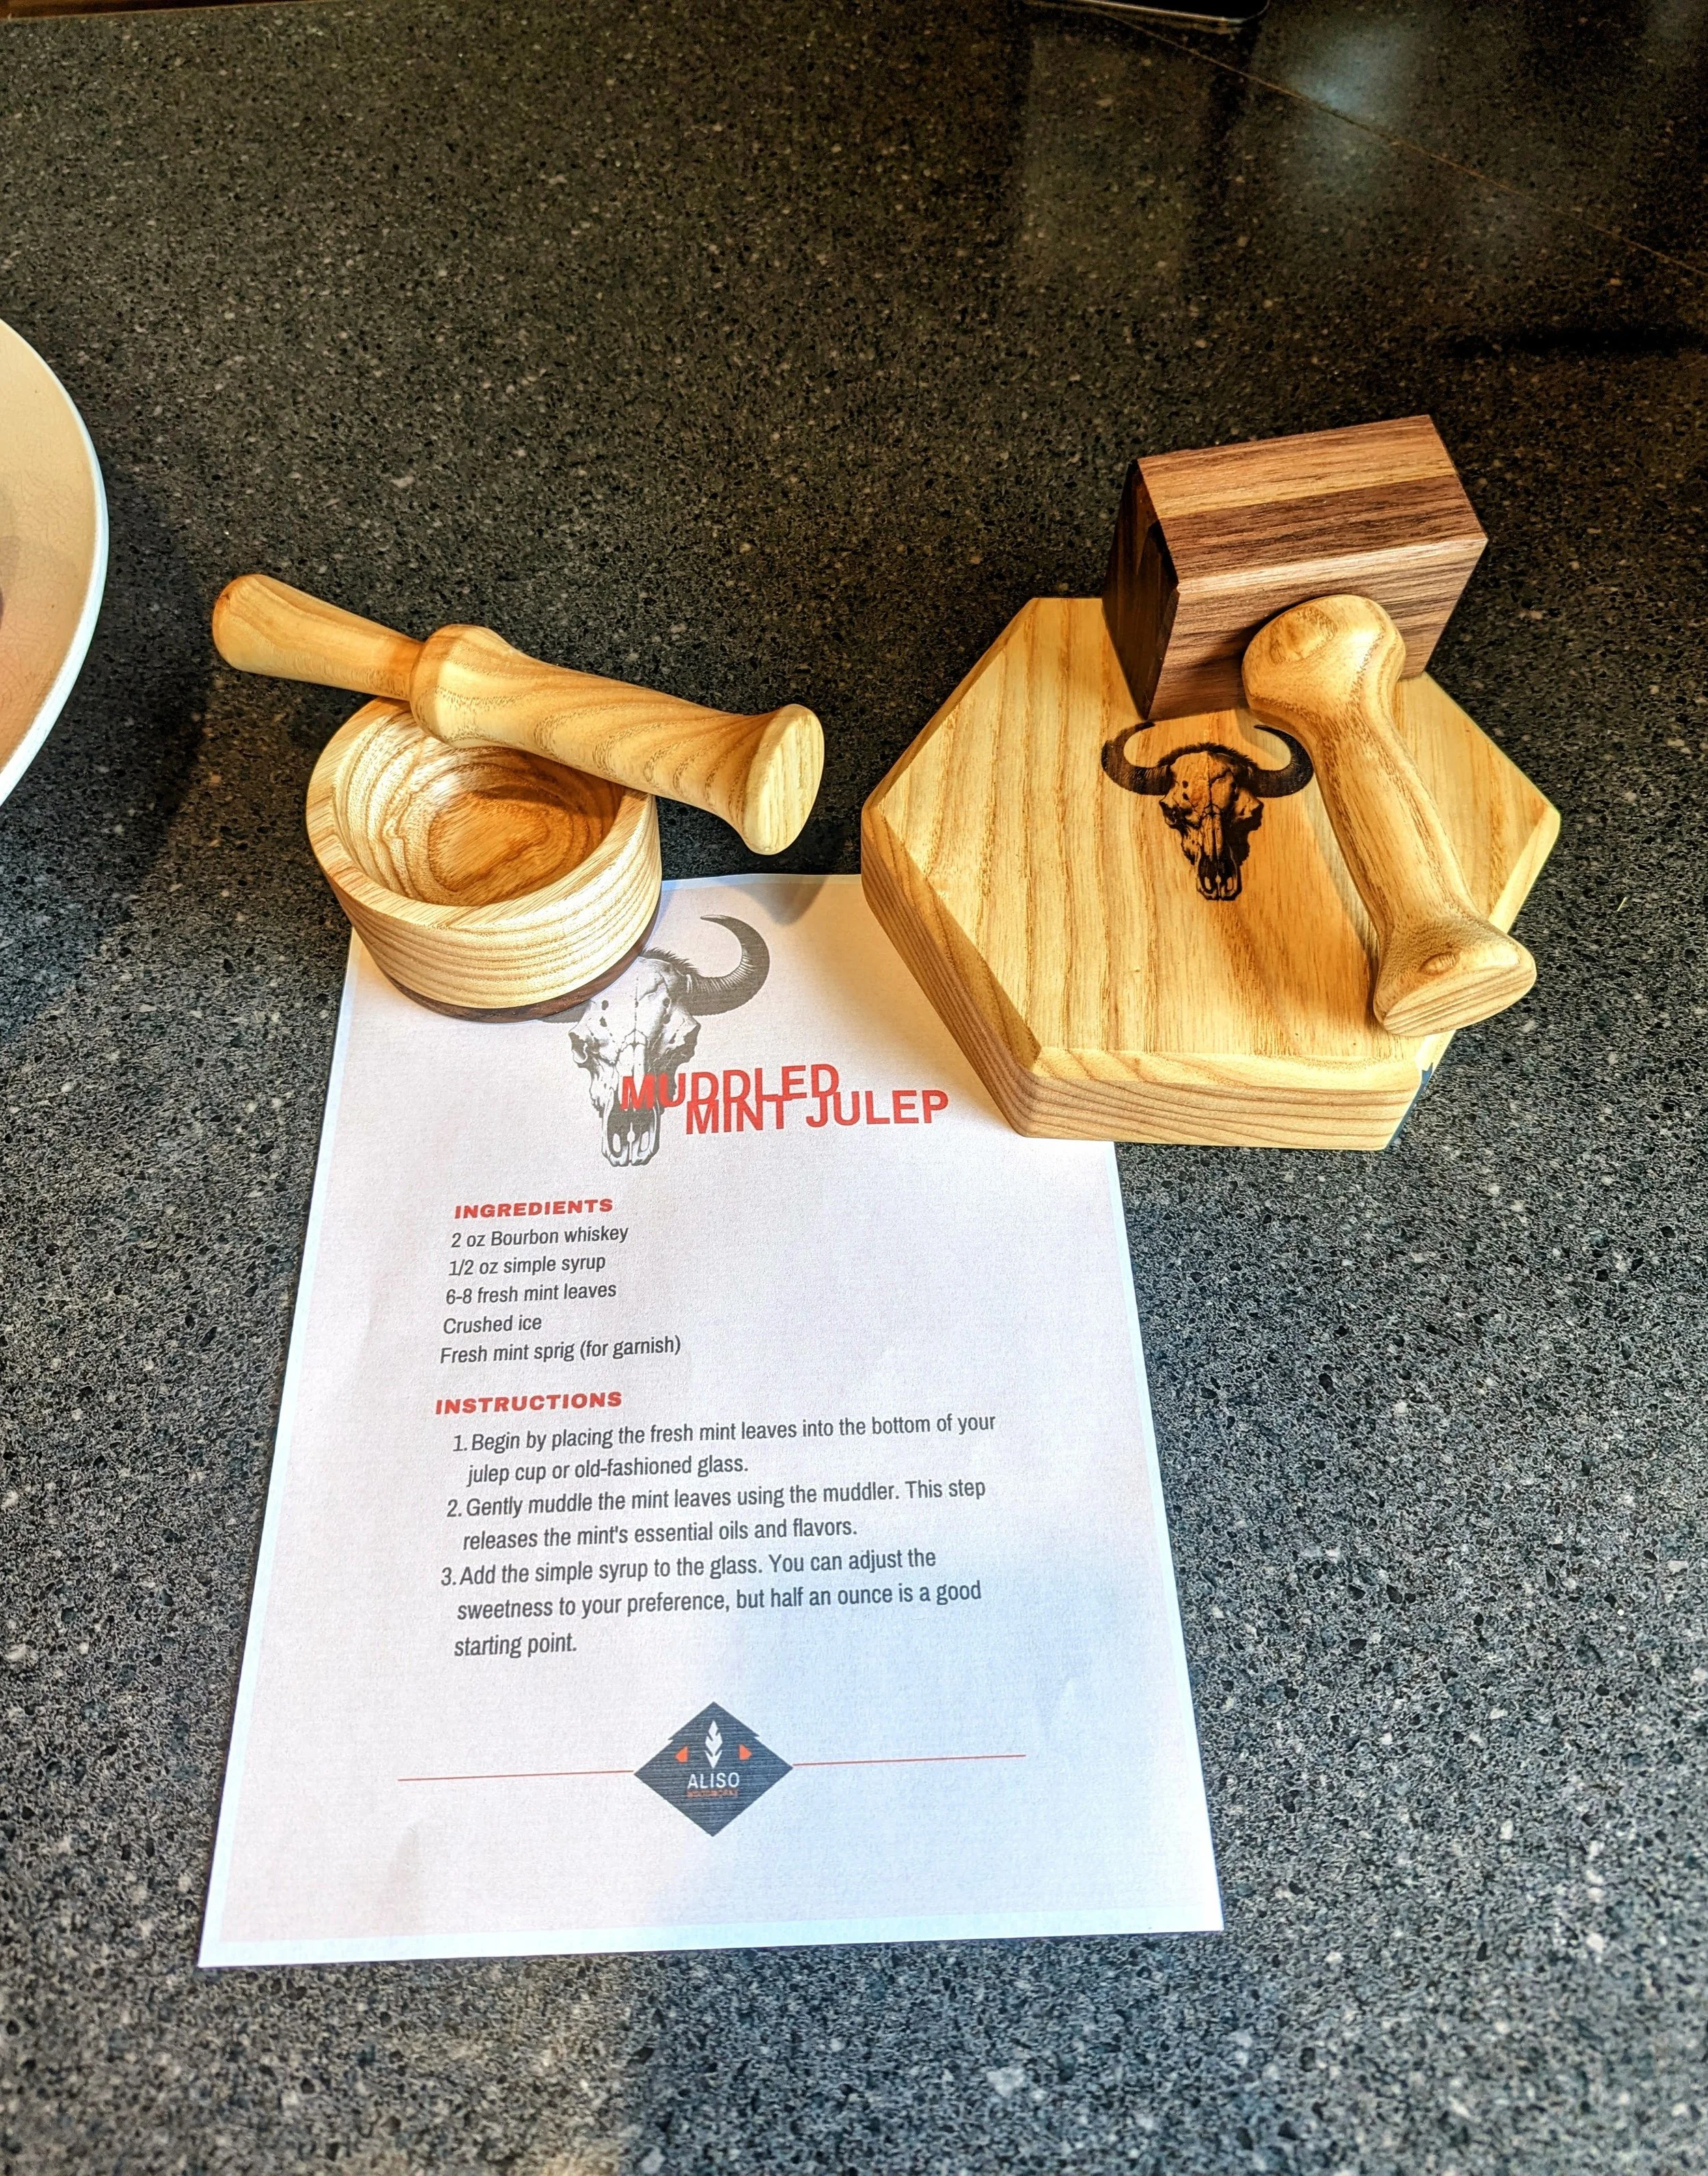
The final two days of work were great. I started with a second coat of wax that made the whole thing shinier and deeper. And then when I caulked the holes and painted the walls, the shelves were flush and smooth just as we had planned with Jill. This is the first thing she sees when she enters home from a hard day of work, and I am happy that it is this mini-gallery of beauty. To celebrate our collaboration and knowing that Jill loves to have people over and host them, I made her some presents to elevate her cocktail mixing game.
Once done, I decided to call these shelves "The Bisons" to honor the skull that looked at me patiently while I worked. Hopefully, these shelves, like the skull, will last for generations!


